Let there be light - a DIY microscope light...
Today I did not only built an eyepiece-adapter for my new Leica M8 Zoom microscope, I also built a really bright microscope light.
What I used...
-
A dead CPU cooler fan (70 mm - salvaged from a Socket 939 / AM2 model)
-
An old power supply (6 V, 500 mA)
-
Two power LEDs CREE XP-G R5 White (recently bought via Hongkong trader on ebay...)
-
Two resistors for use with the power LEDs
-
Two small heatsinks (salvaged from a dead PC motherboard)
-
The usual suspects: Instant glue, insulating tape, Velcro strips, wires, thermal compound
What it looks like...
Seen from above, you can see the frame of the fan.
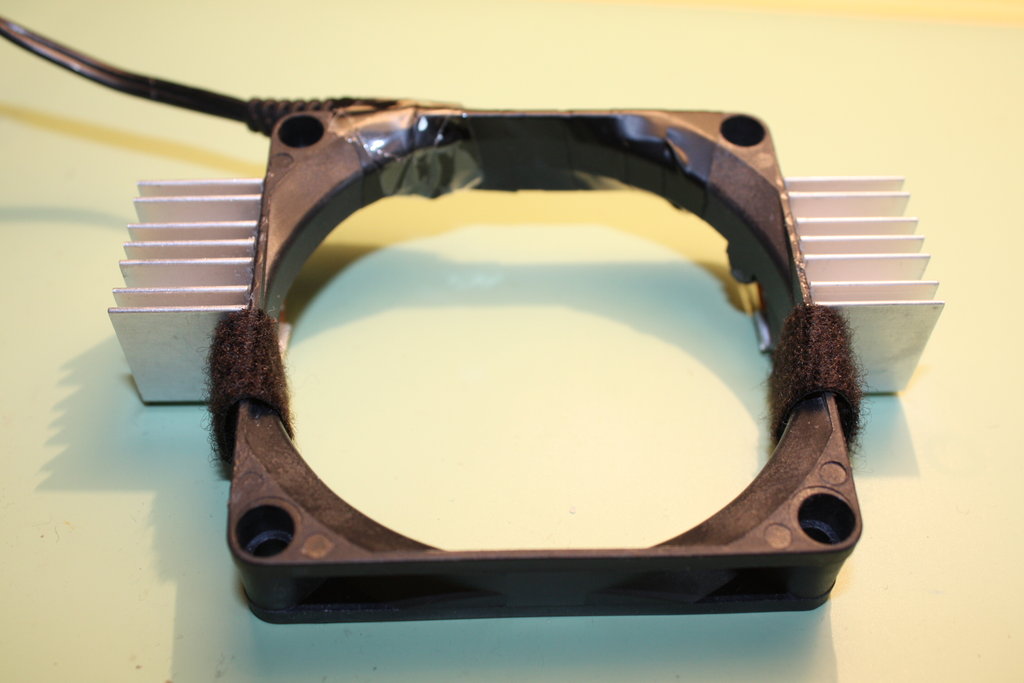
I removed the fan itself with a cutter and filed down the remaining sharp edges to prevent scratches on the microscope´s body. I used two short strips of Velcro, to provide some grip for the construction on the microscope (you will see how this is supposed to work in the following pics). The two heatsinks for dissipating the heat from the power LEDs were glued to the frame using instant glue.
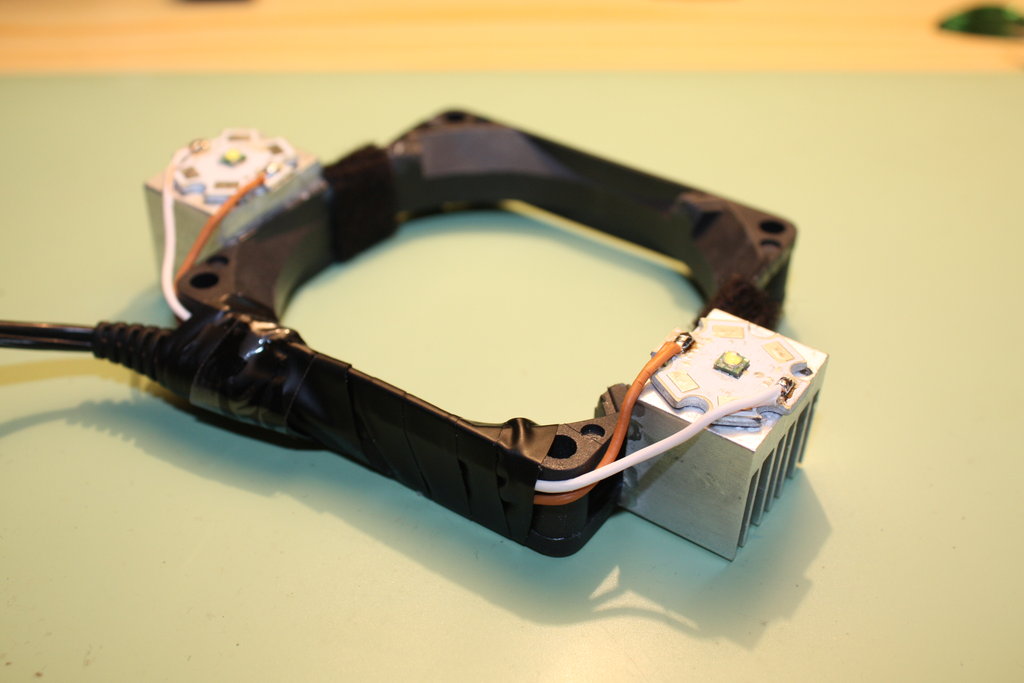
Seen from below you see the two power LEDs. I attached them to the small heatsinks with some thermal compound and instant glue.
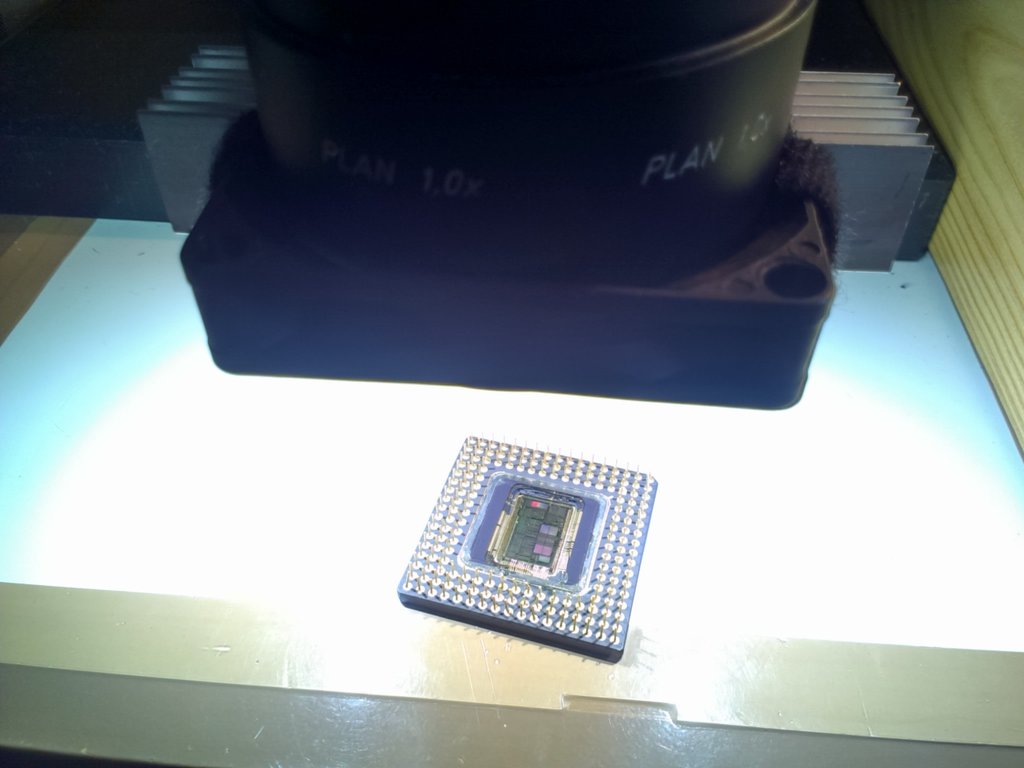
How to use it...
To attach the light to the microscope, it is just slided on the objective body and turned on (the Velcro strips make it easy to move the light up and down without scratches but at the same time, they also prevent it from falling down).
Overall, this microscope light is not only really affordable (below 15 € in my case), it is also exceptionally bright (even brighter then some LED-based ring lights that you can buy directly from Leica). The simple construction should also allow to add further LEDs (UV / IR ?) to the design or to do other nice things (strobe lighting? dimmable lights? - just use your imagination !-). Please feel free to comment if this article proved helpful for you,
greetings noq2
Comments