I have already shown the inner workings of my Wild M8 stereo microscope itself - now it is time to demonstrate its extensibilty.
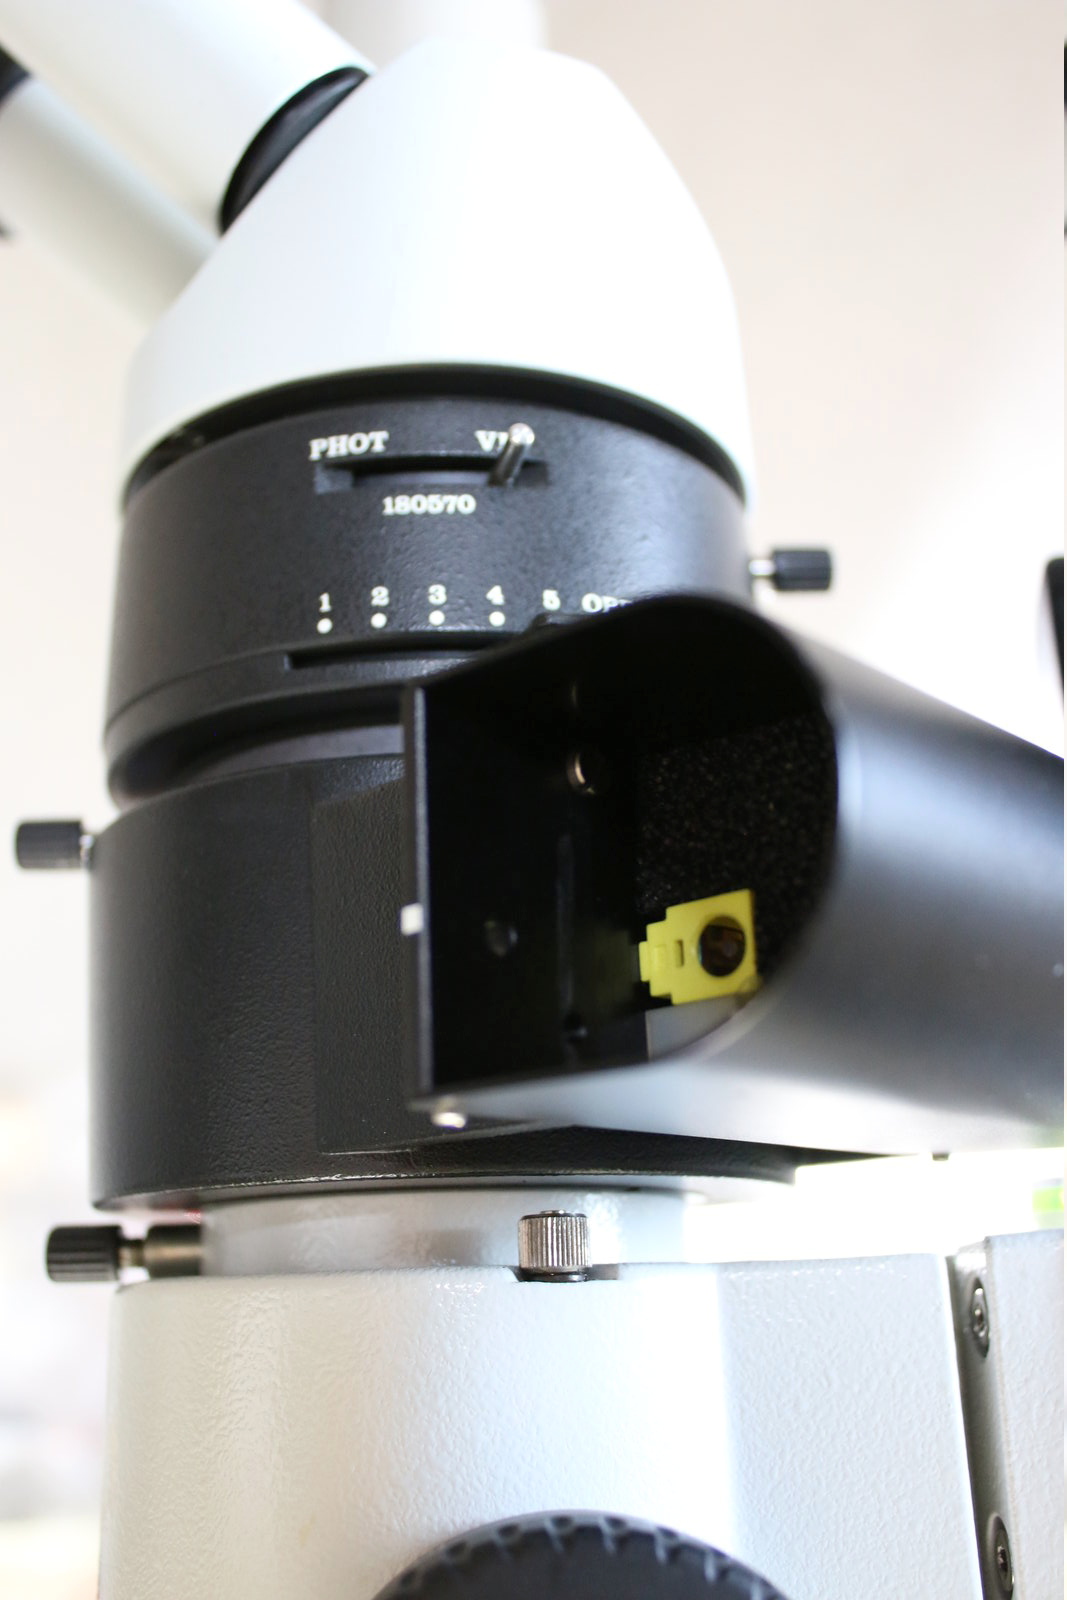
Wild M8 phototube
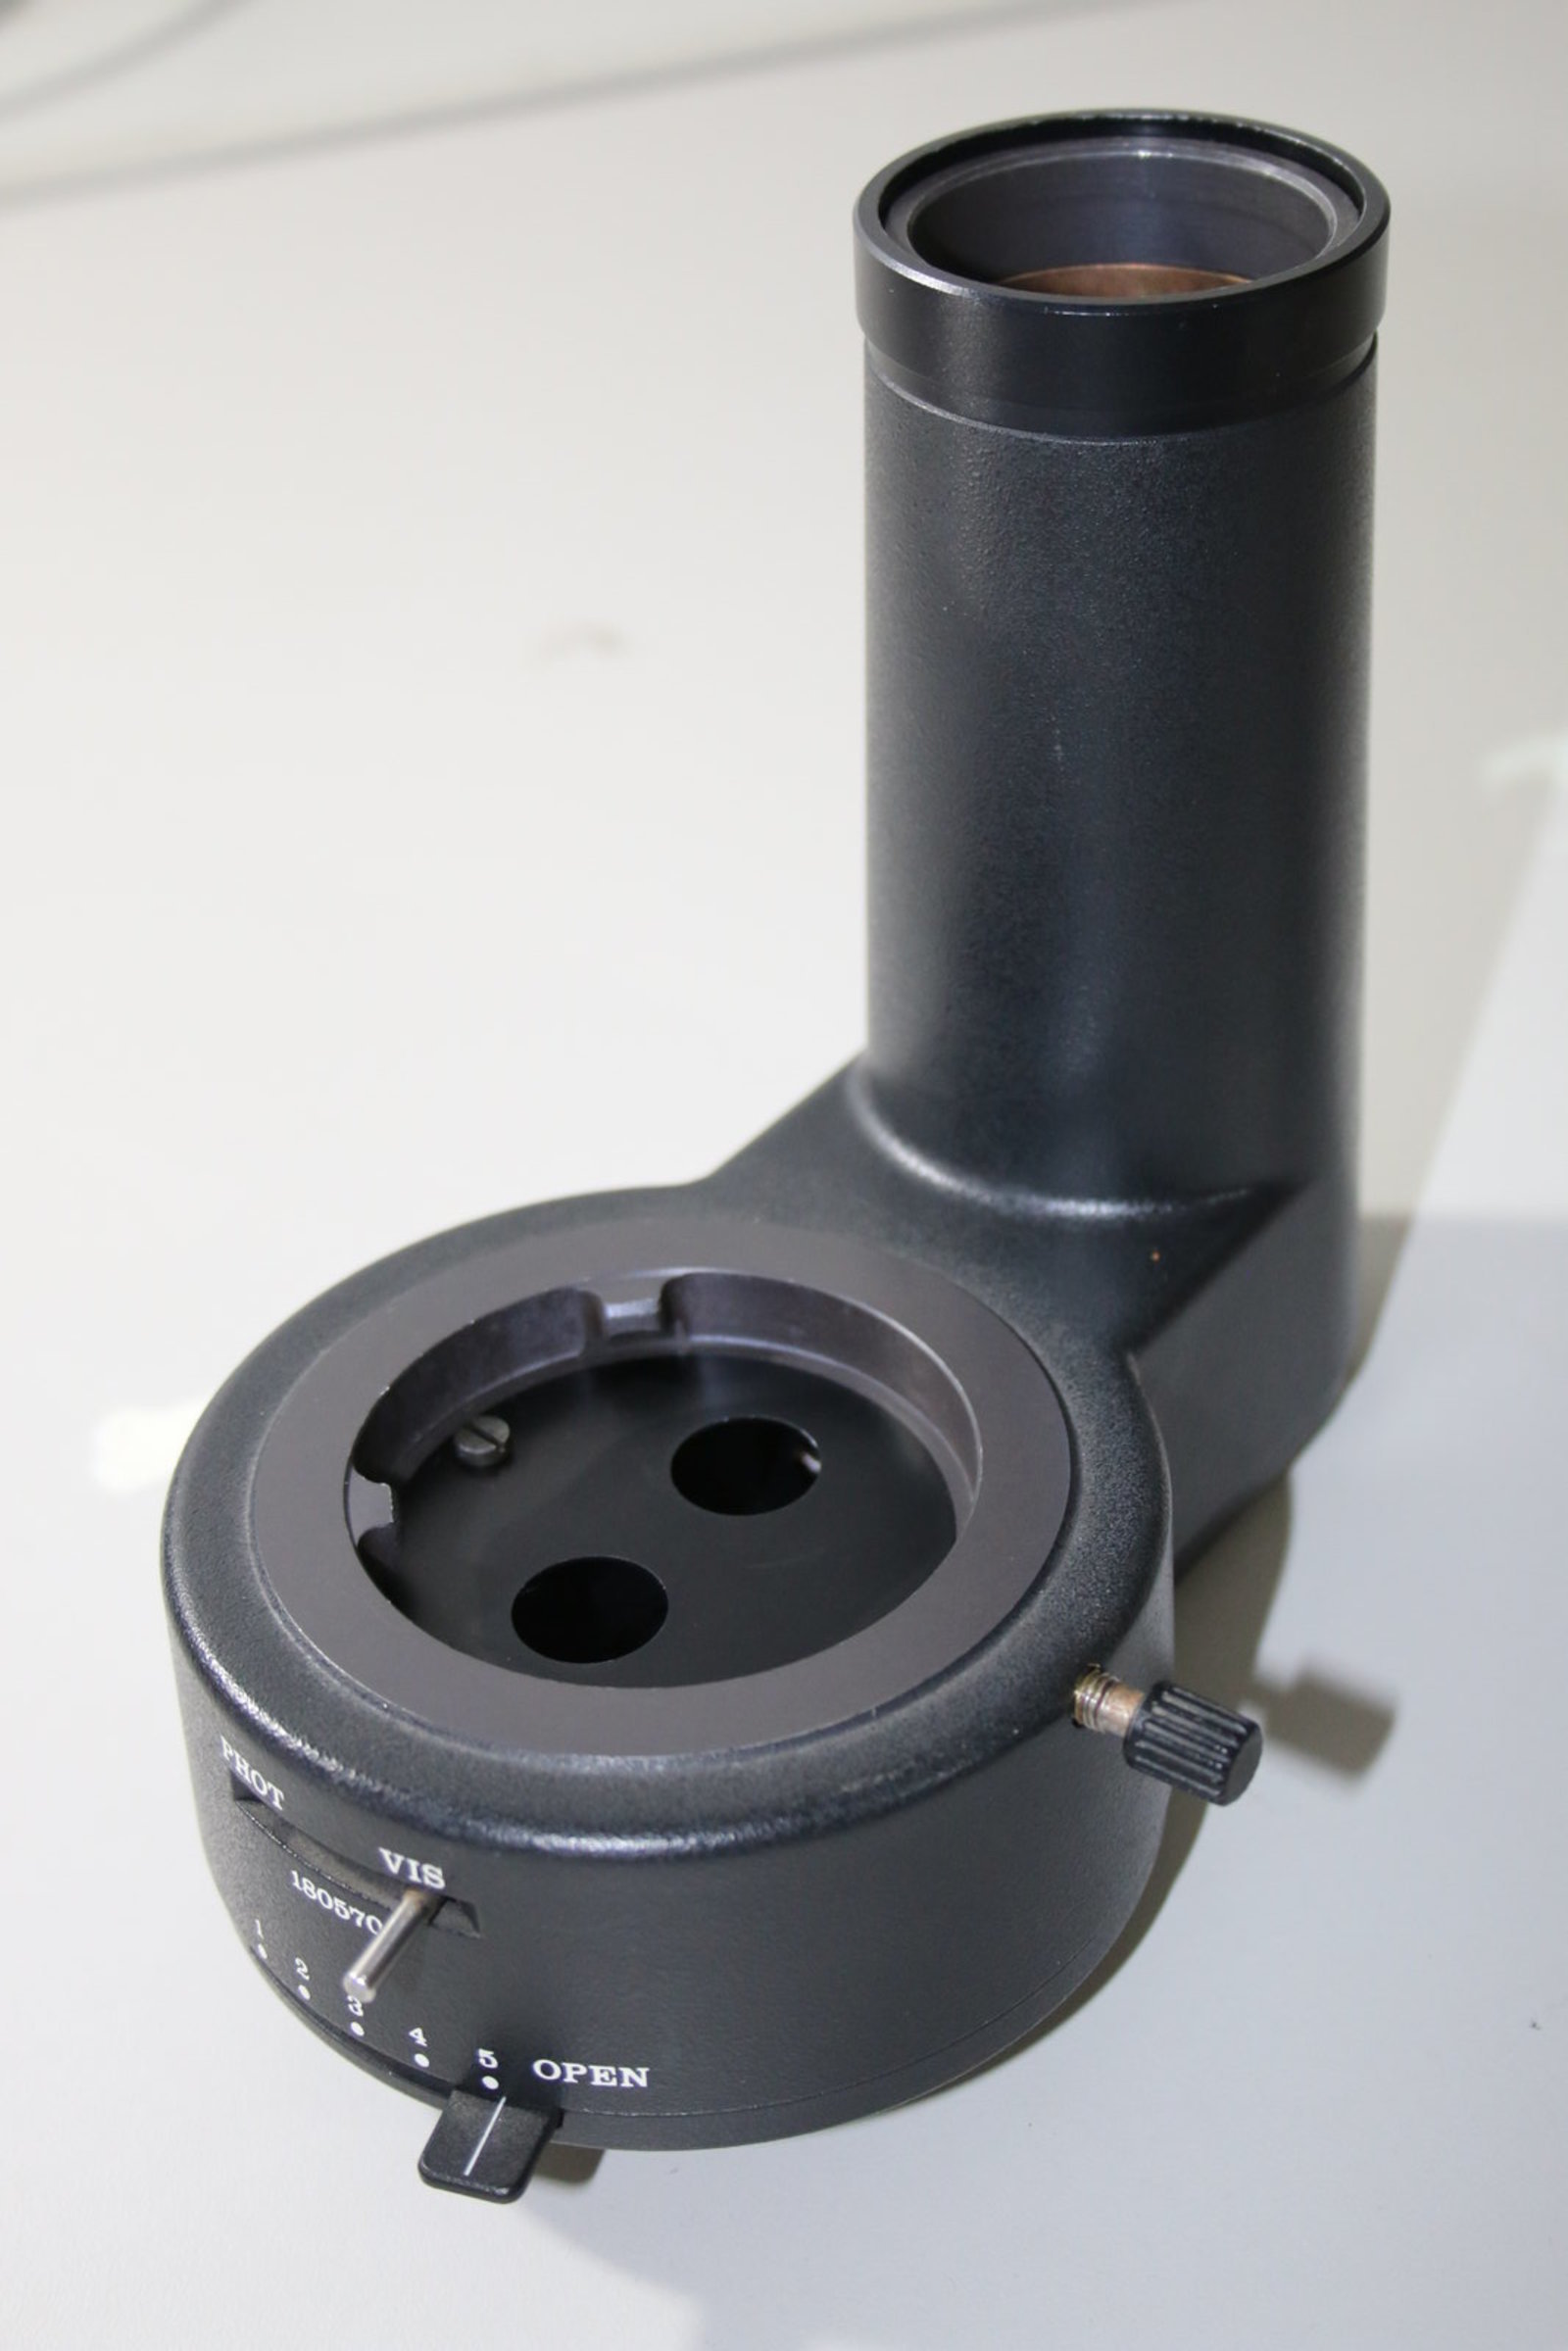
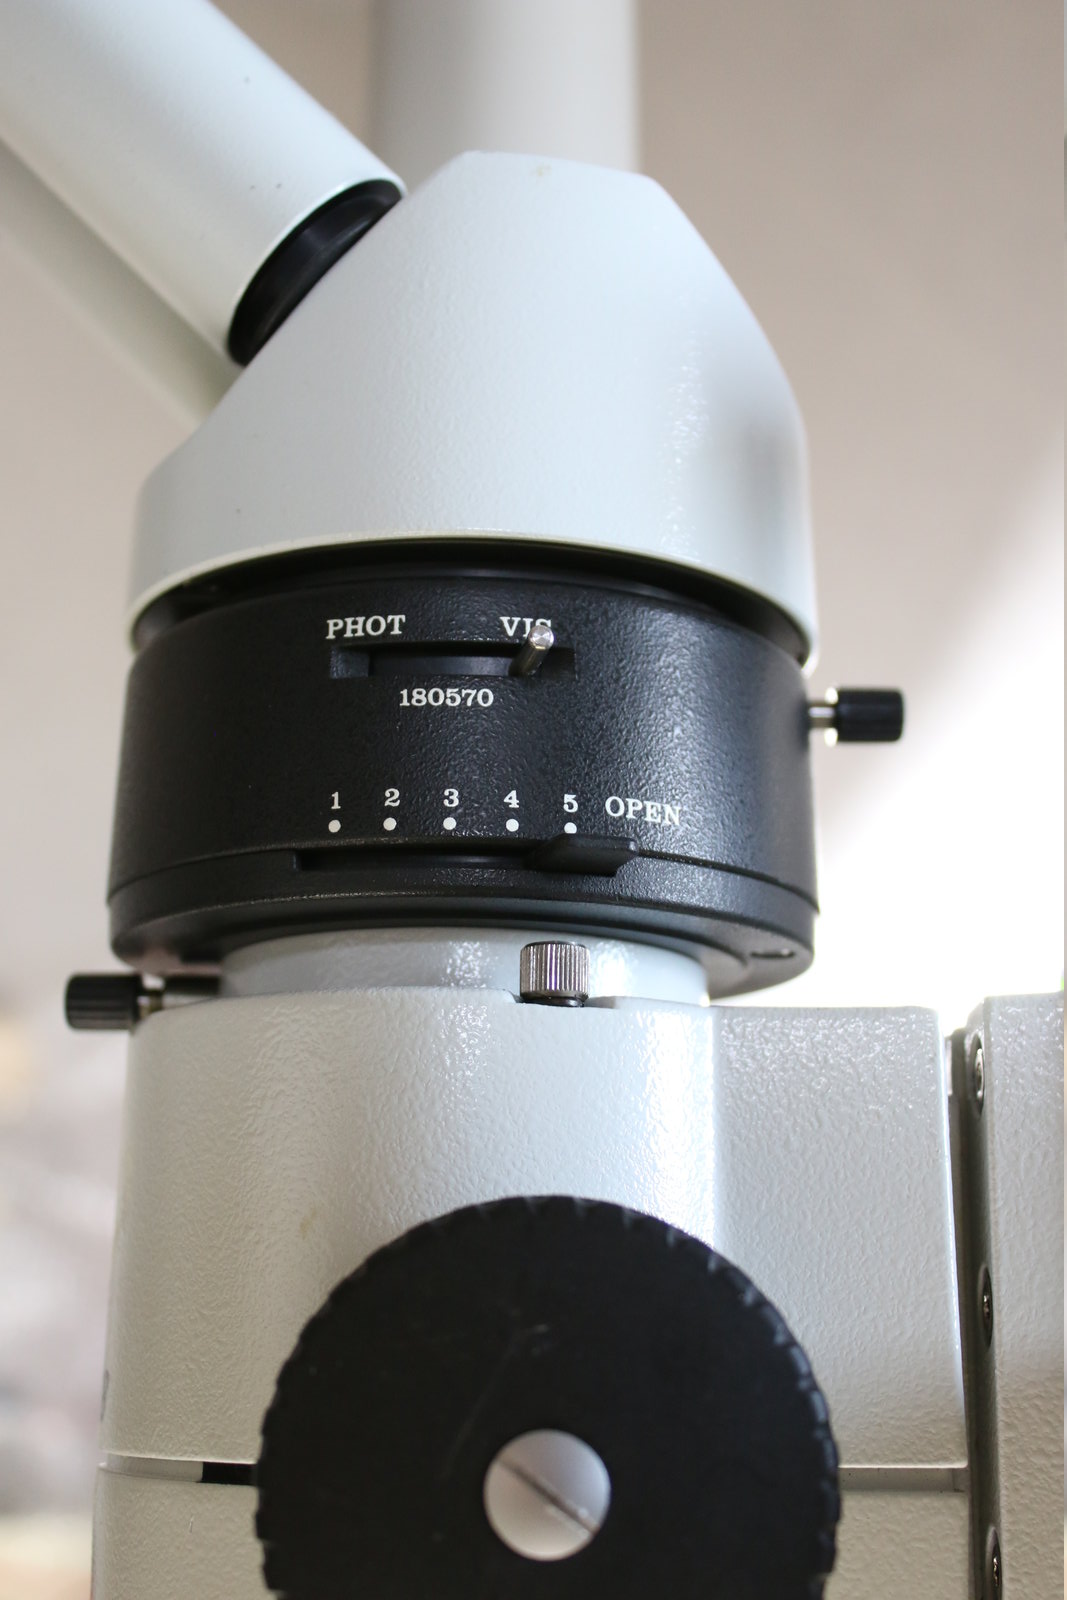
The Wild part nr. 180570 has two slide-in half mirrors that act as 50/50 beam splitters when the phototube´s switch is set to "PHOT" (the setting "VIS" is for 100 percent transmission to the eyepieces).

50 percent of the light from the objective go to your eyes (the picture stays three-dimensional), the other 50 percent go to the camera.

The baseplate of the phototube has two iris diaphragms to give you more depth of field (and a very dark picture with reduced resolution...) - here an animation:
The phototube can then be dovetailed between the microscope head and zoom body.
With a parfocal adaptation you can immediately start to take pictures. Wait, a parfocal adaptation? Right, there´s more.
Parfocal camera adaptation
To shoot images with your camera - ideally a D-SLR - it needs to be adapted to the phototube. This can get rather complex as there are some requirements for care-free shooting:
-
The camera needs to hold on tight to the phototube to avoid damages and blurred pictures
-
The crop factor needs to be well adjusted (i.e. neither vignetting, nor a too narrow field of view)
-
You will want parfocality at all costs because continuous re-focussing sucks (i.e. you want the picture on the camera sensor and in the eyepieces to be sharp at the same time and also during zooming -> this feature is called "parfocality" or "simul-focality")
The best way to achieve this with a D-SLR with an APS-C sensor (and I have tried several ways...) is a projection or relay lens:
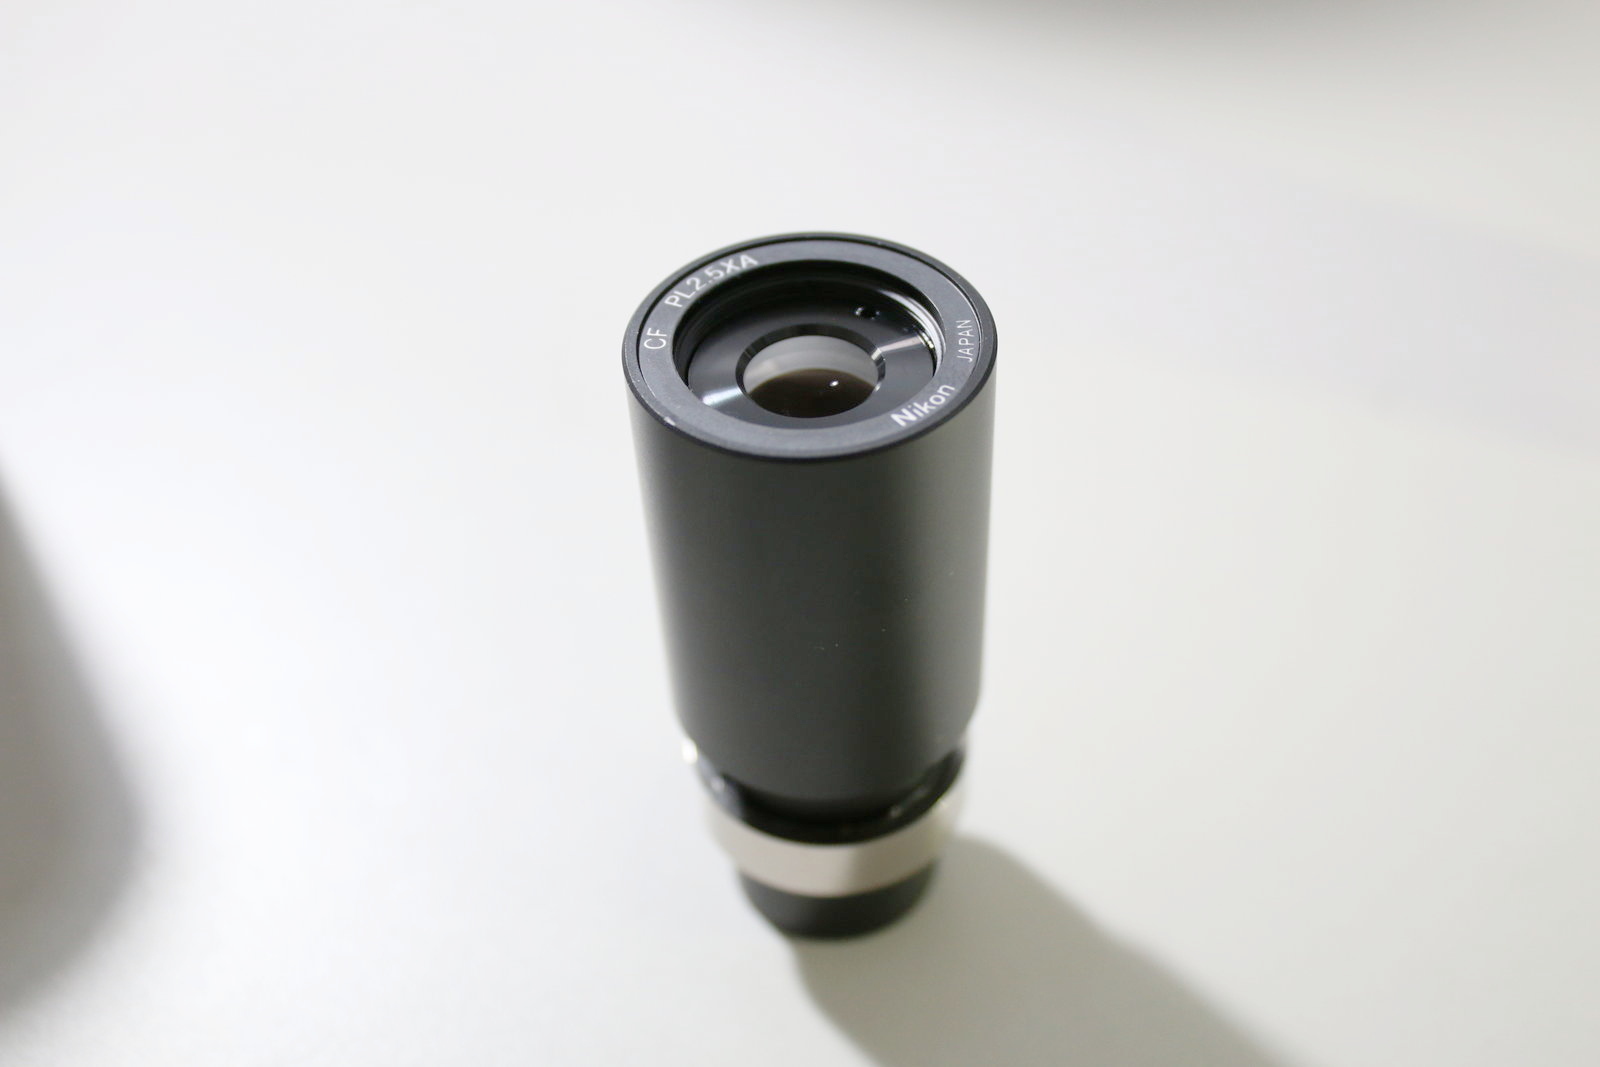
This one is a Nikon CF PL2.5XA projection lens (Leica, Olympus and Zeiss have comparable ones of course).
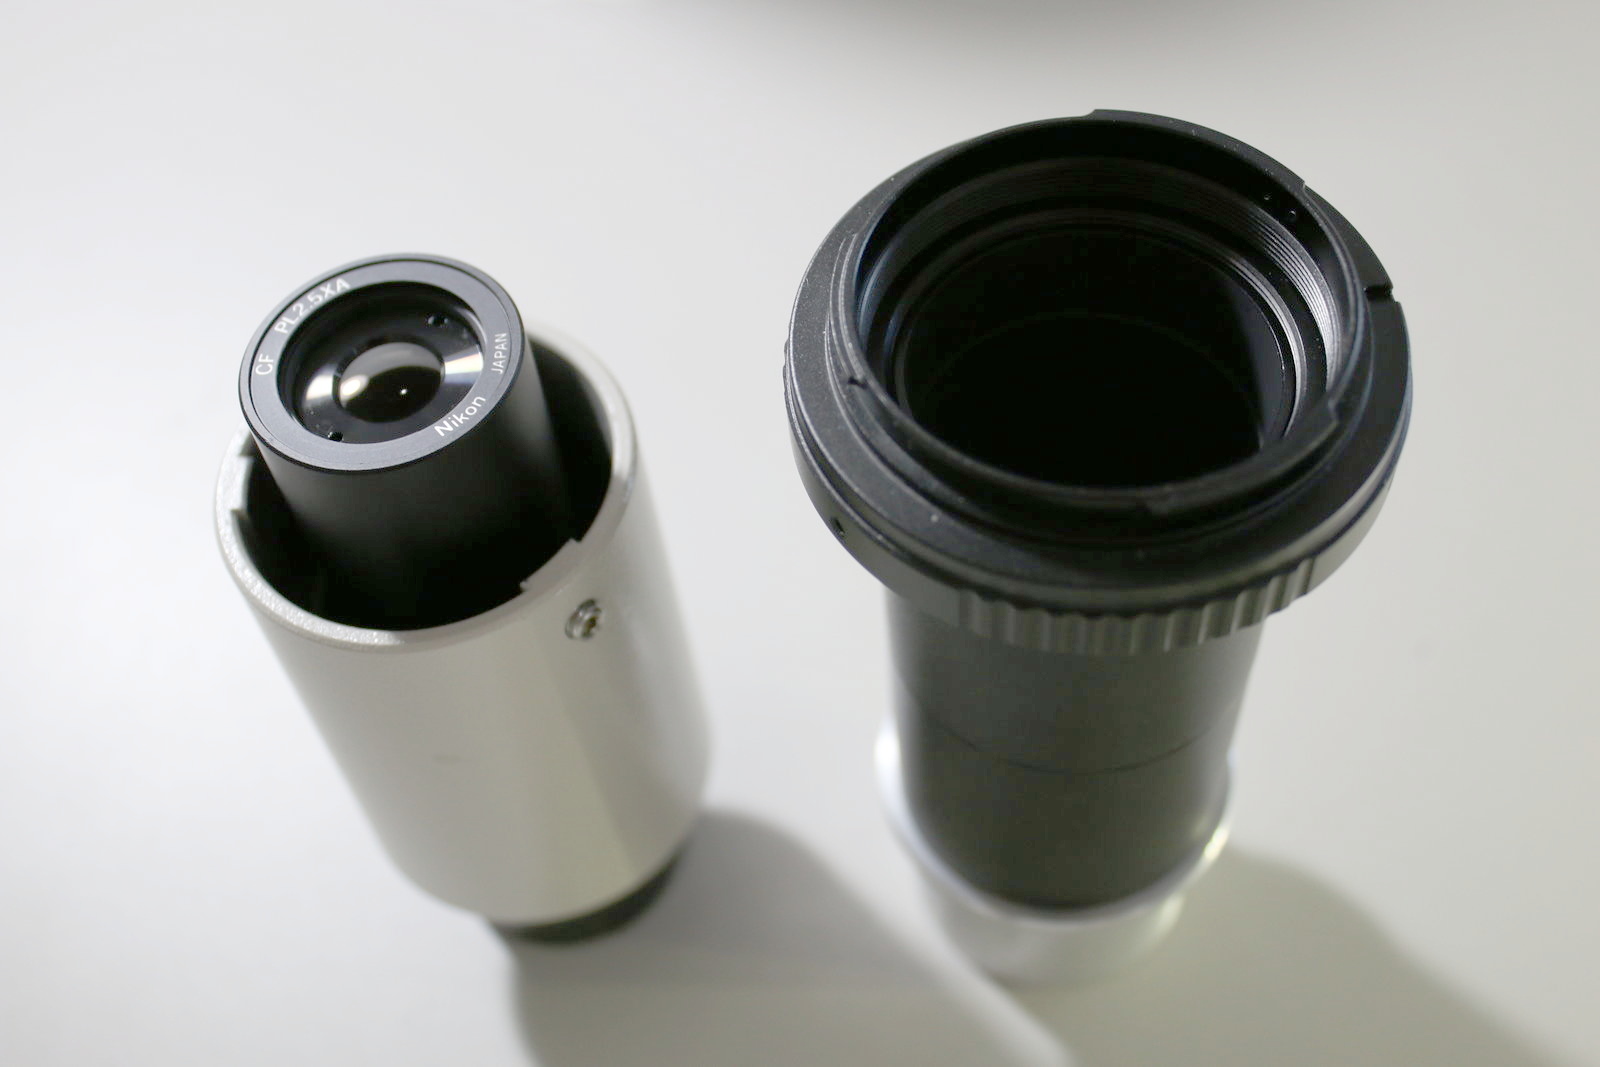
The lens has its own adapter which inserts to the opening of the phototube (38mm diameter).

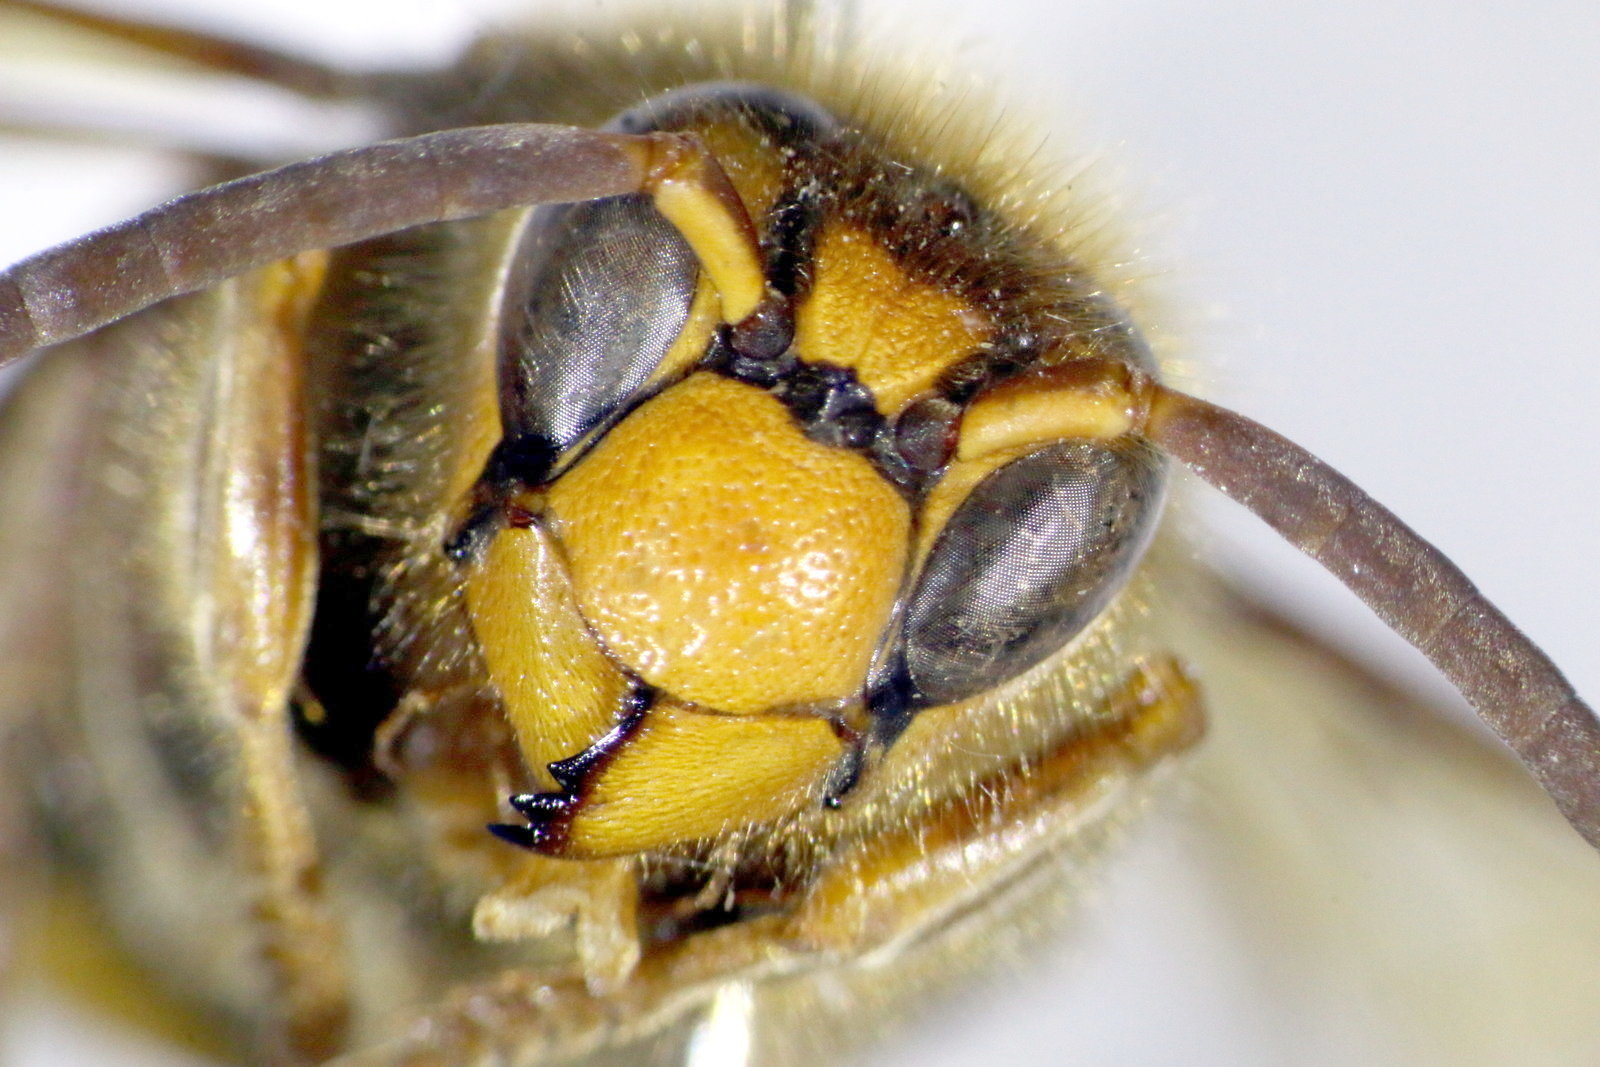
A Canon T2-adapter (1), two 40mm M42-to-M42-adapters (2), an M42-adapter for the Nikon relay lens holder (3) and the relay lens (4) inside its holder (5) join together with the phototube (6) to form a capable solution for microscope photography (what a sentence...). Now you can get pictures like the one to follow (depicting a female hornet Vespa crabro):
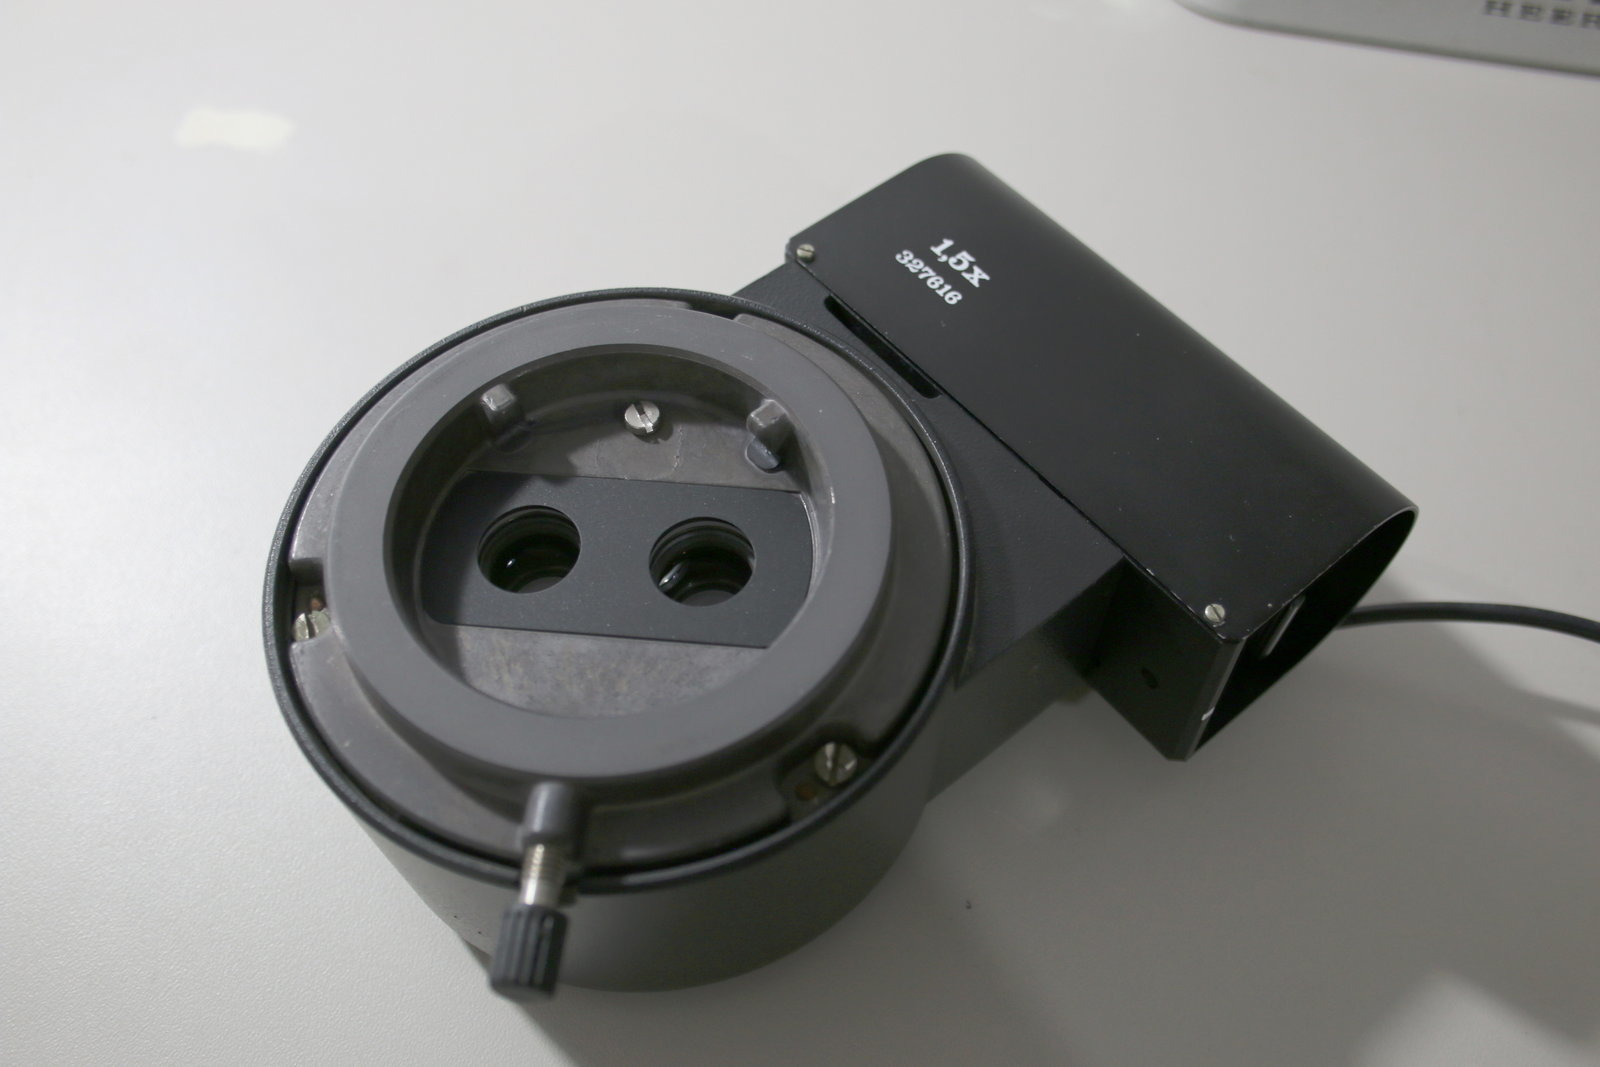
Coaxial lighting
The coaxial illumination module (Wild part nr. 327616) does not only offer additional magnification (1.5-fold), it also allows you to feed in the light directly (and unidirectionally) through the objective onto your target.
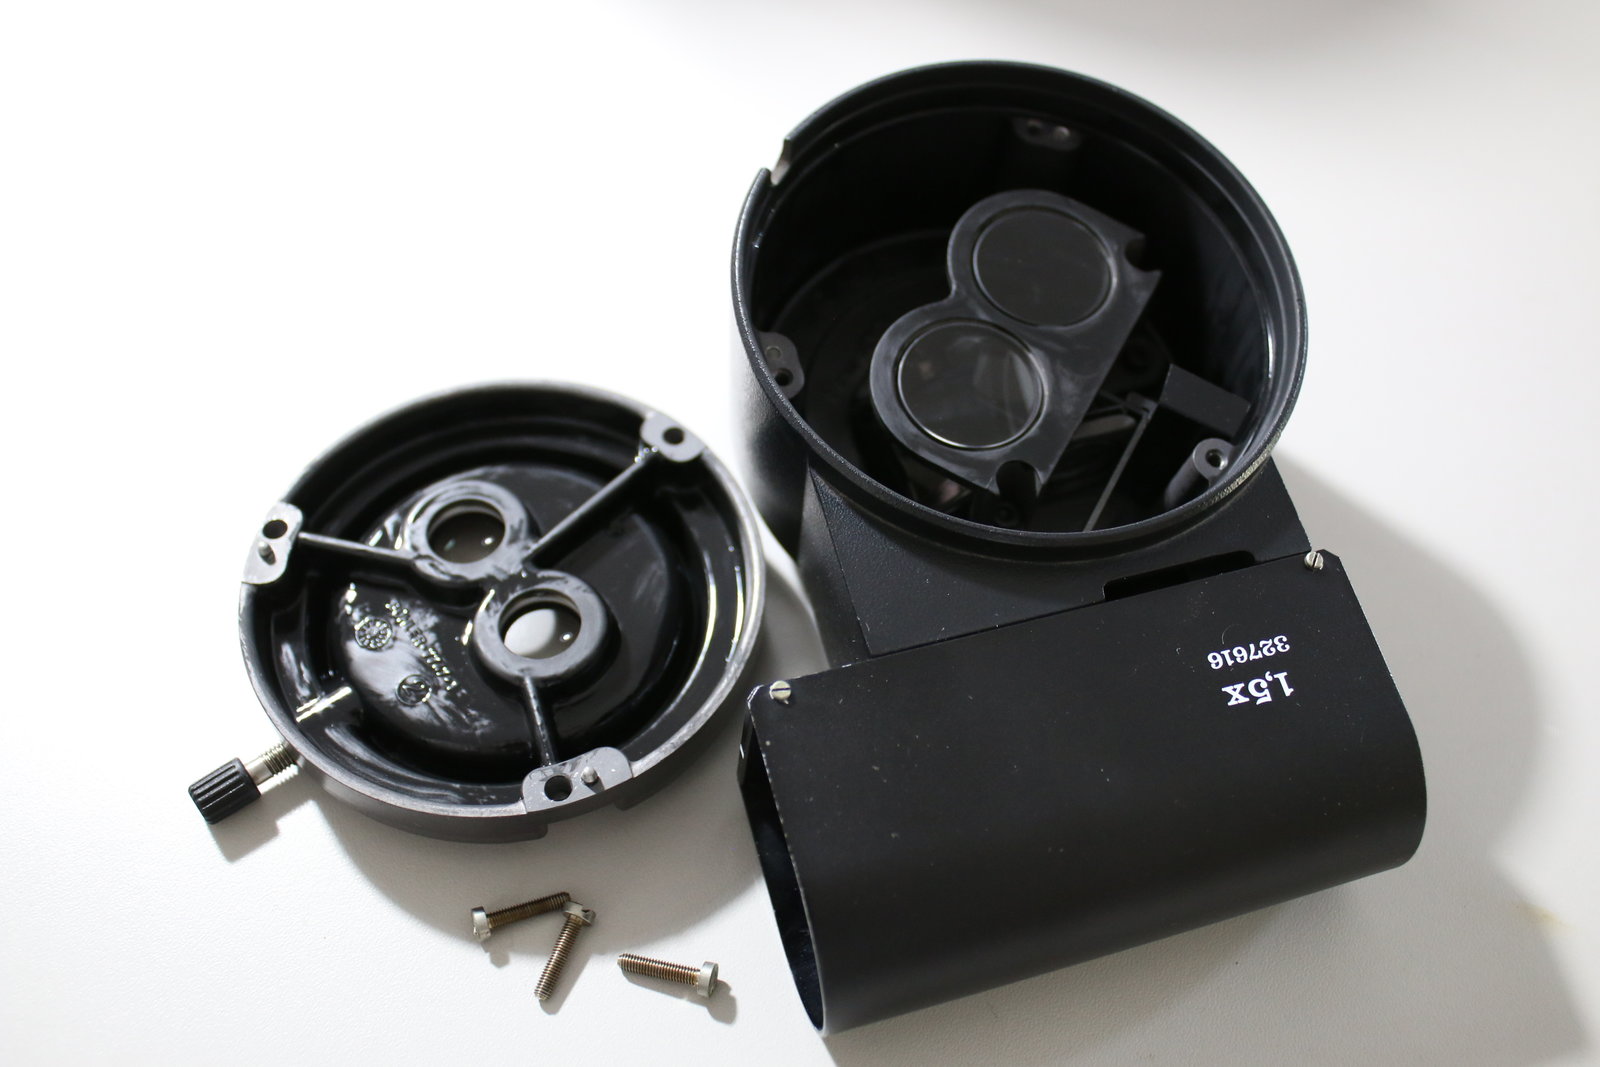
Inside we find lenses and half mirrors to do the job. Interestingly the inner sides of the illuminator don´t feature a matte black painting, which causes a somewhat dull and overbright image. Correcting for that, however, is easy (note the fresh painting):
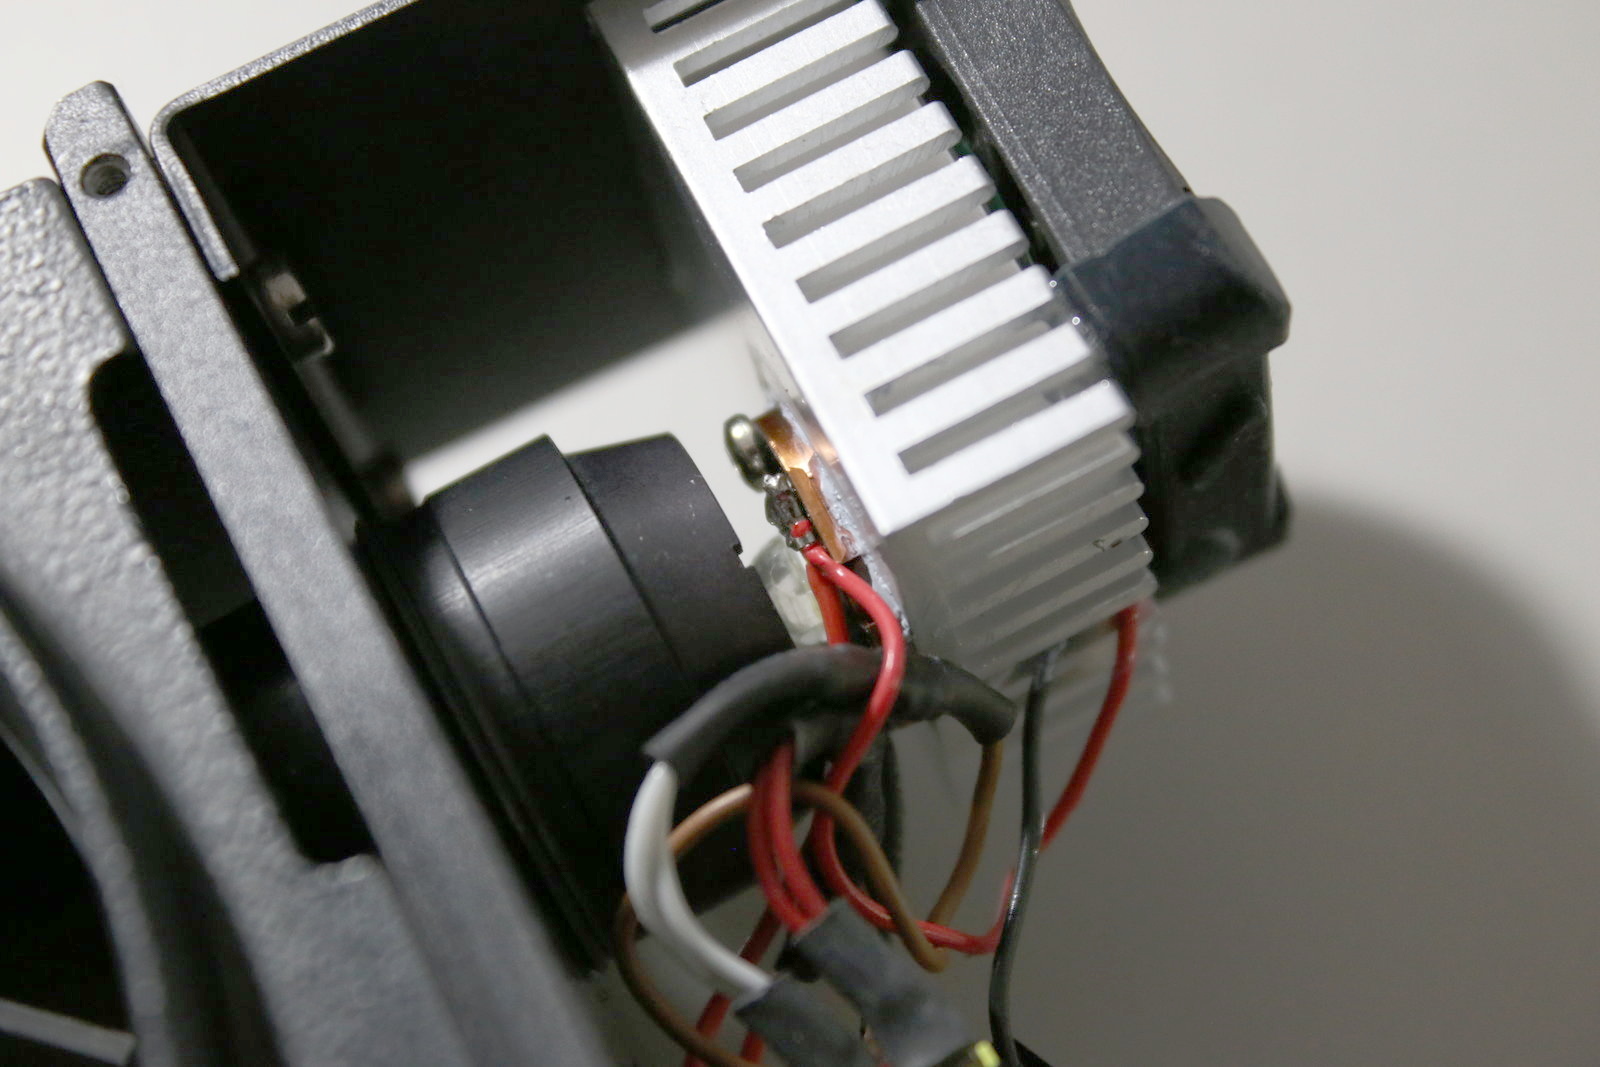
Another problem of the illuminator is (or was) the original light bulb illumination (1970s stuff). There is not much space in the housing, but it´s enough for a small heatsink with fan...
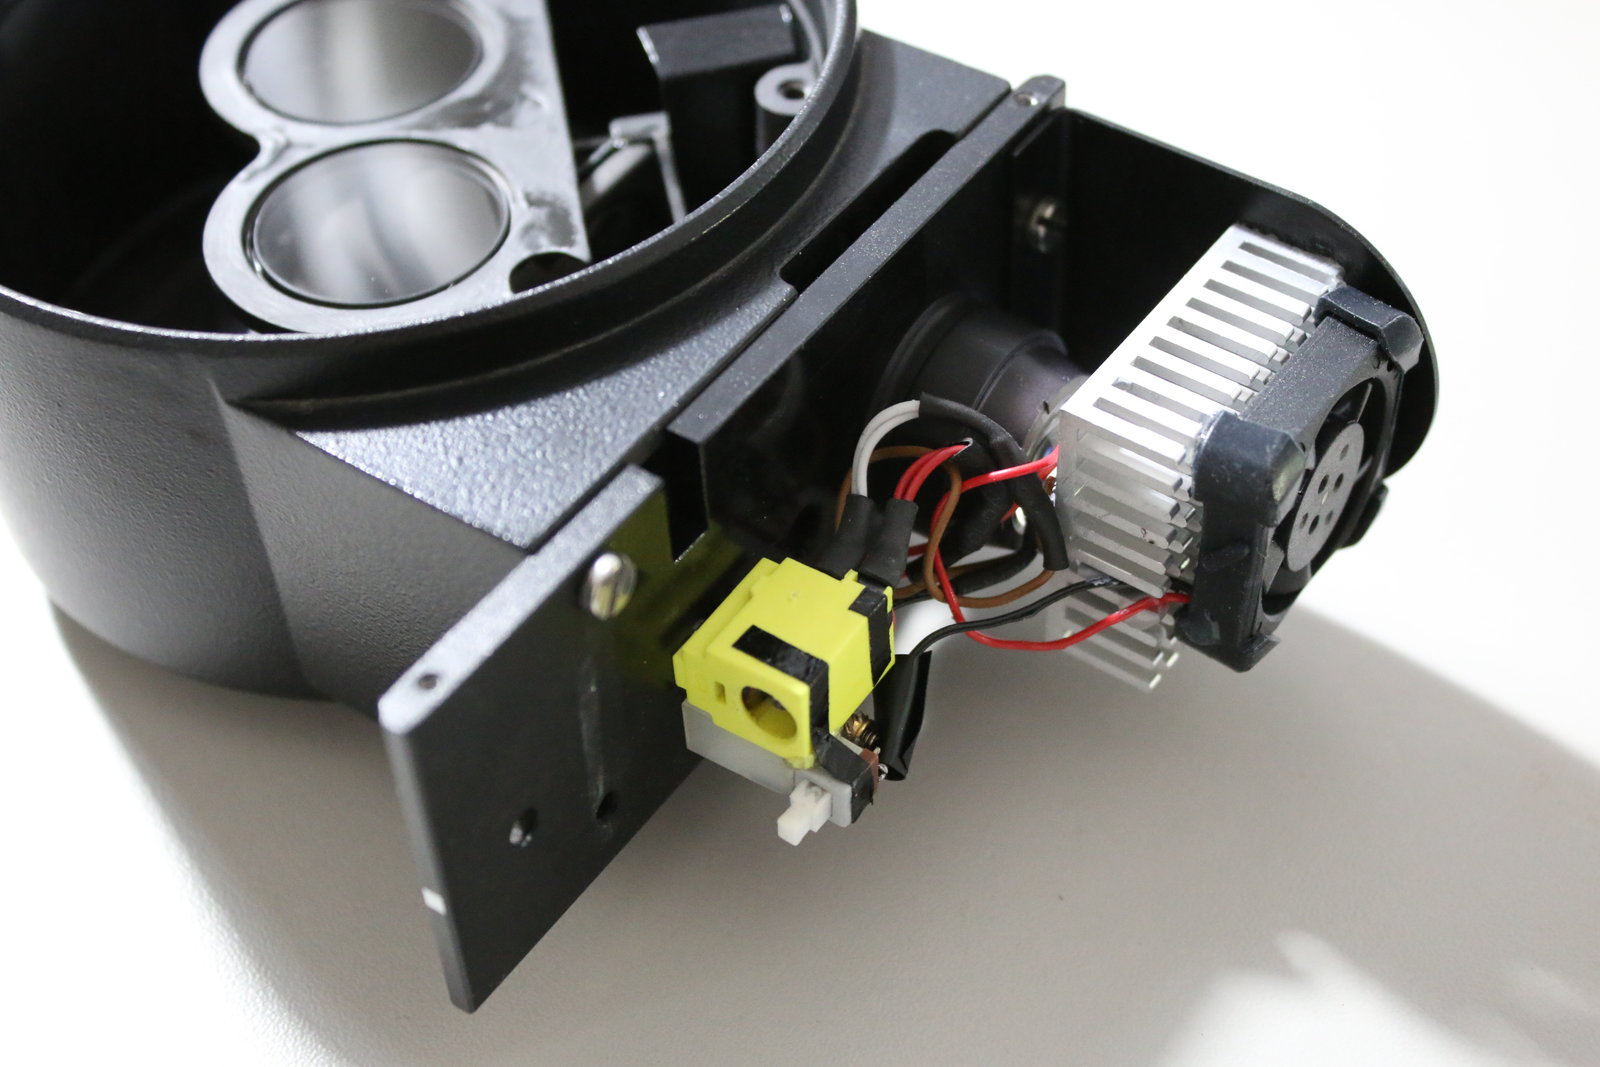
...and a superbright Cree XHP50 LED.
Some black foam, a small switch and a power jack and it´s finished:
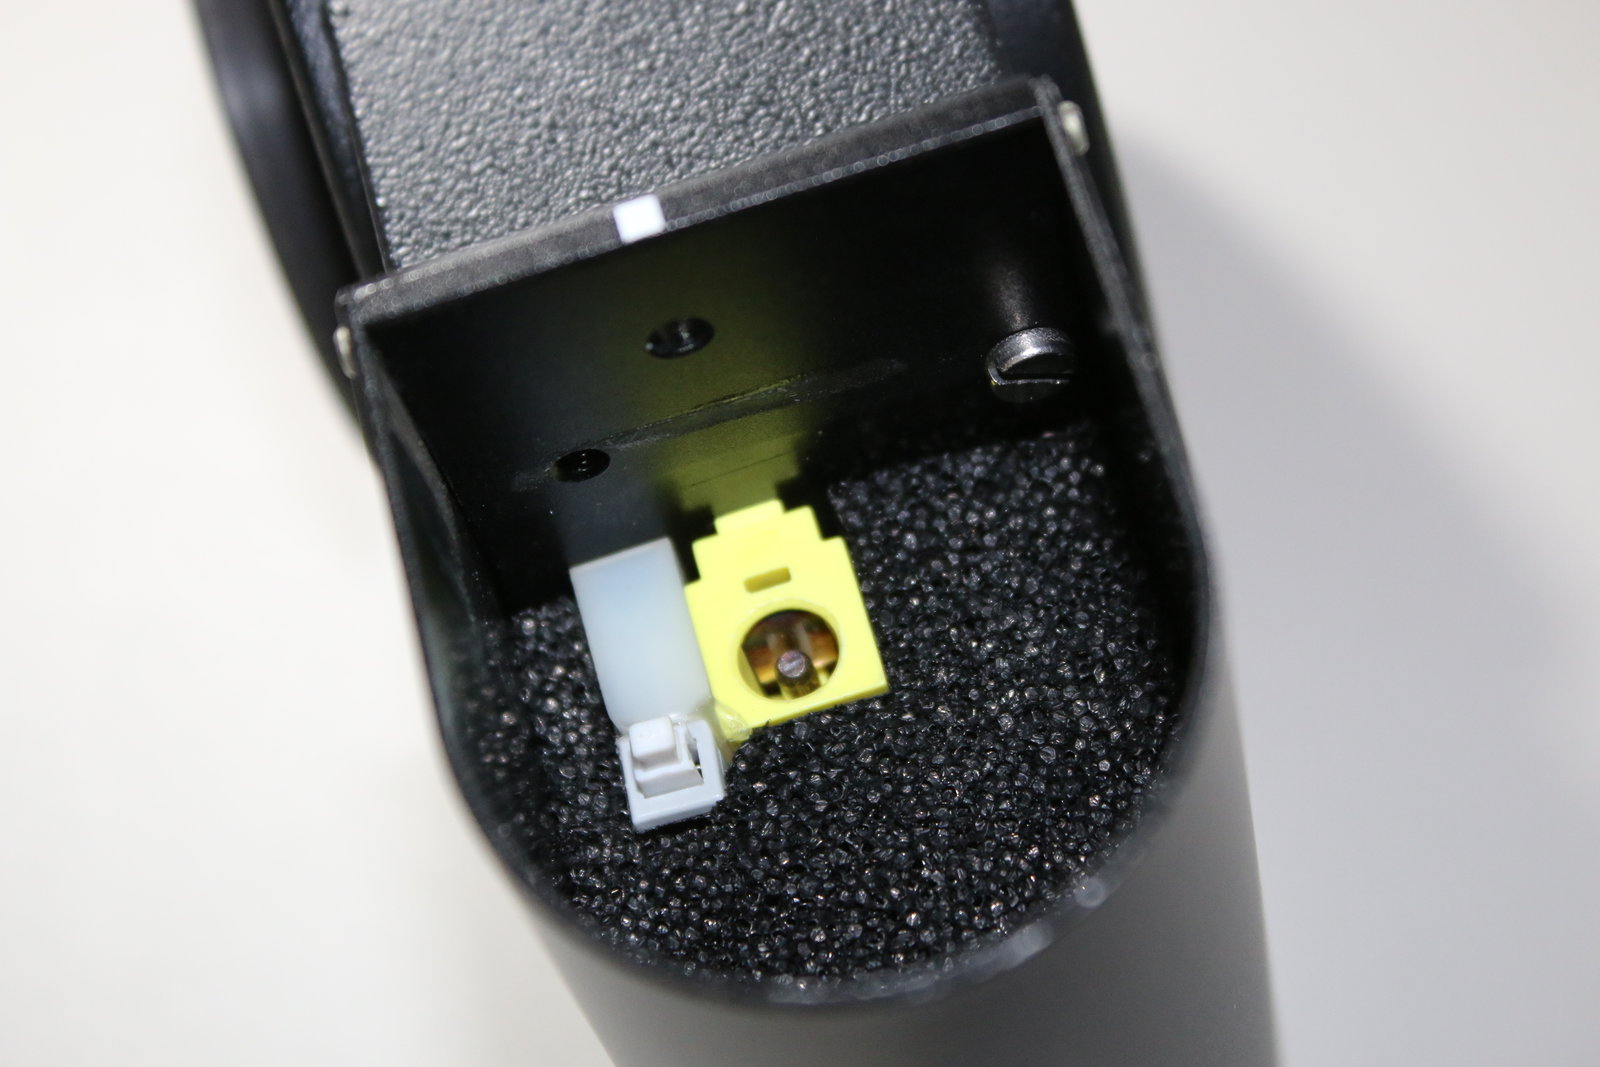
The LED shines in from the side.

And it´s bright, too:

The illuminator can then be dovetailed between phototube and zoom body.
At the end of this article, I want to demonstrate the great advantage of coaxial lighting -> It is great for inspecting surface details - especially of highly-reflective objects - and the next two pictures will hopefully highlight that.
The photograph above shows a gear of a pocket watch with incident lighting from an external light source (1) and with coaxial lighting (2). The superficial quality of the metal becomes thus much better visible. If you already think this is a huge difference, wait for the microstructures of an Intel 80486 CPU:
Where the incident lighting (1) doesn´t reveal too much, the coaxial lighting gives a detailed view and consequently it is the lighting method of choice in this case.
greetings noq2
Comments