updated 2015-04-12
This article shall describe the repair of a Wegaphon W510 produced by the German manufacturer Wega (Radio). It was produced around 1958/´59.
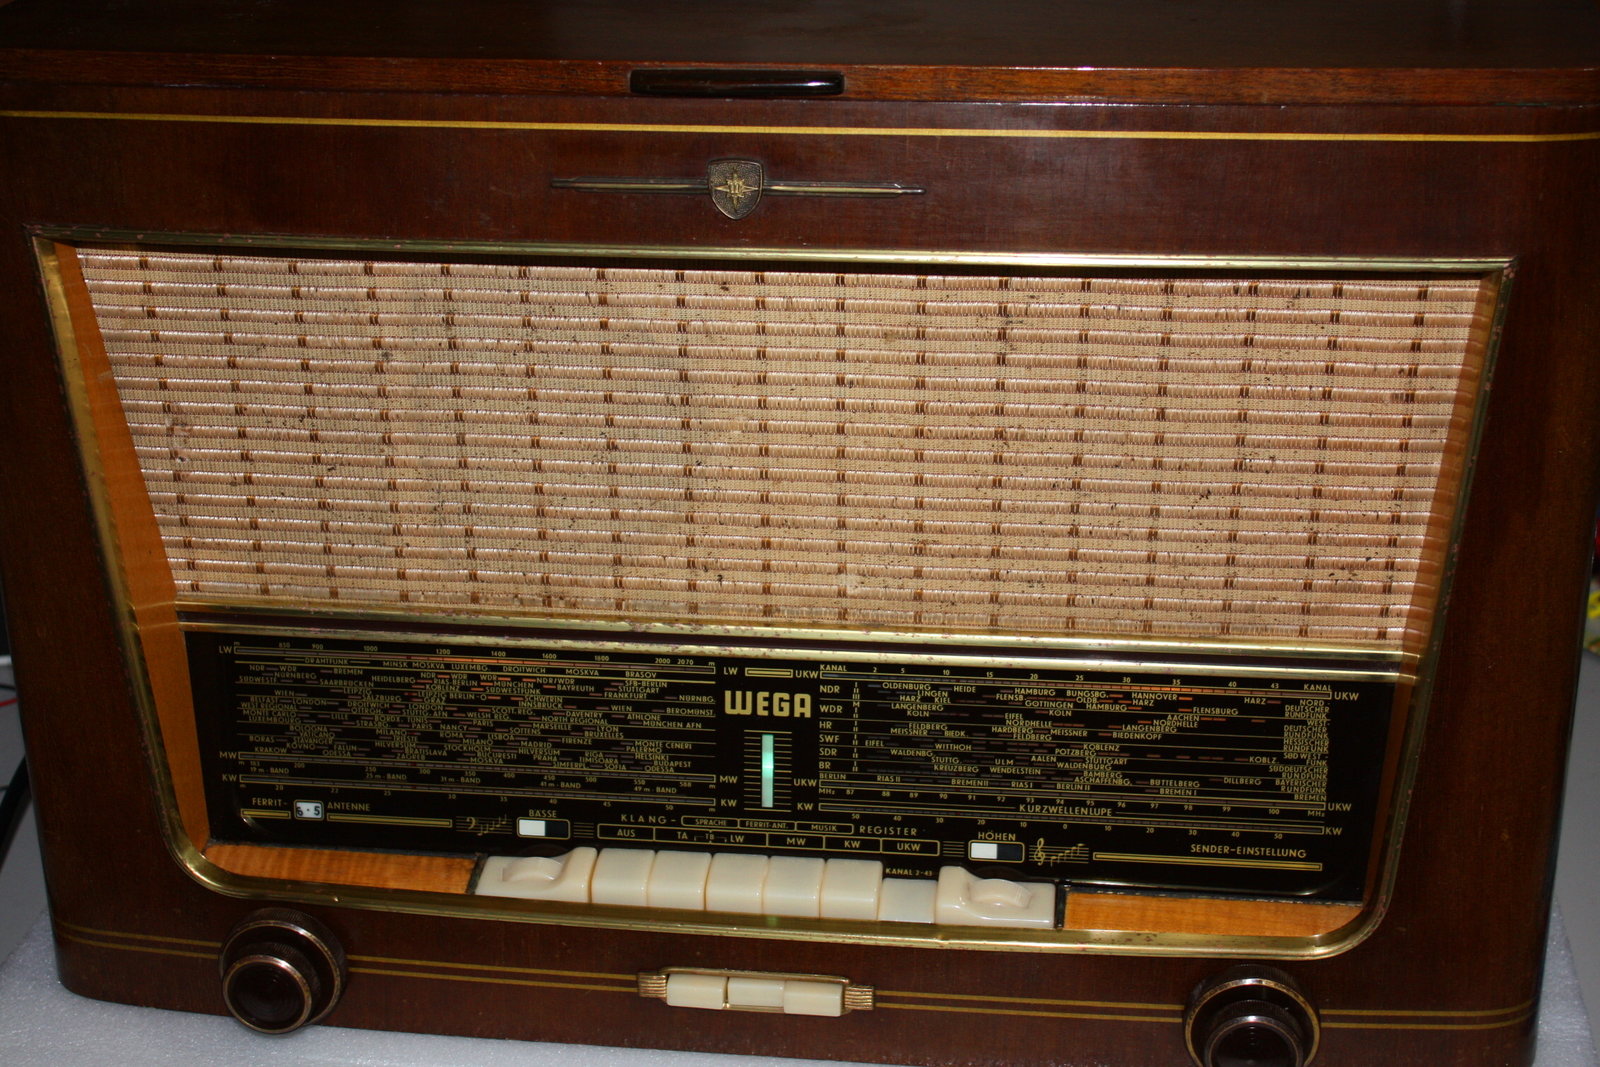
2014-04-13 - Starting situation
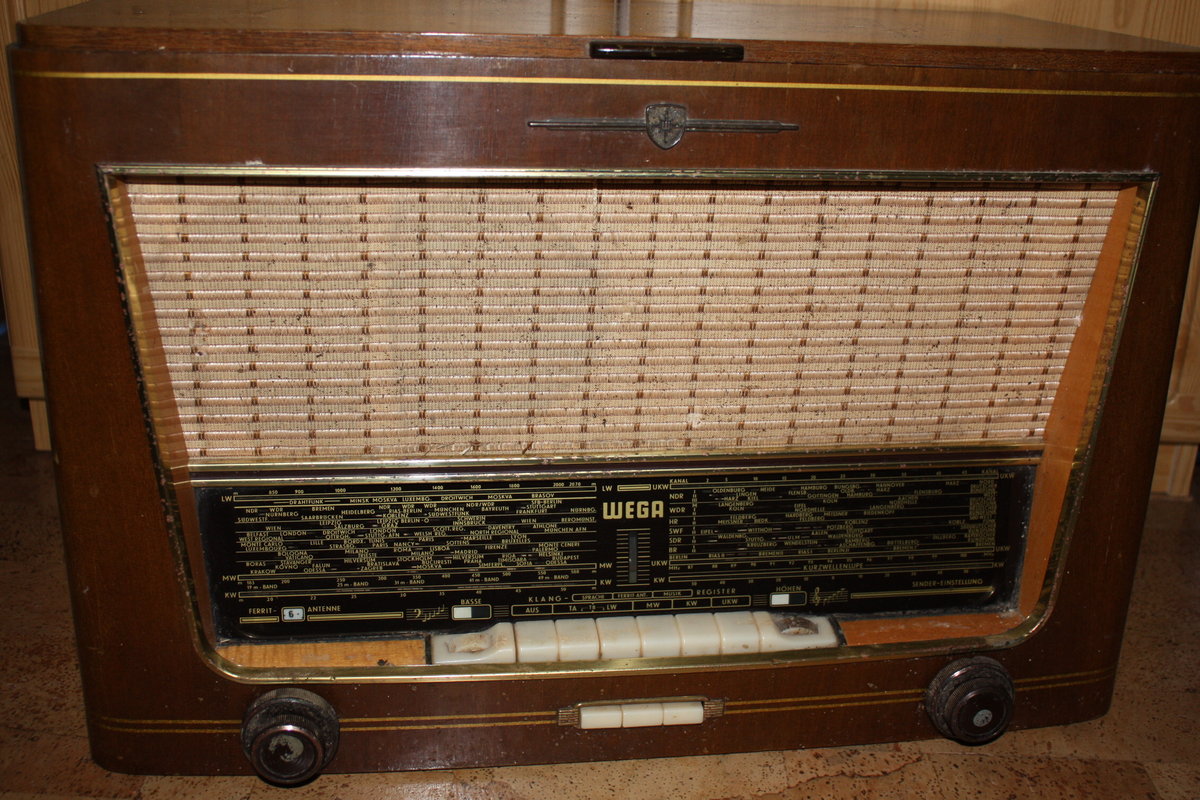
The radio doesn´t look too bad - as long as you don´t take account of the details...
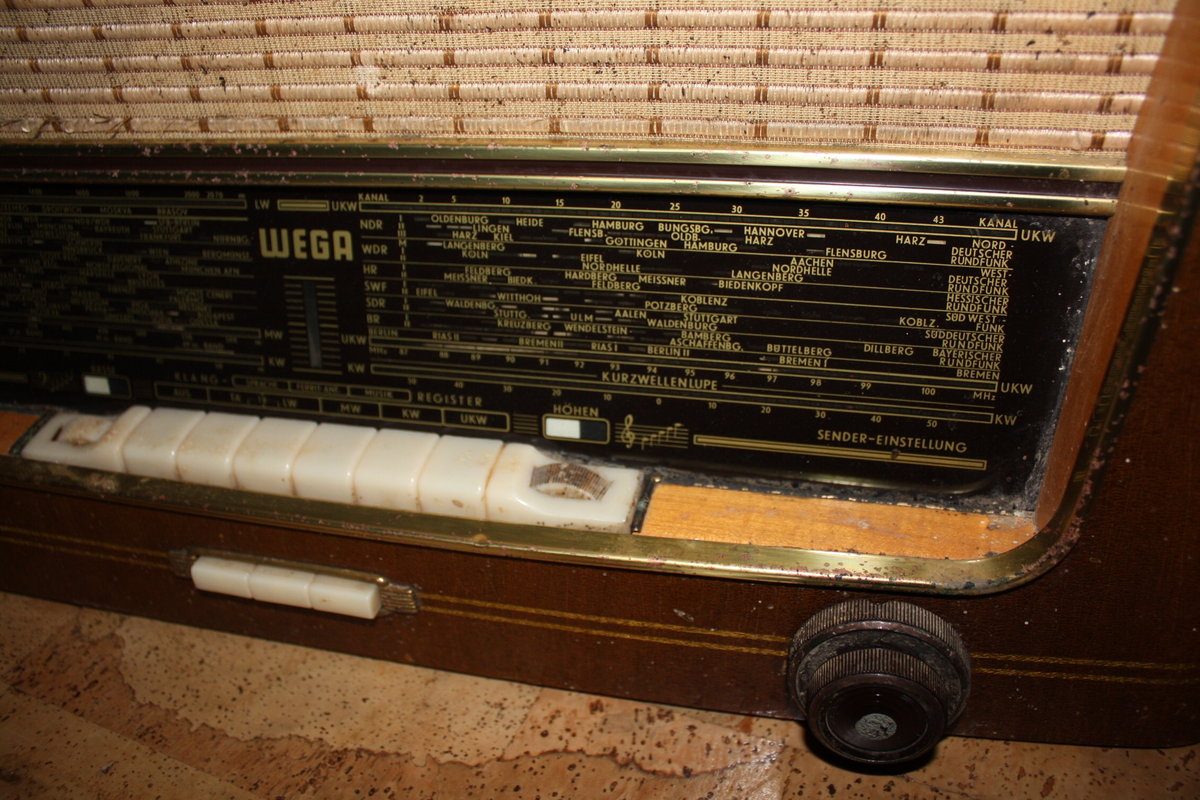
There is a lot of rust, dust and dirt on the case and buttons.
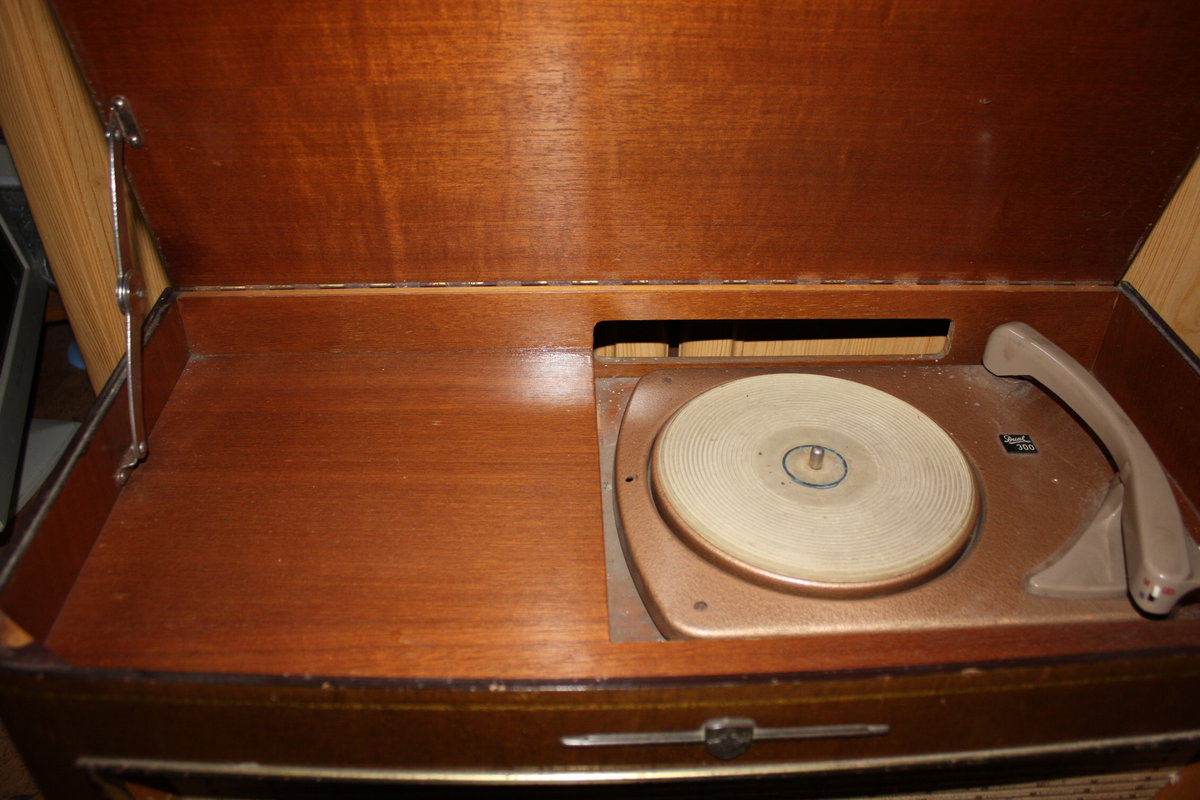
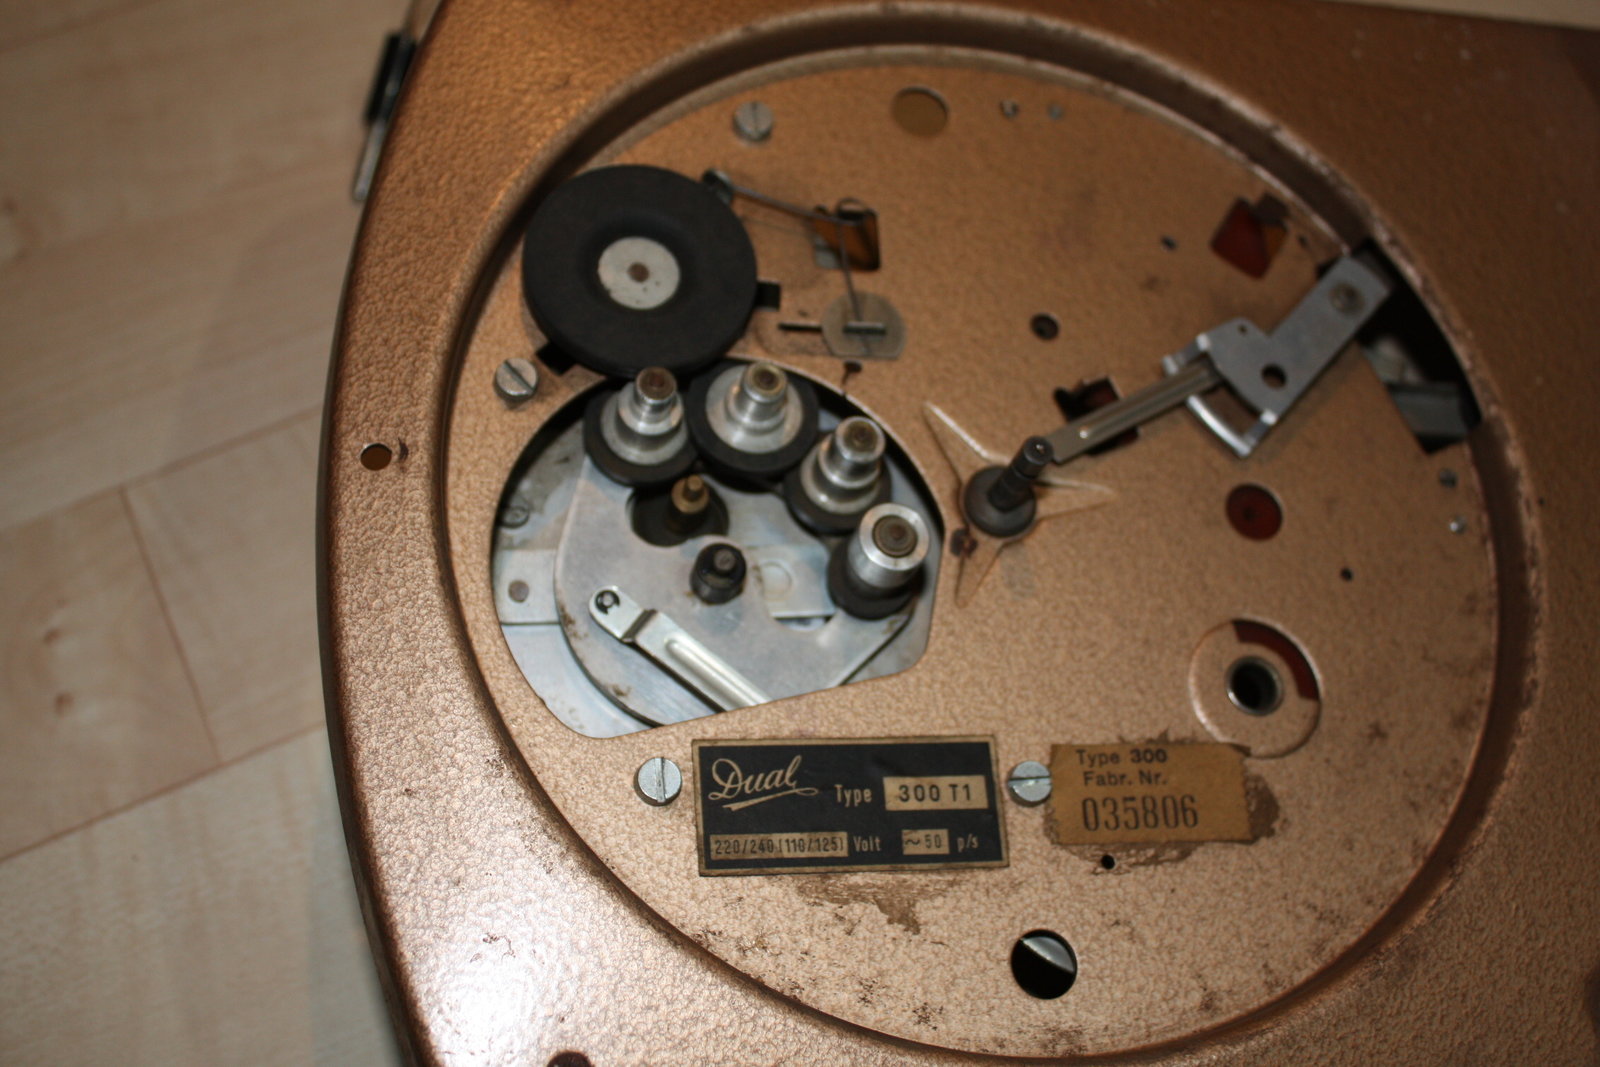
The radio also features a record player module.
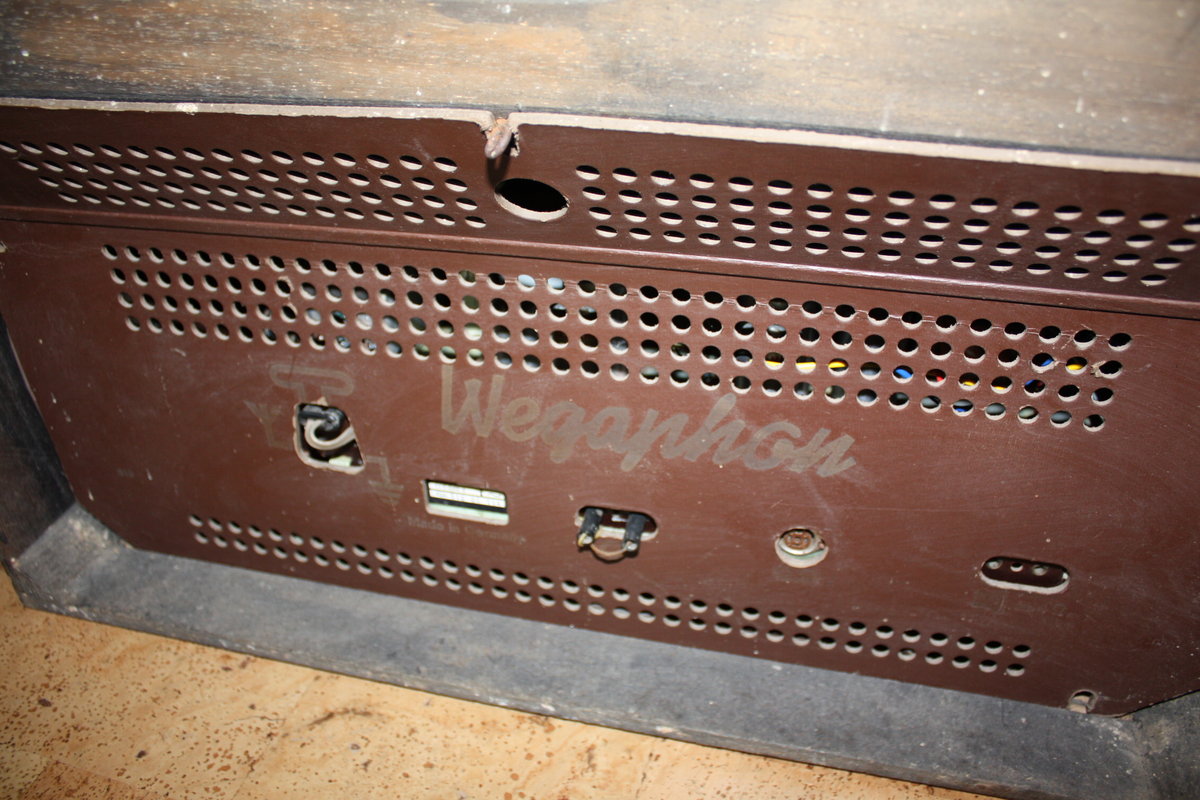
Getting closer to the hardware inside...
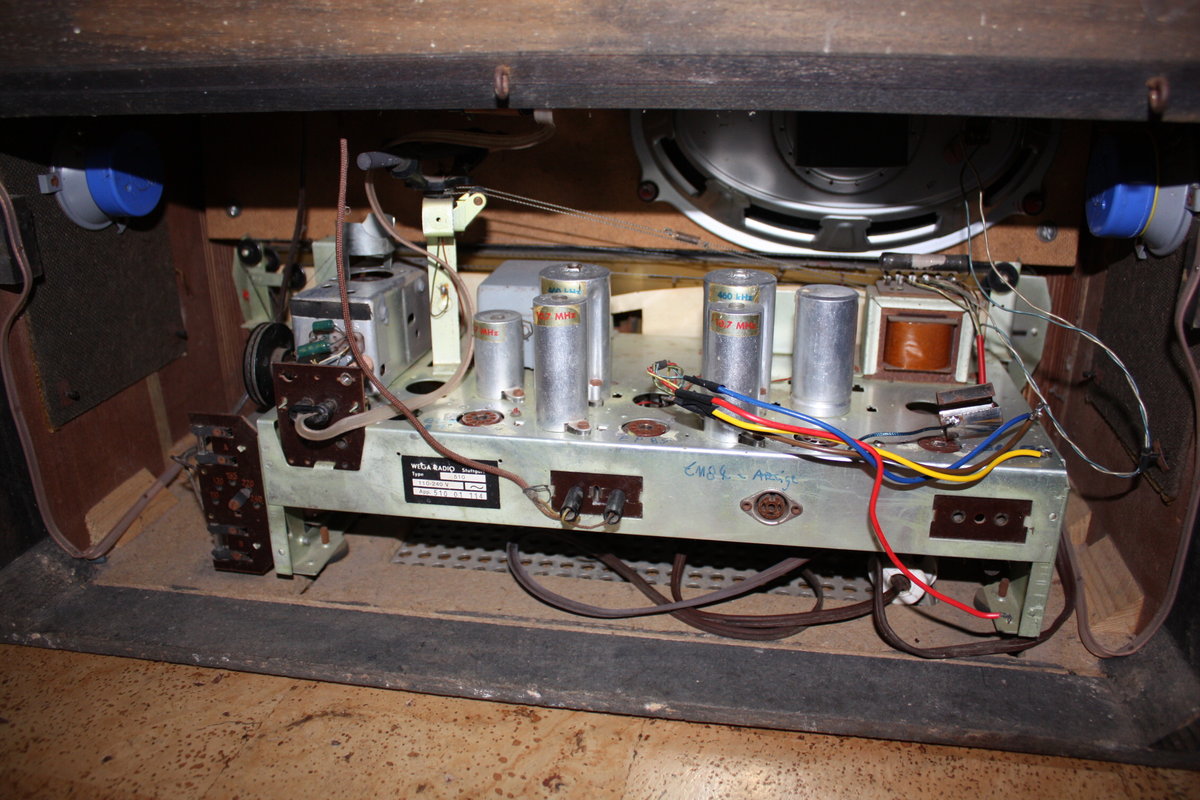
...and open. The tubes have already been removed some years ago but I will get them again from the owner.

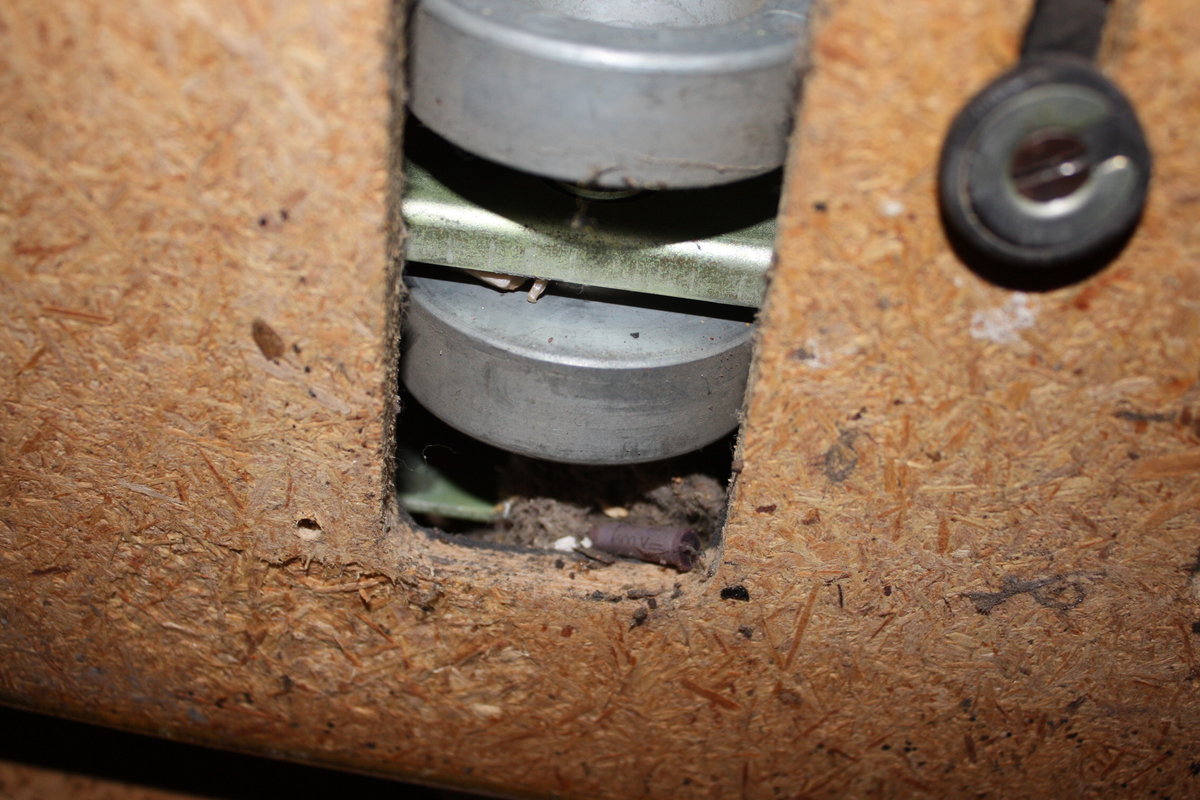
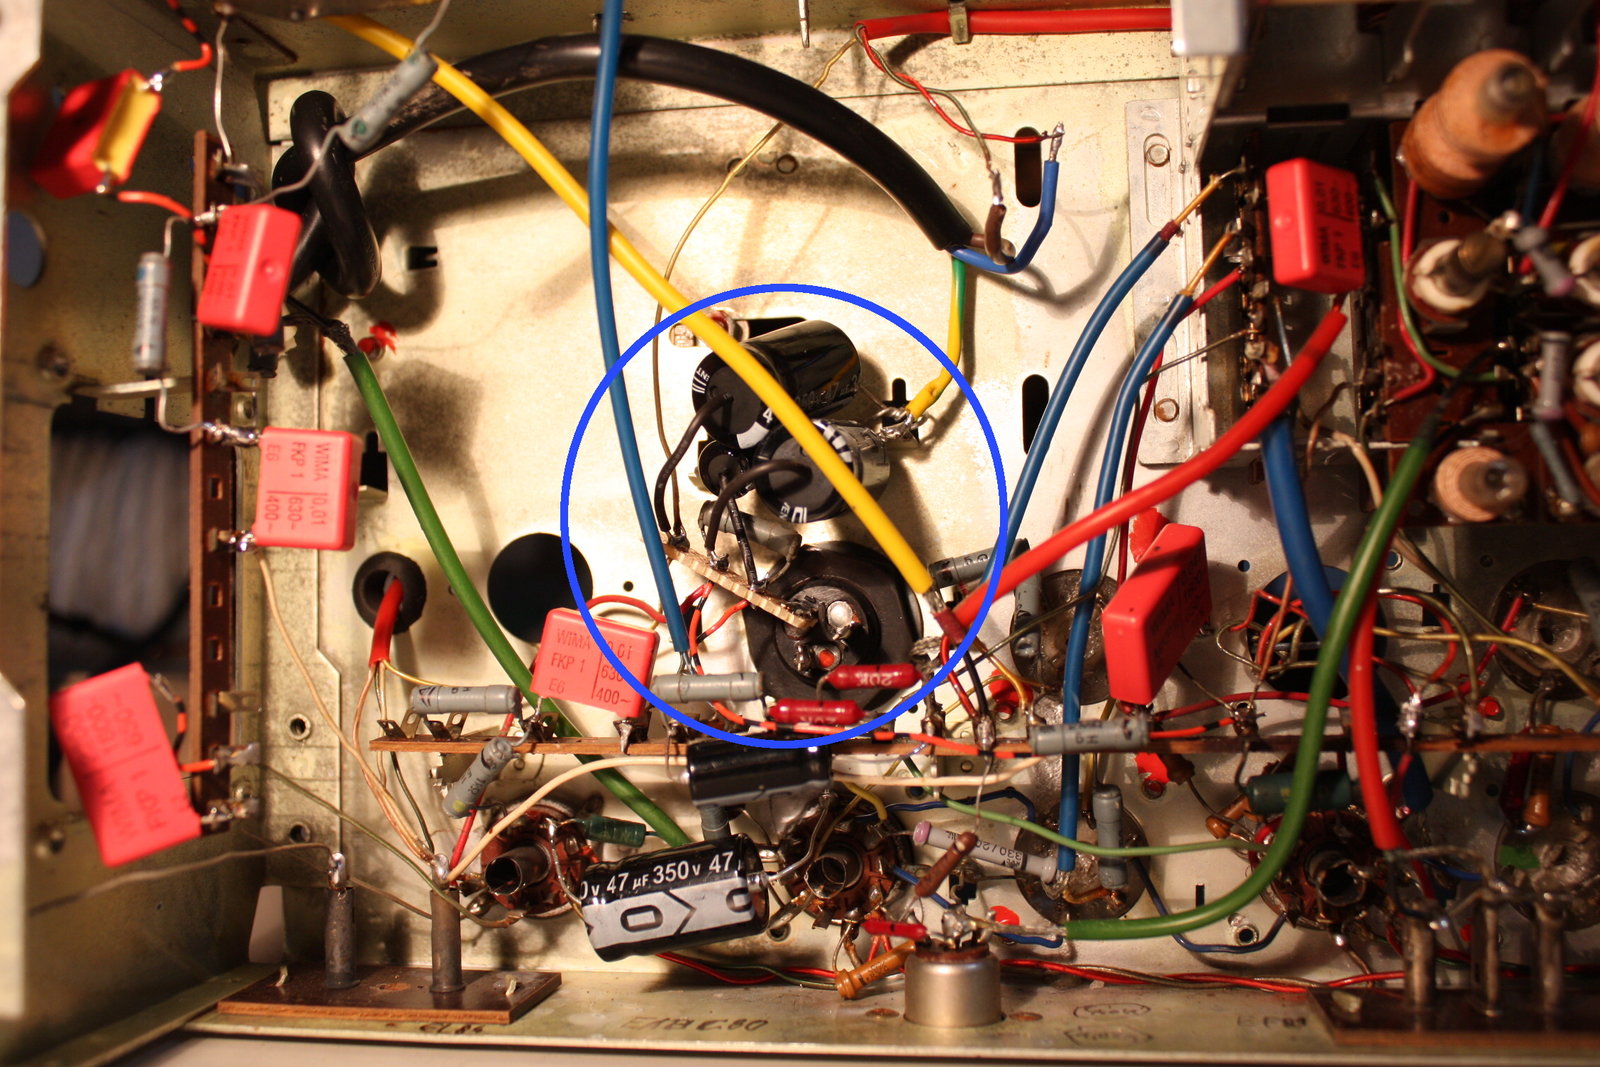
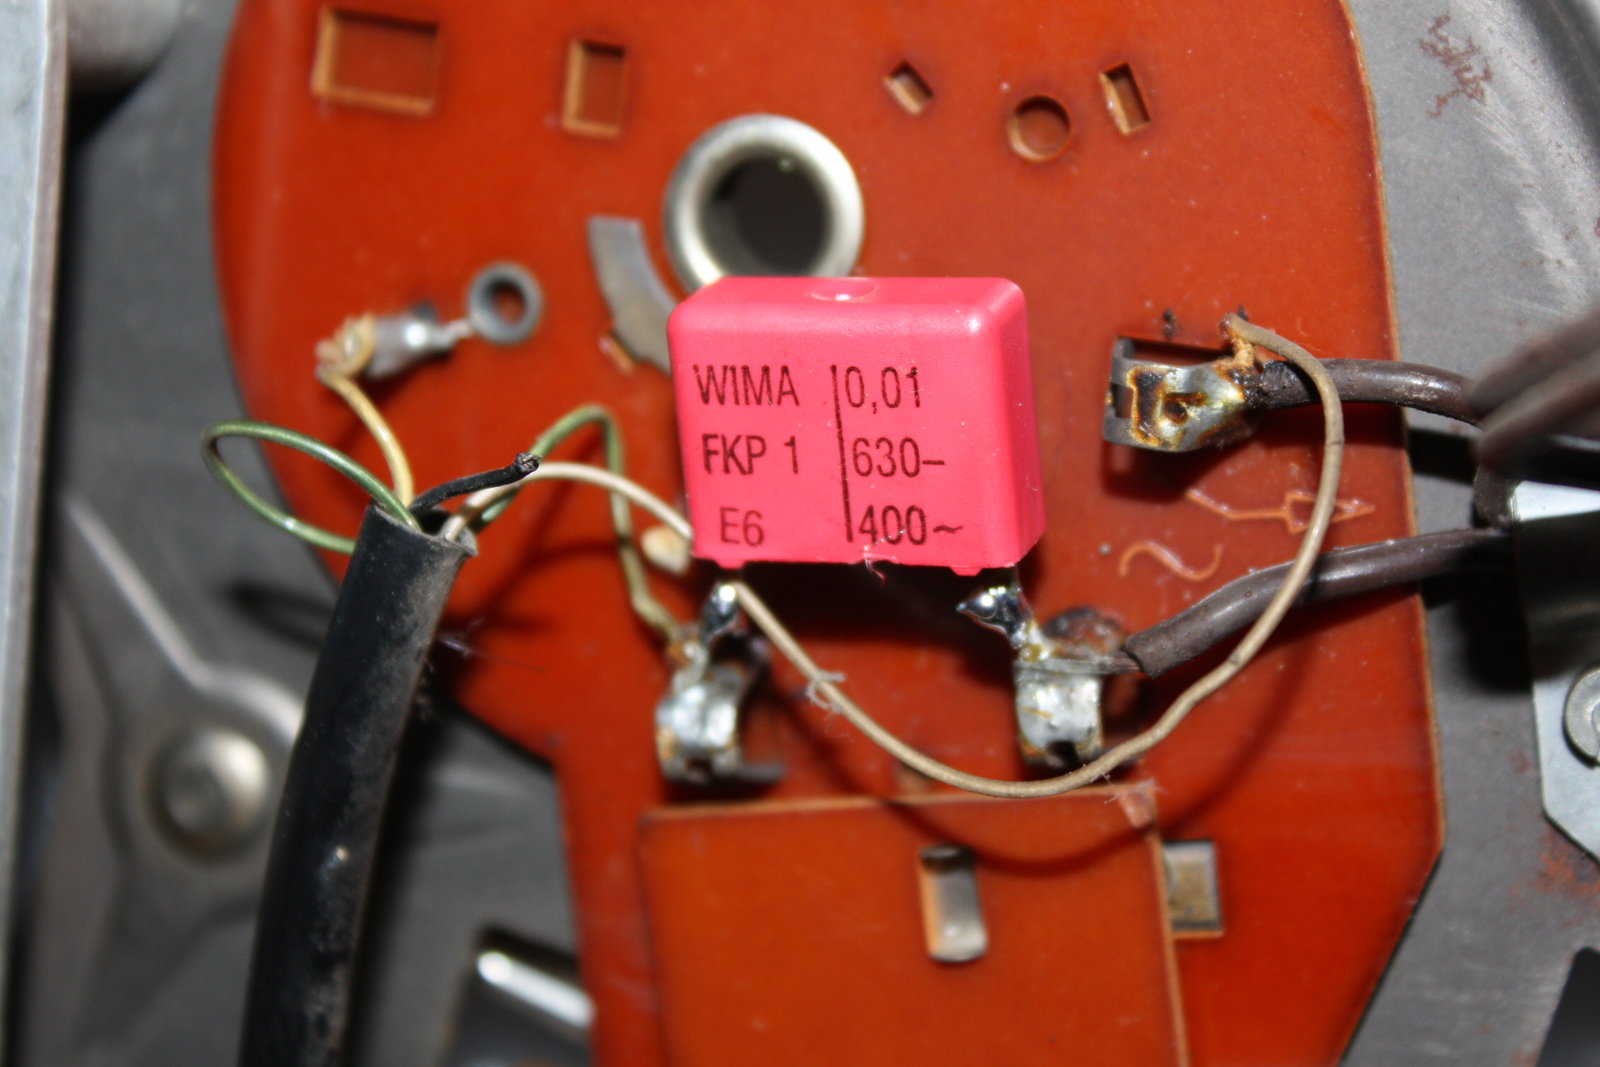
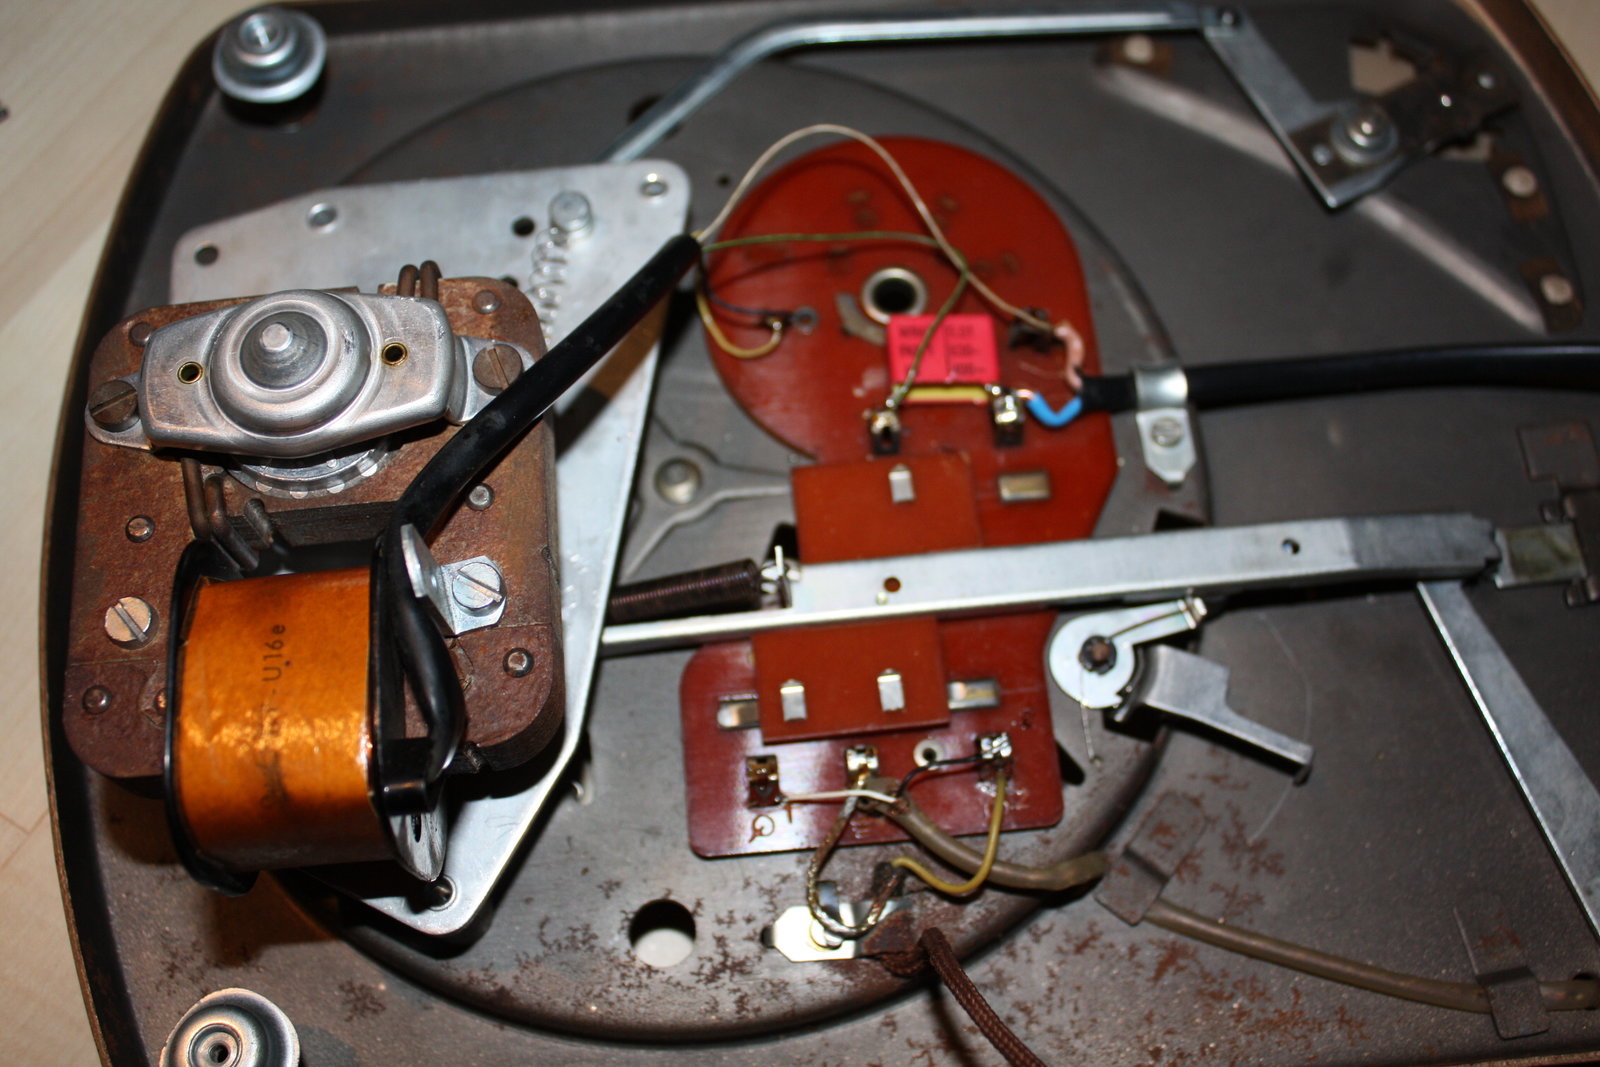
This paper capacitor in the record player (blue circle) is clearly beyond repair - the metal of the drive motor is pretty rusted.
A - hmm - displaced capacitor.

The power cord is not safe for use...
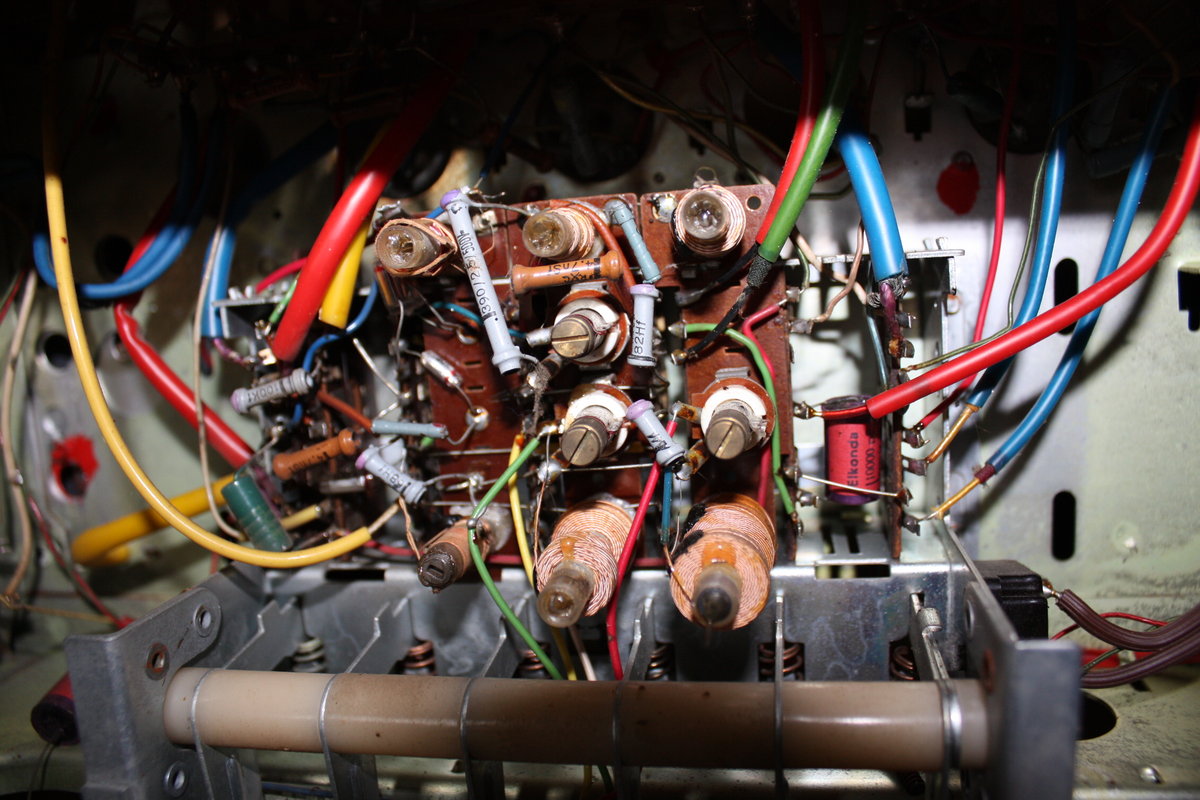
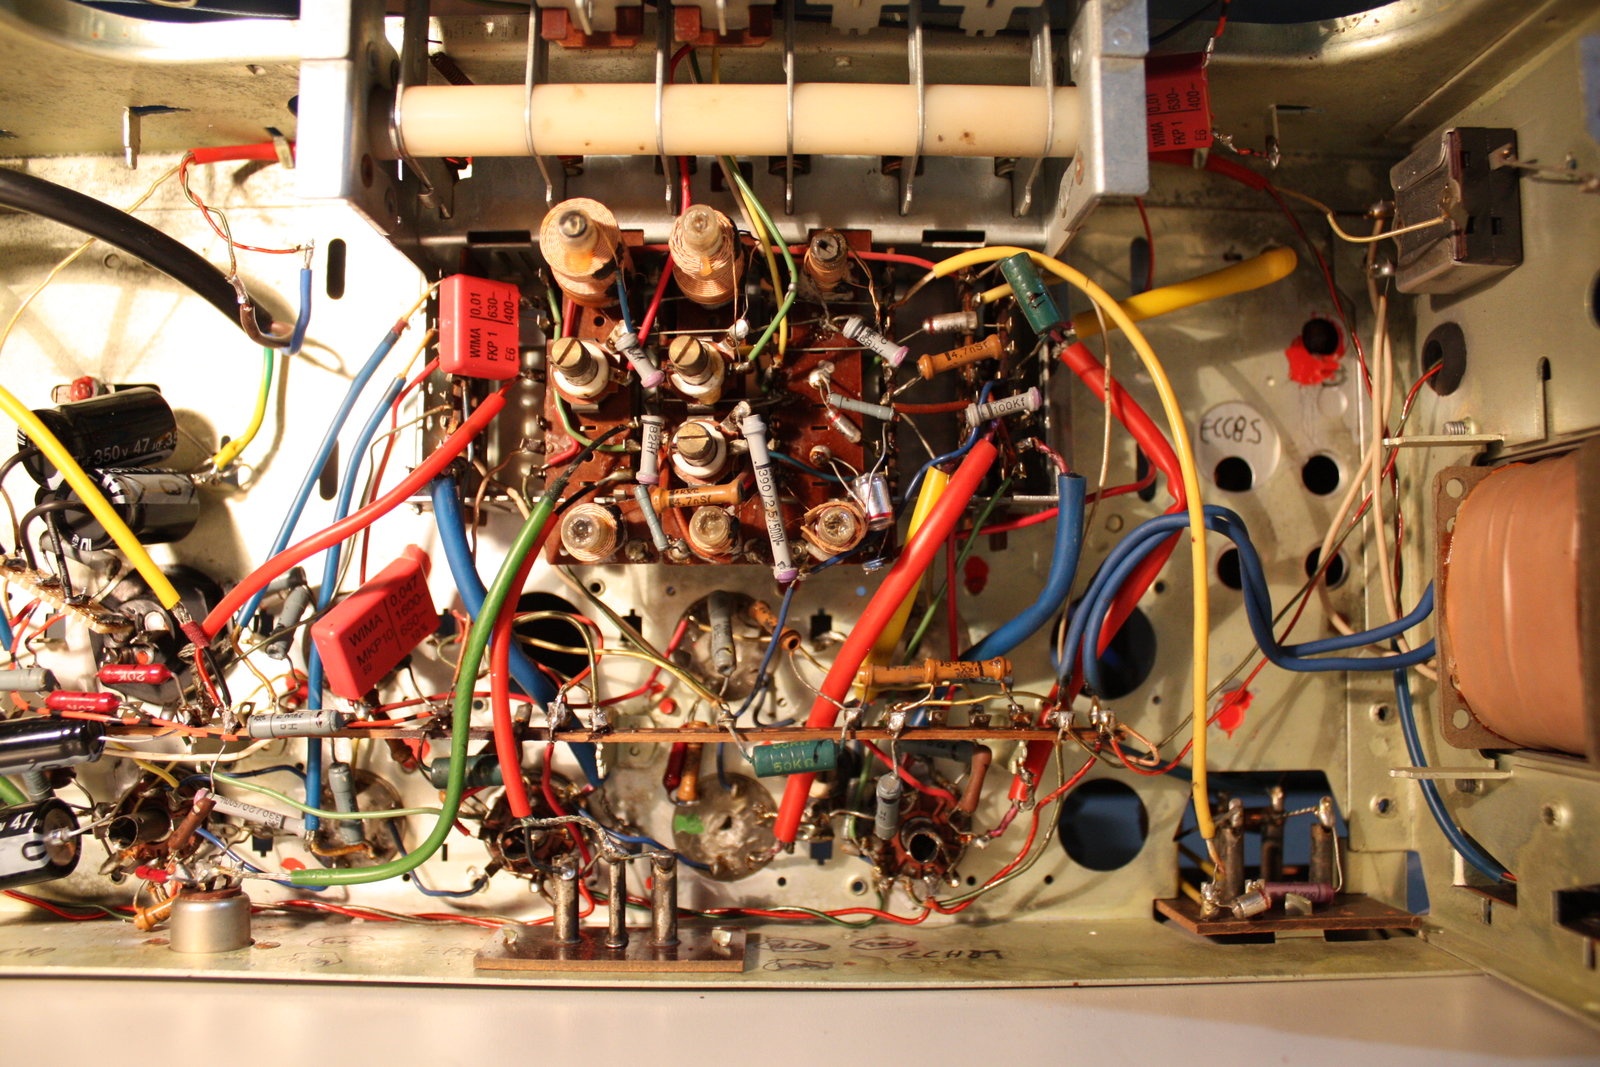
Looking quite good here - all coils and resistors are okay. The "Elkonda" capacitor seen in the right background is one of several which I will have to replace.
I will also replace all electrolytic capacitors.
Some things can get hairy...
The knobs are in a bad shape.

The fuses are rusted and the upper one is blown. The brown capacitor near the transformer is situated between the power line and ground - I will remove and omit it.

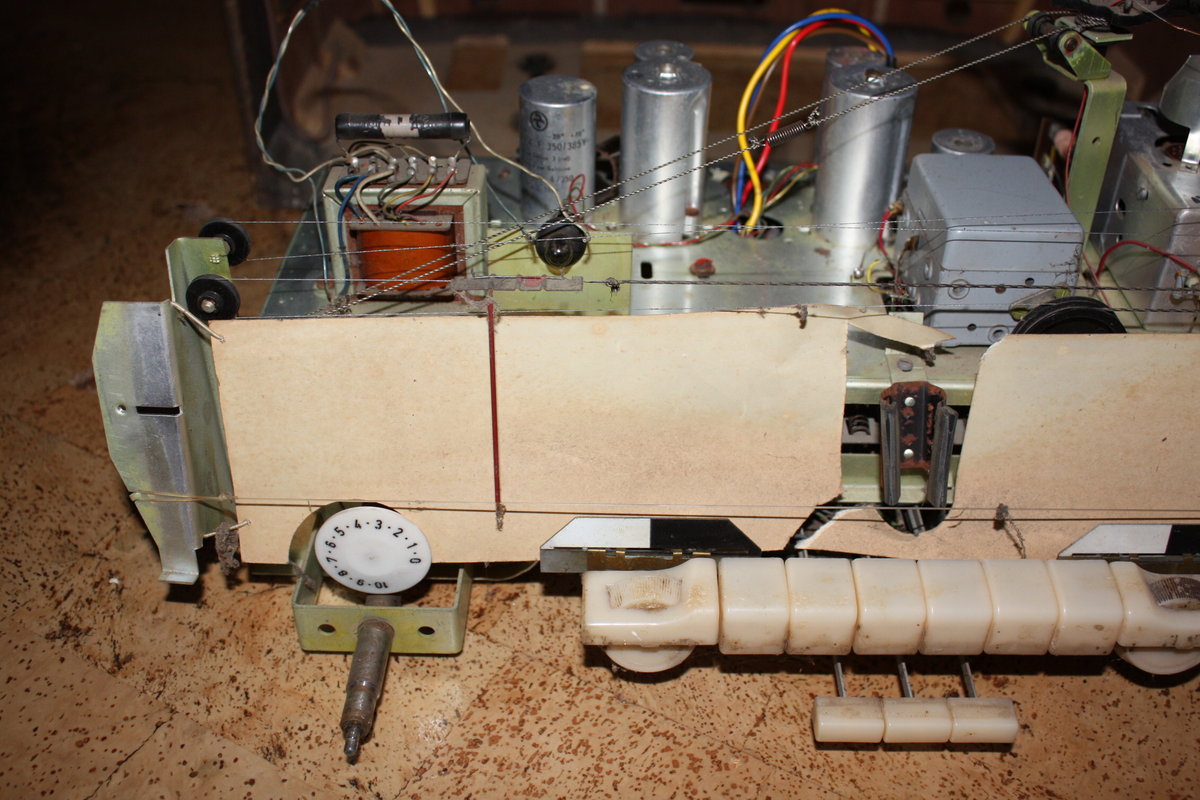
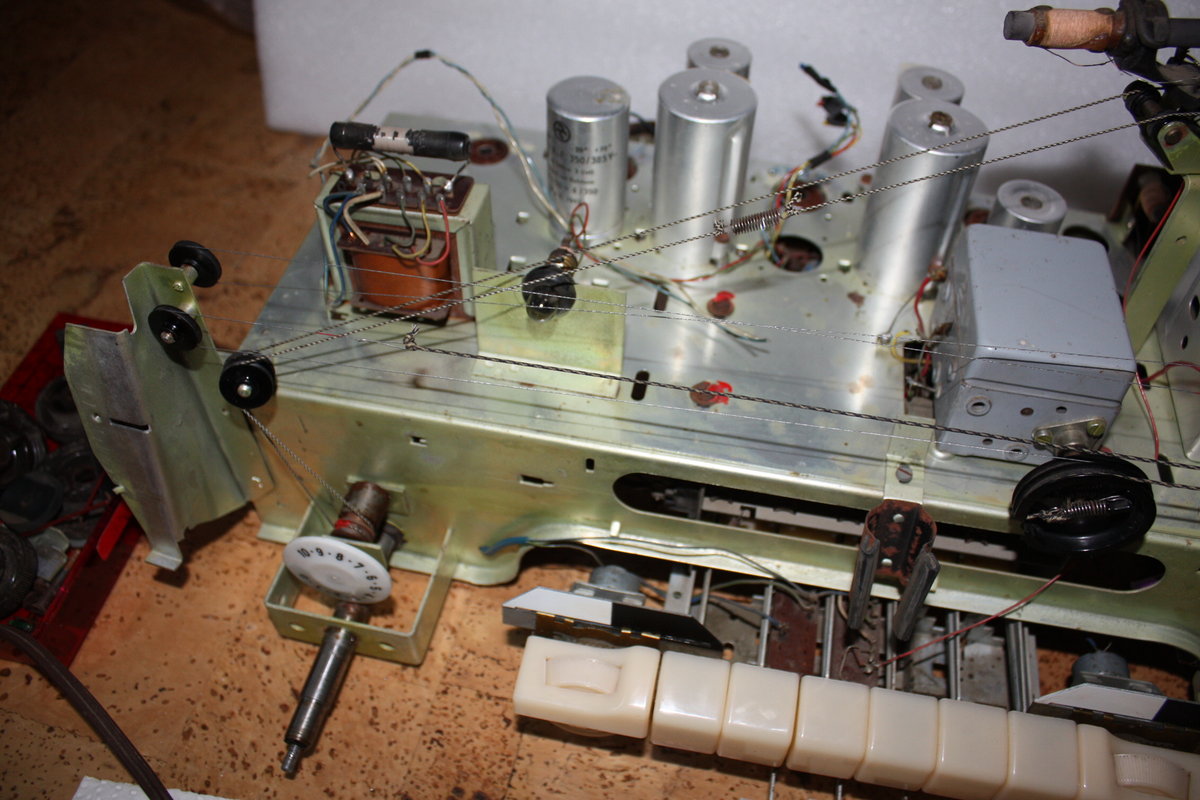
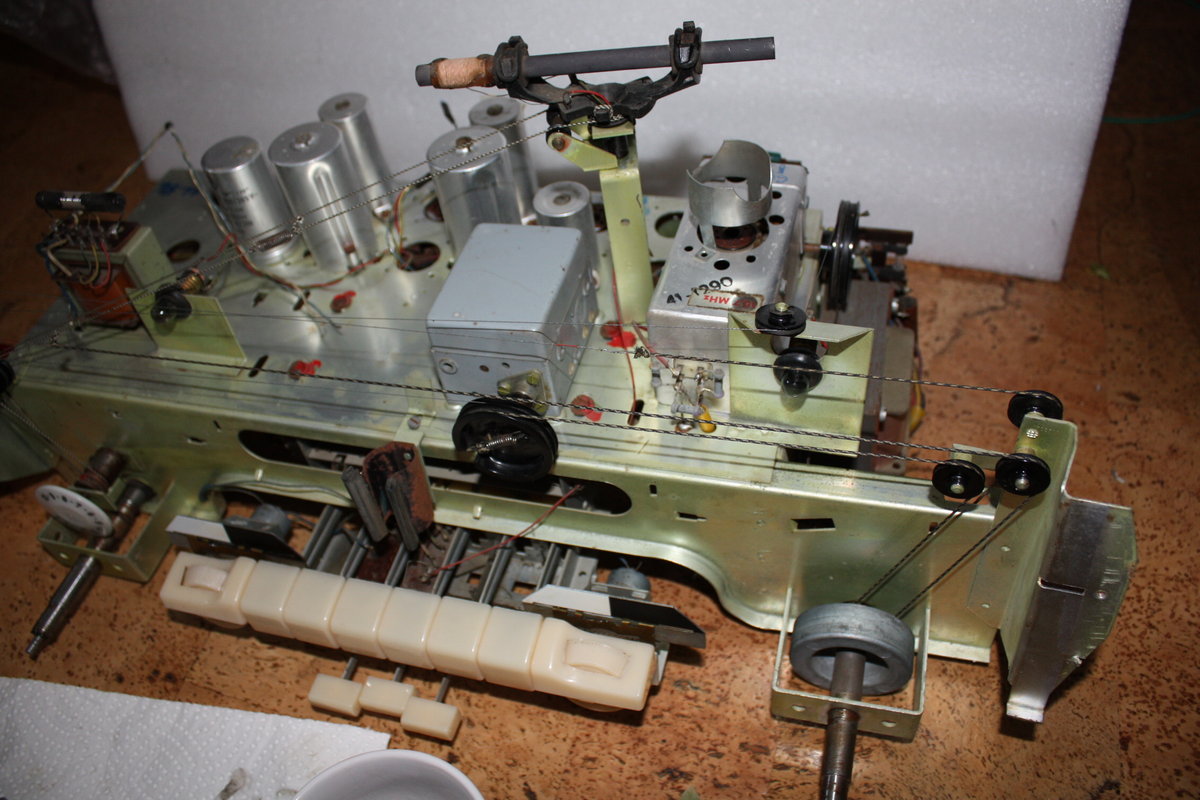
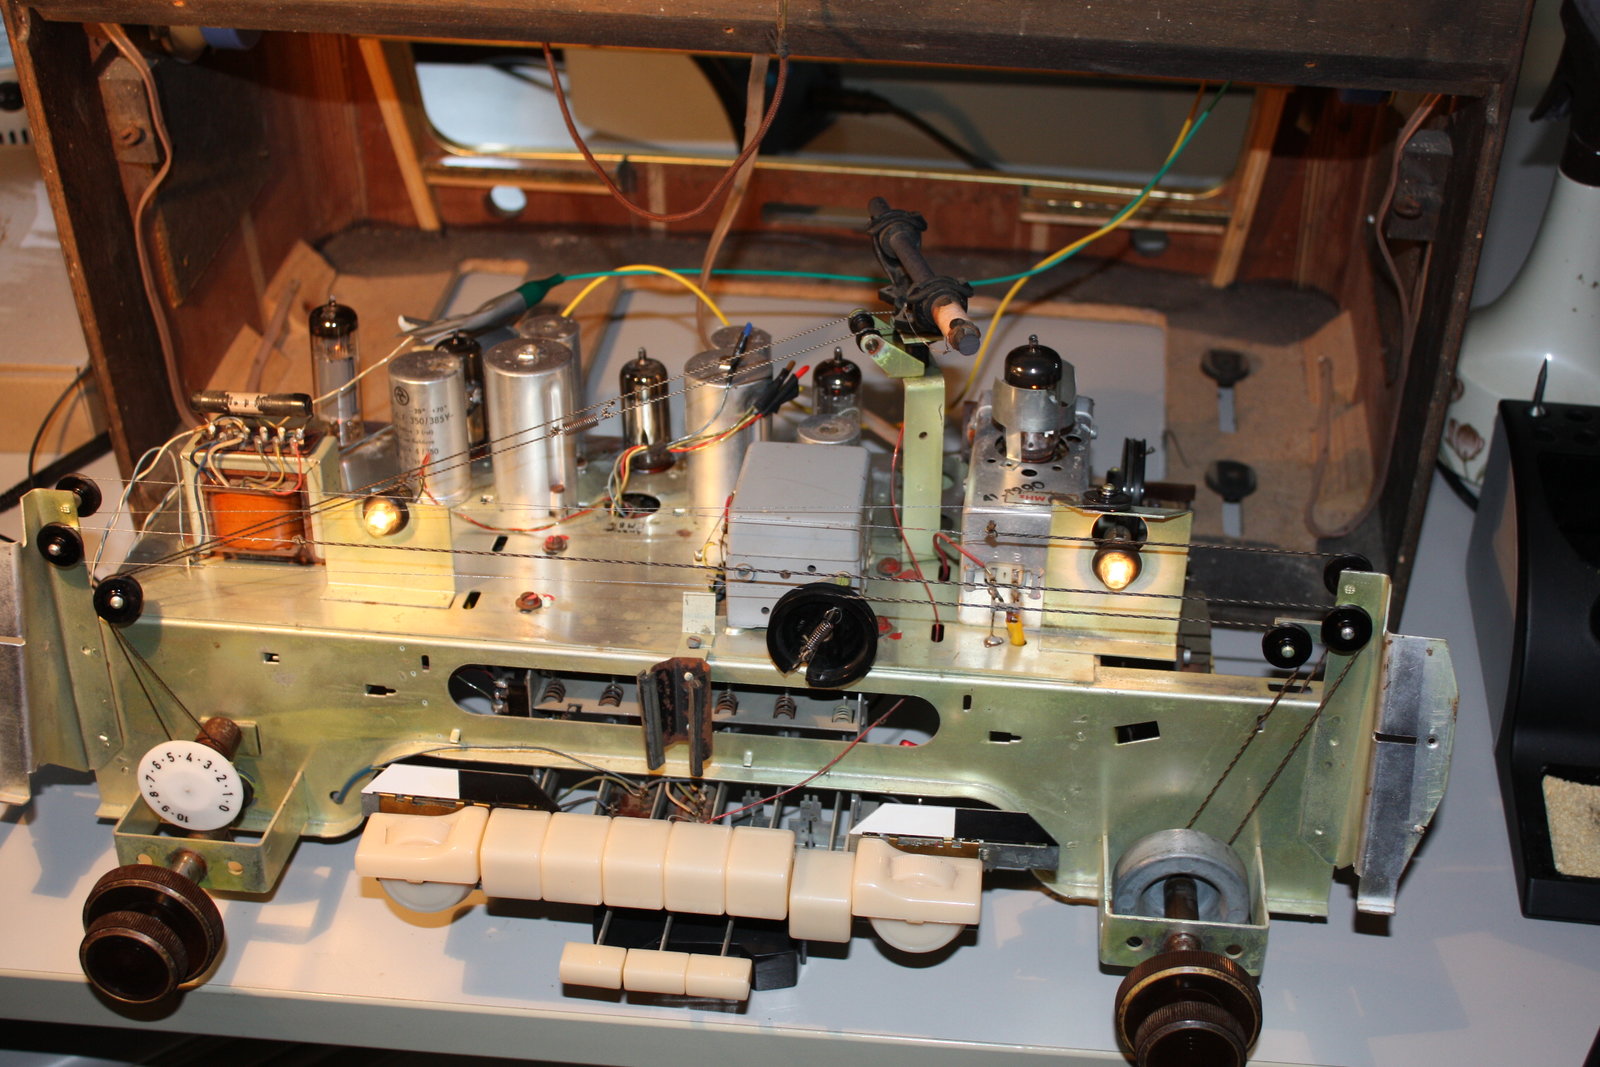
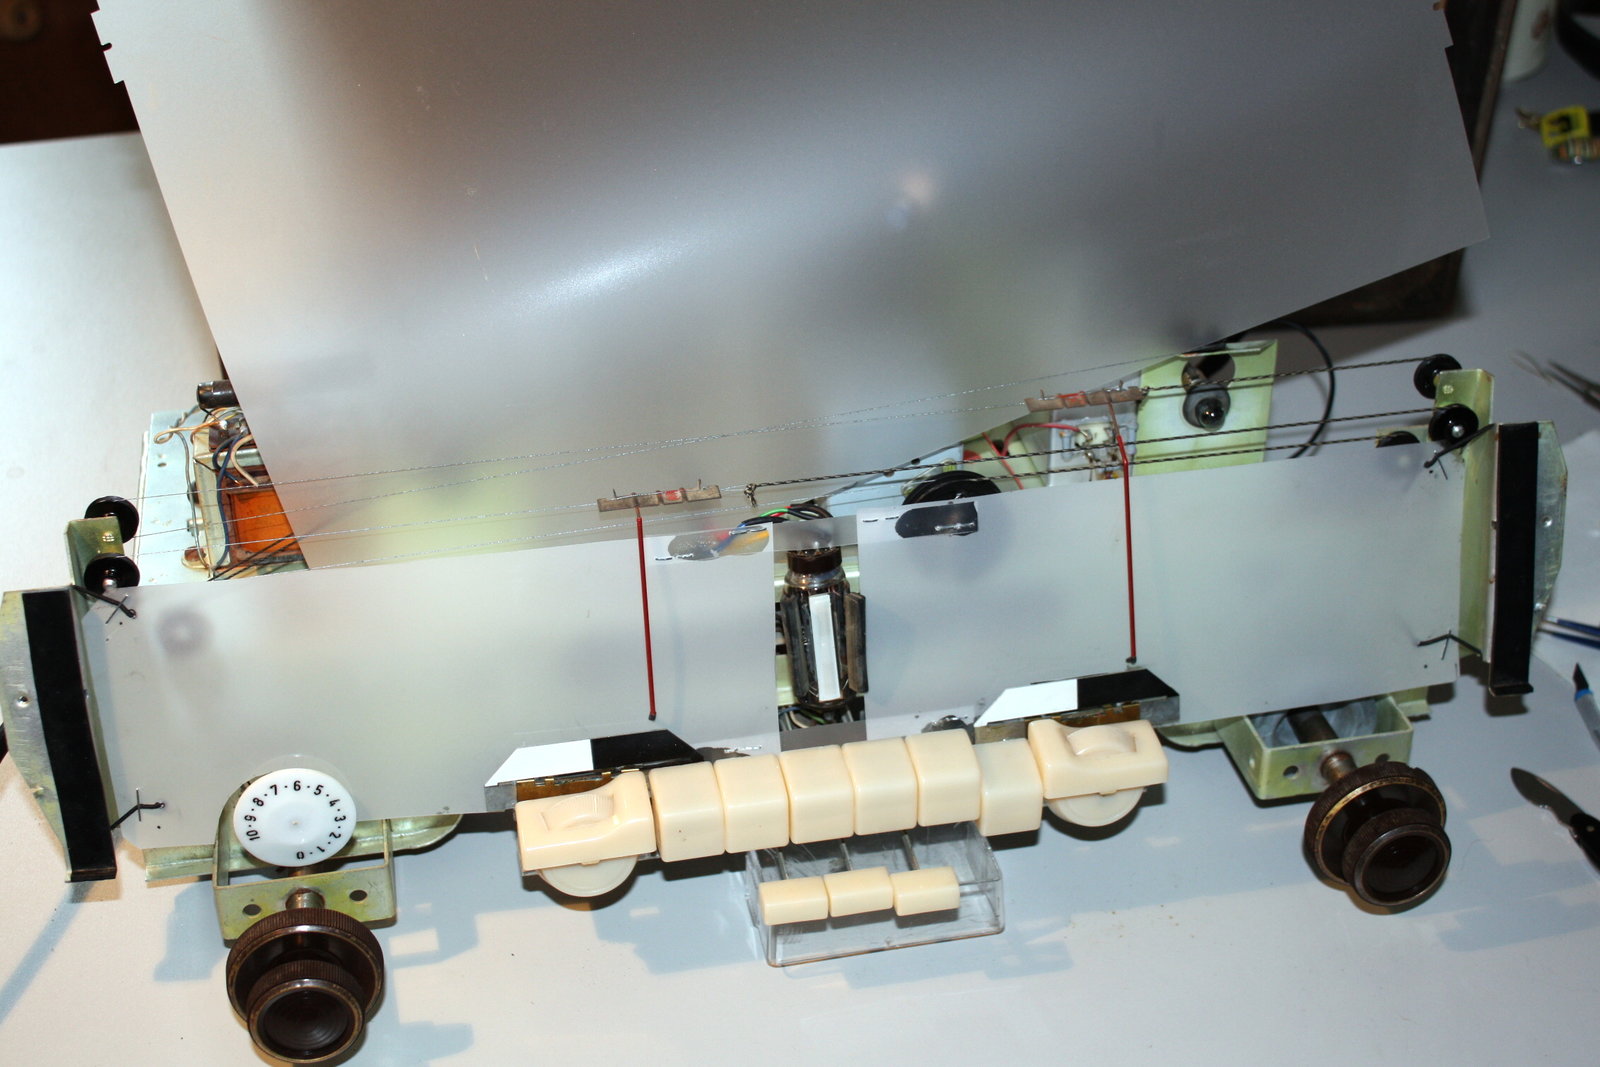
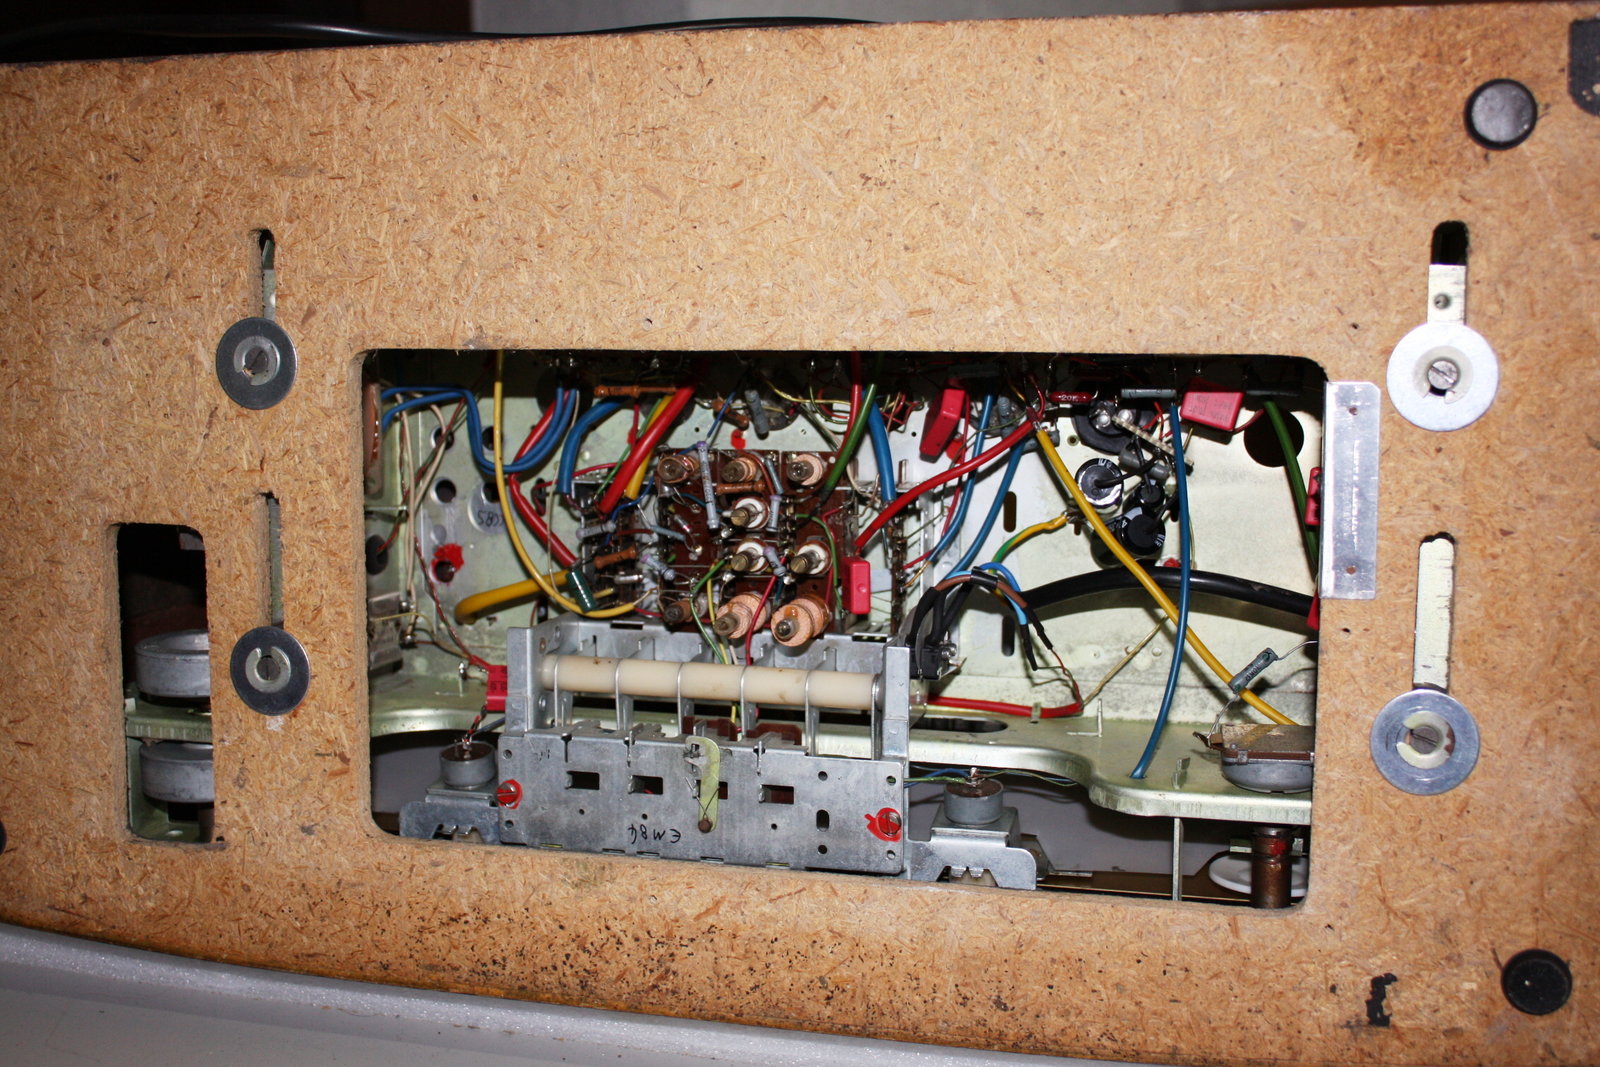
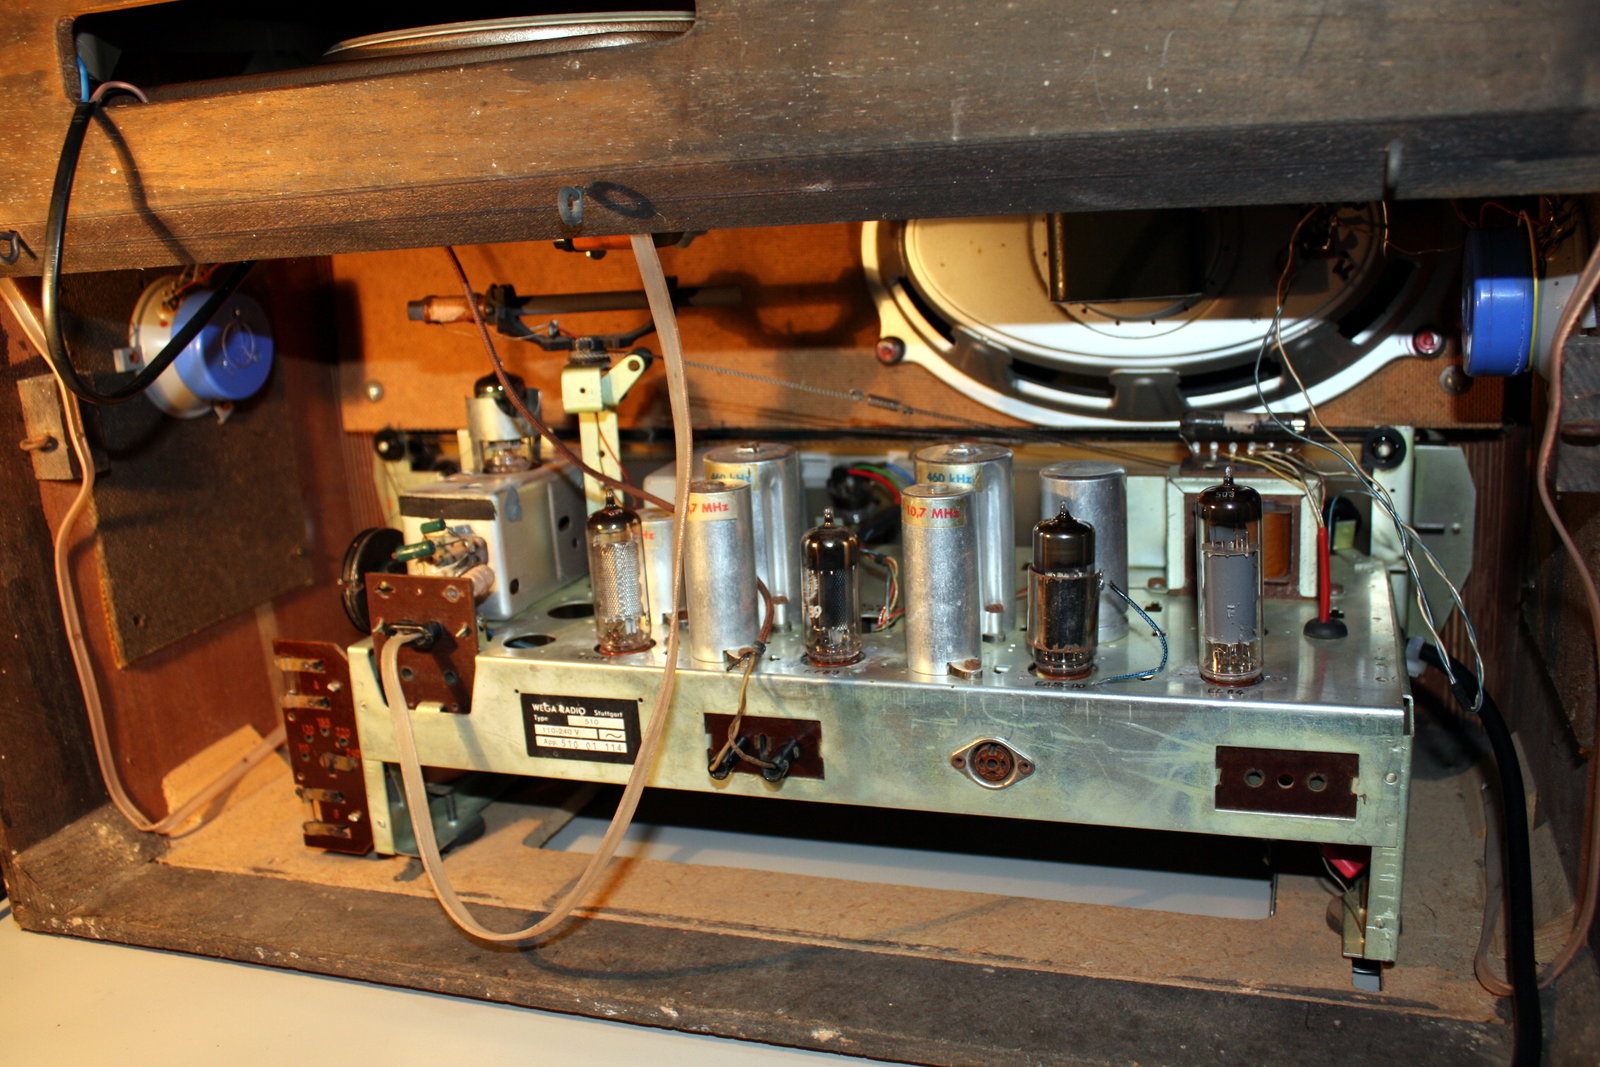
The left part of the chassis...

...and the right one.
Behind the dial glass a white cardboard background - cheap...
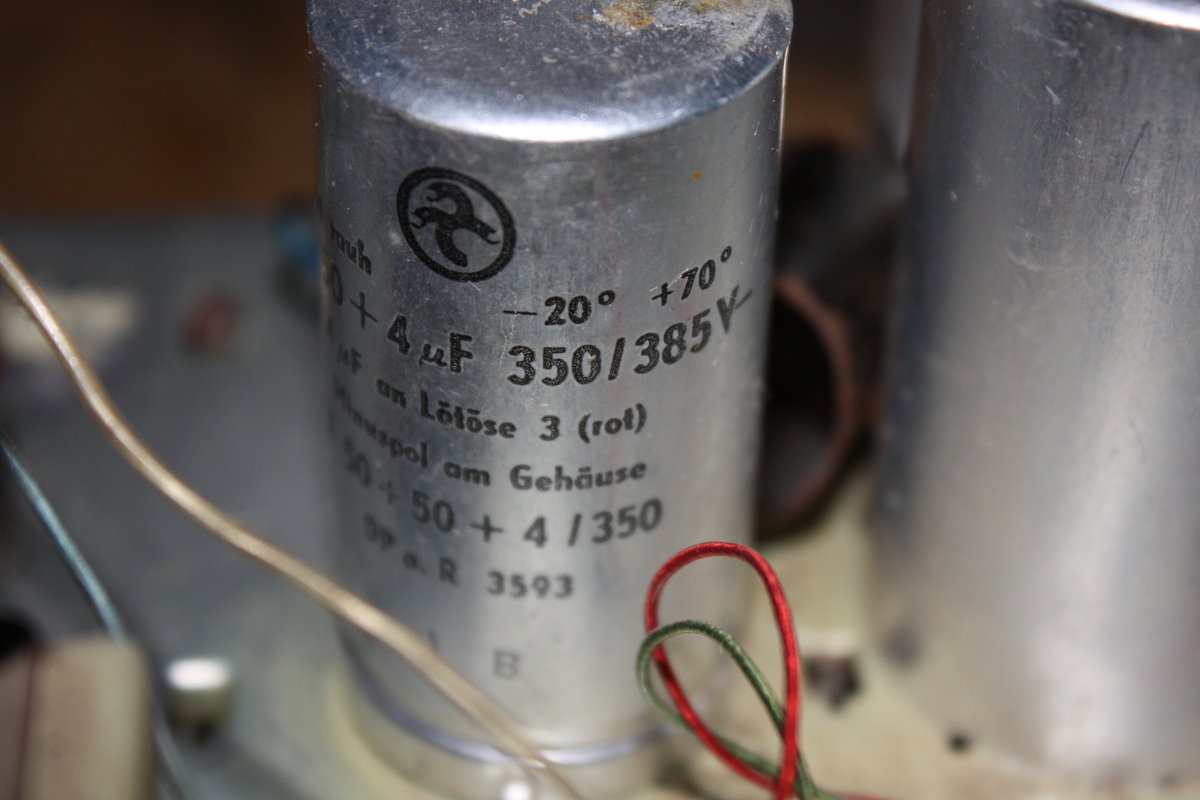
The old can capacitor - it will stay in the chassis but I will cut its contacts and emulate its function by using three individual capacitors.
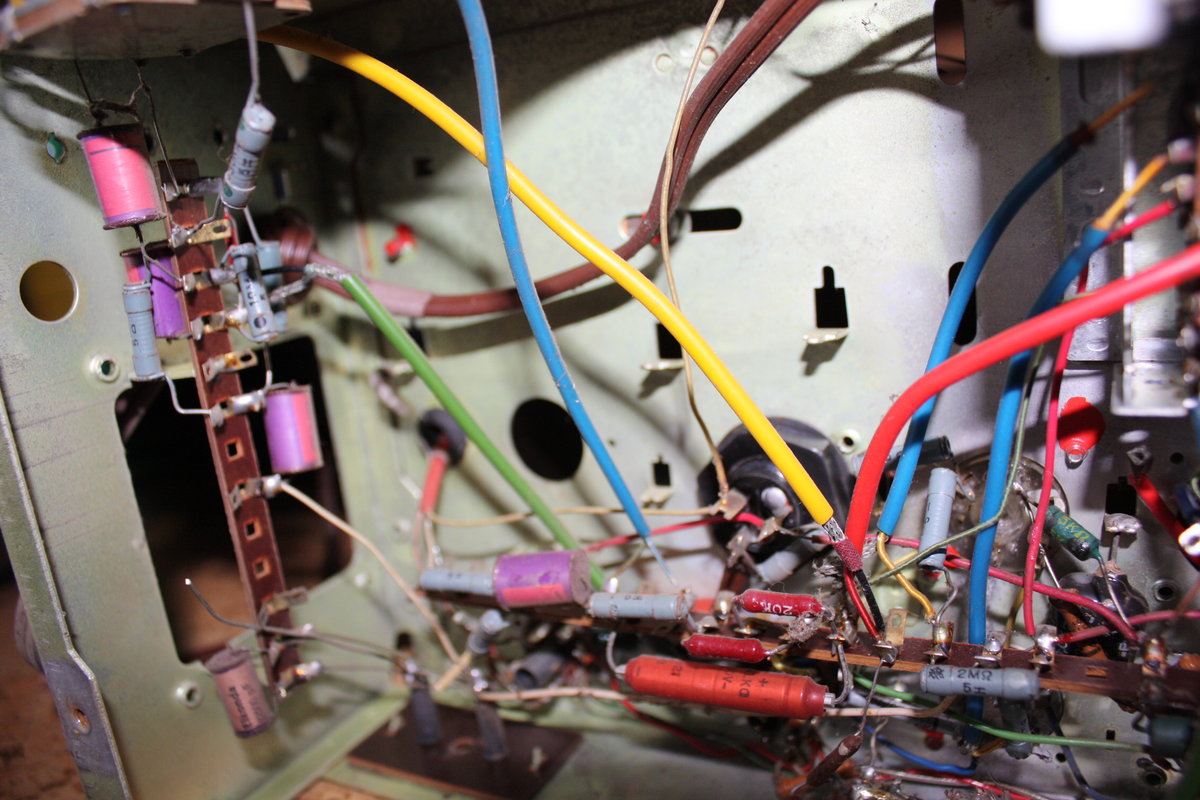
Another - better - view on the purple "Elkonda" capacitors which will get replaced.
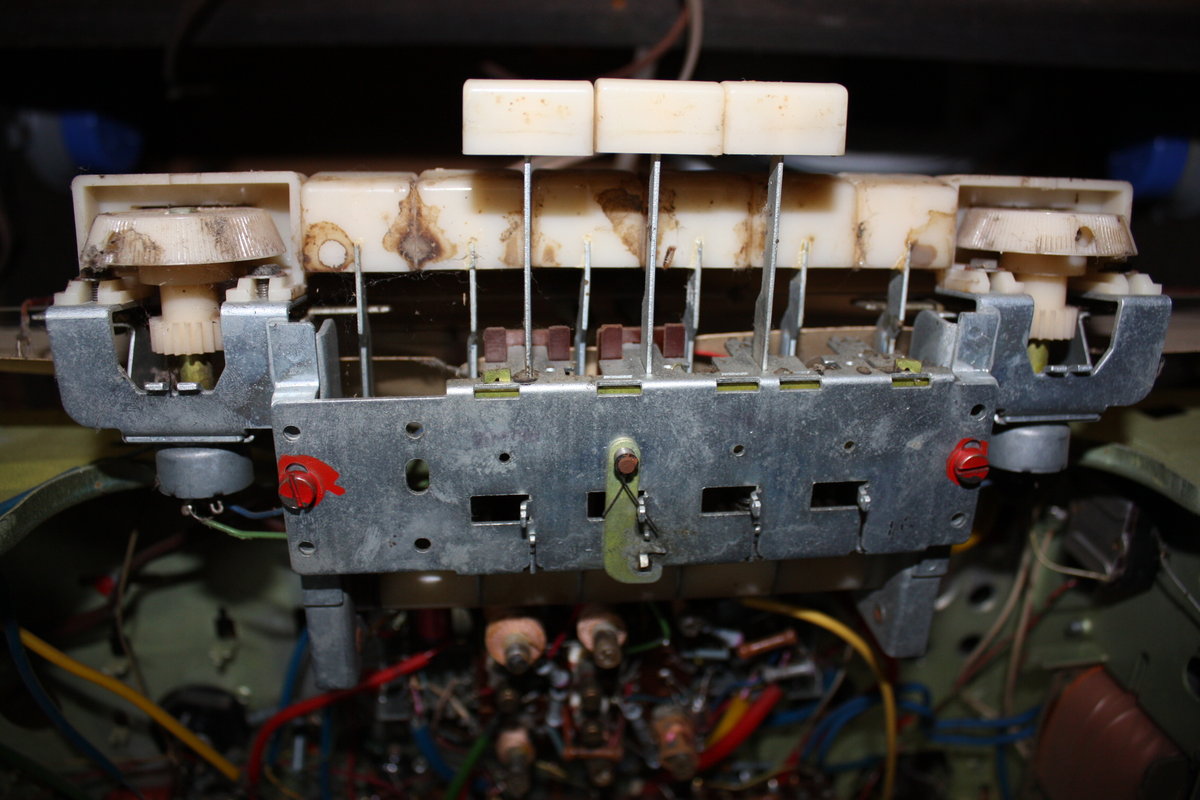
The keyboard looks - disgusting =-) This will require a lot of work.
2014-06-09 - Cleaning the chassis
Finally I had some spare time to continue this tube radio project. Cleaning took many hours of work. The following pictures show the aftermath.
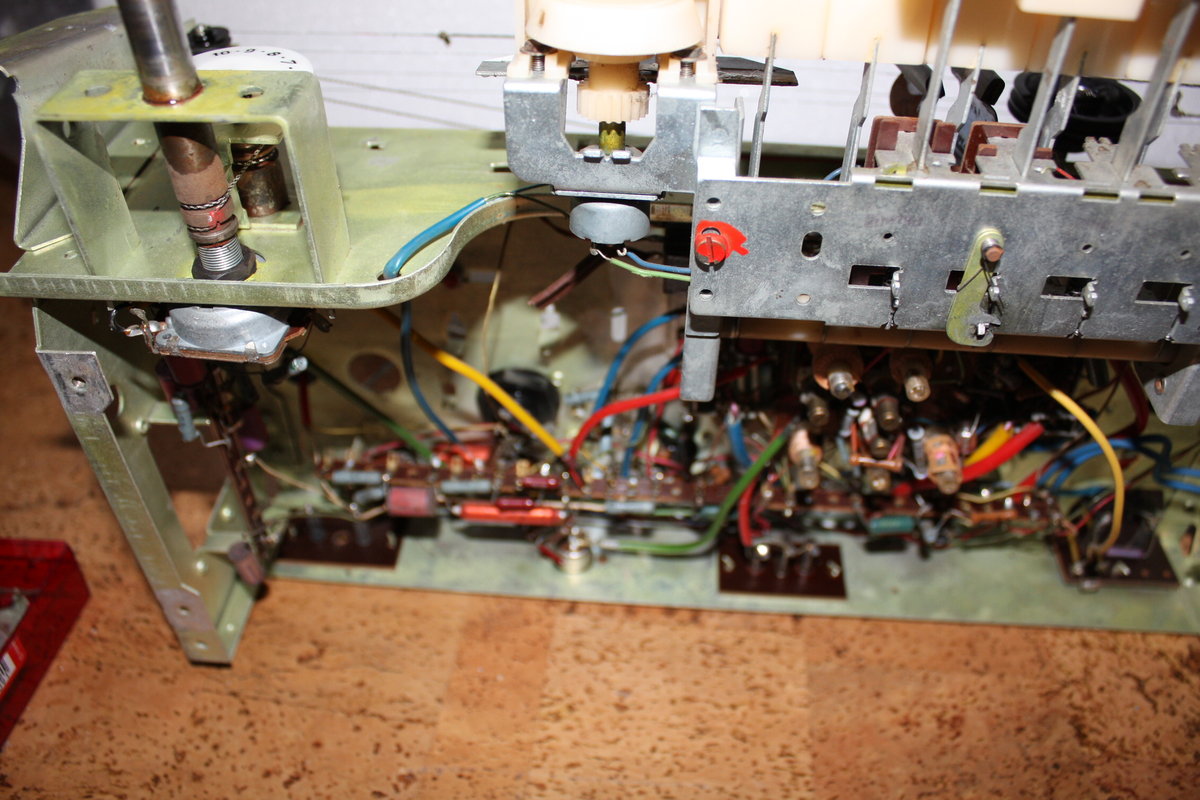
The now clean chassis on the left...
...and the right.
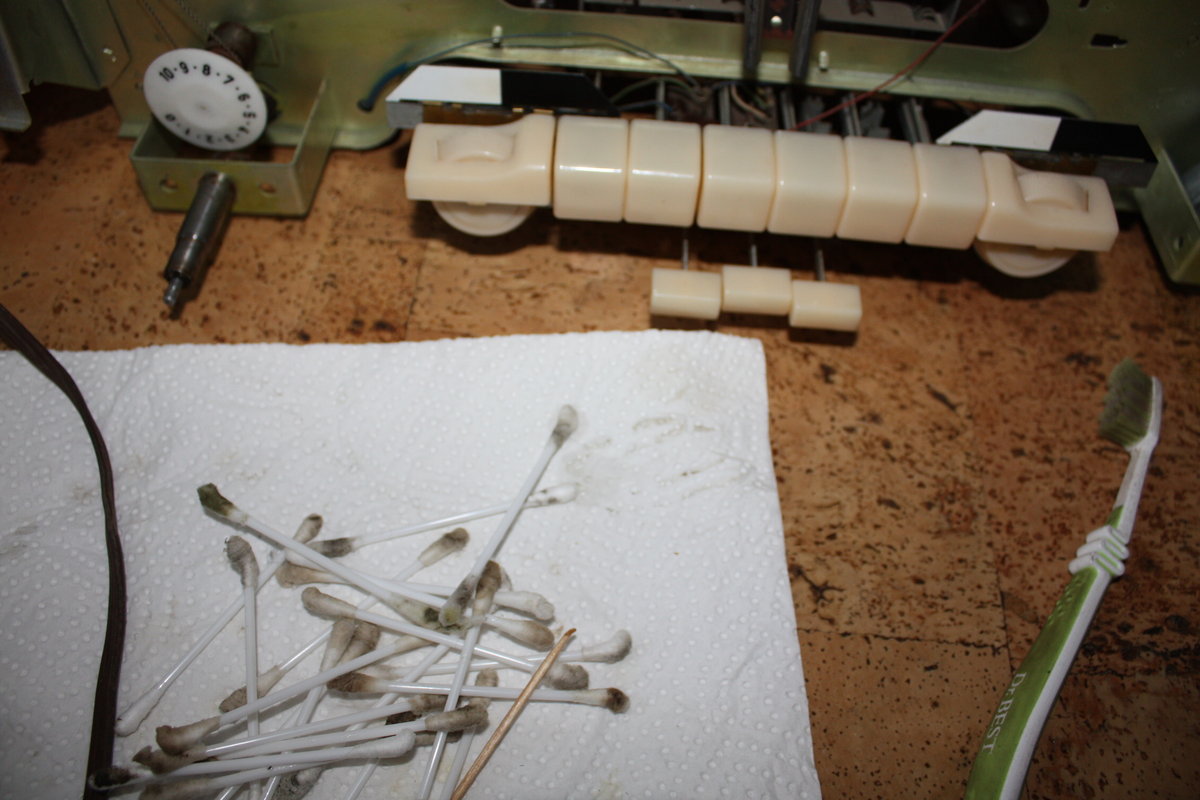
To get there, I needed a bunch of cotton swabs - and sooo much time.
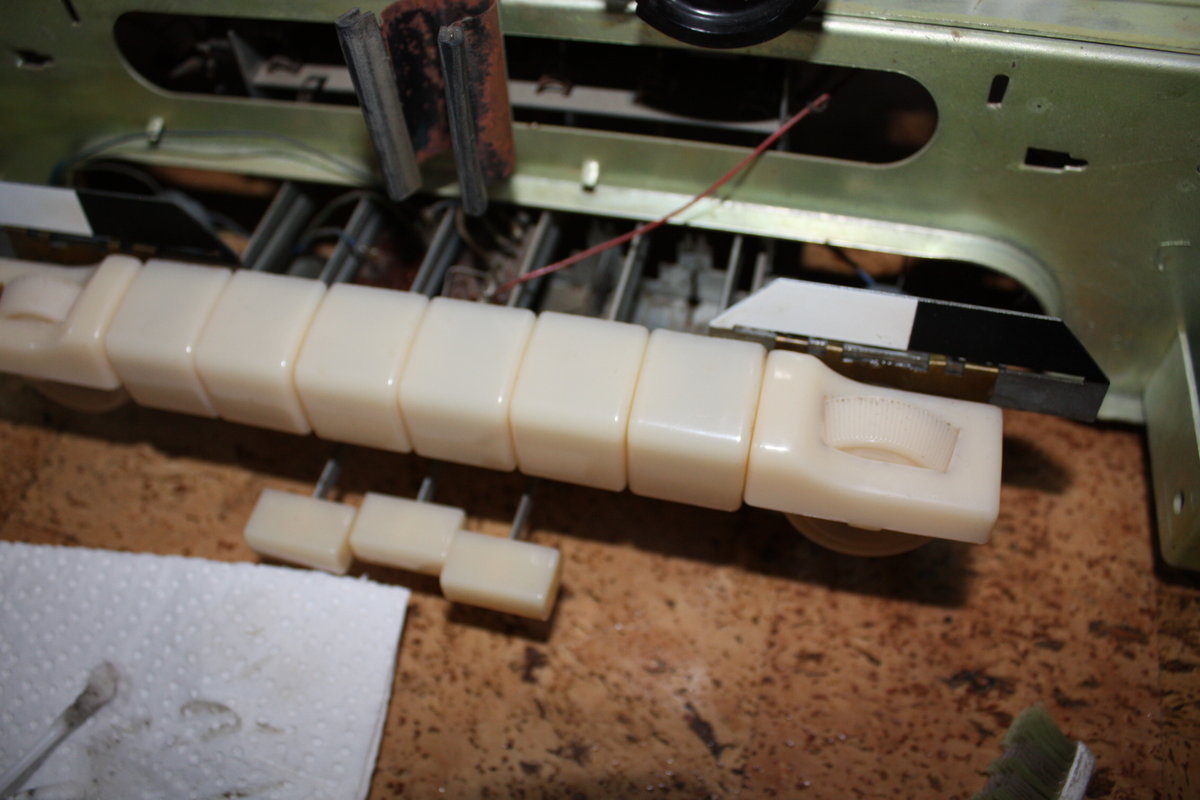
A closer view of the keyboard.
The chassis as seen from below. I also lubricated all rollers and bearings with new oil. So much for today.
2015-04-03 - Renewing caps and circuitry
Almost a year has passed since the last post here - time to get back to the radio. The photo below shows what has happended in the last few days.
The old Elkonda capacitors have left, the new Wima caps have arrived.
In addition I used three electrolytic caps that will do the job of the ancient can capacitor (blue circle).
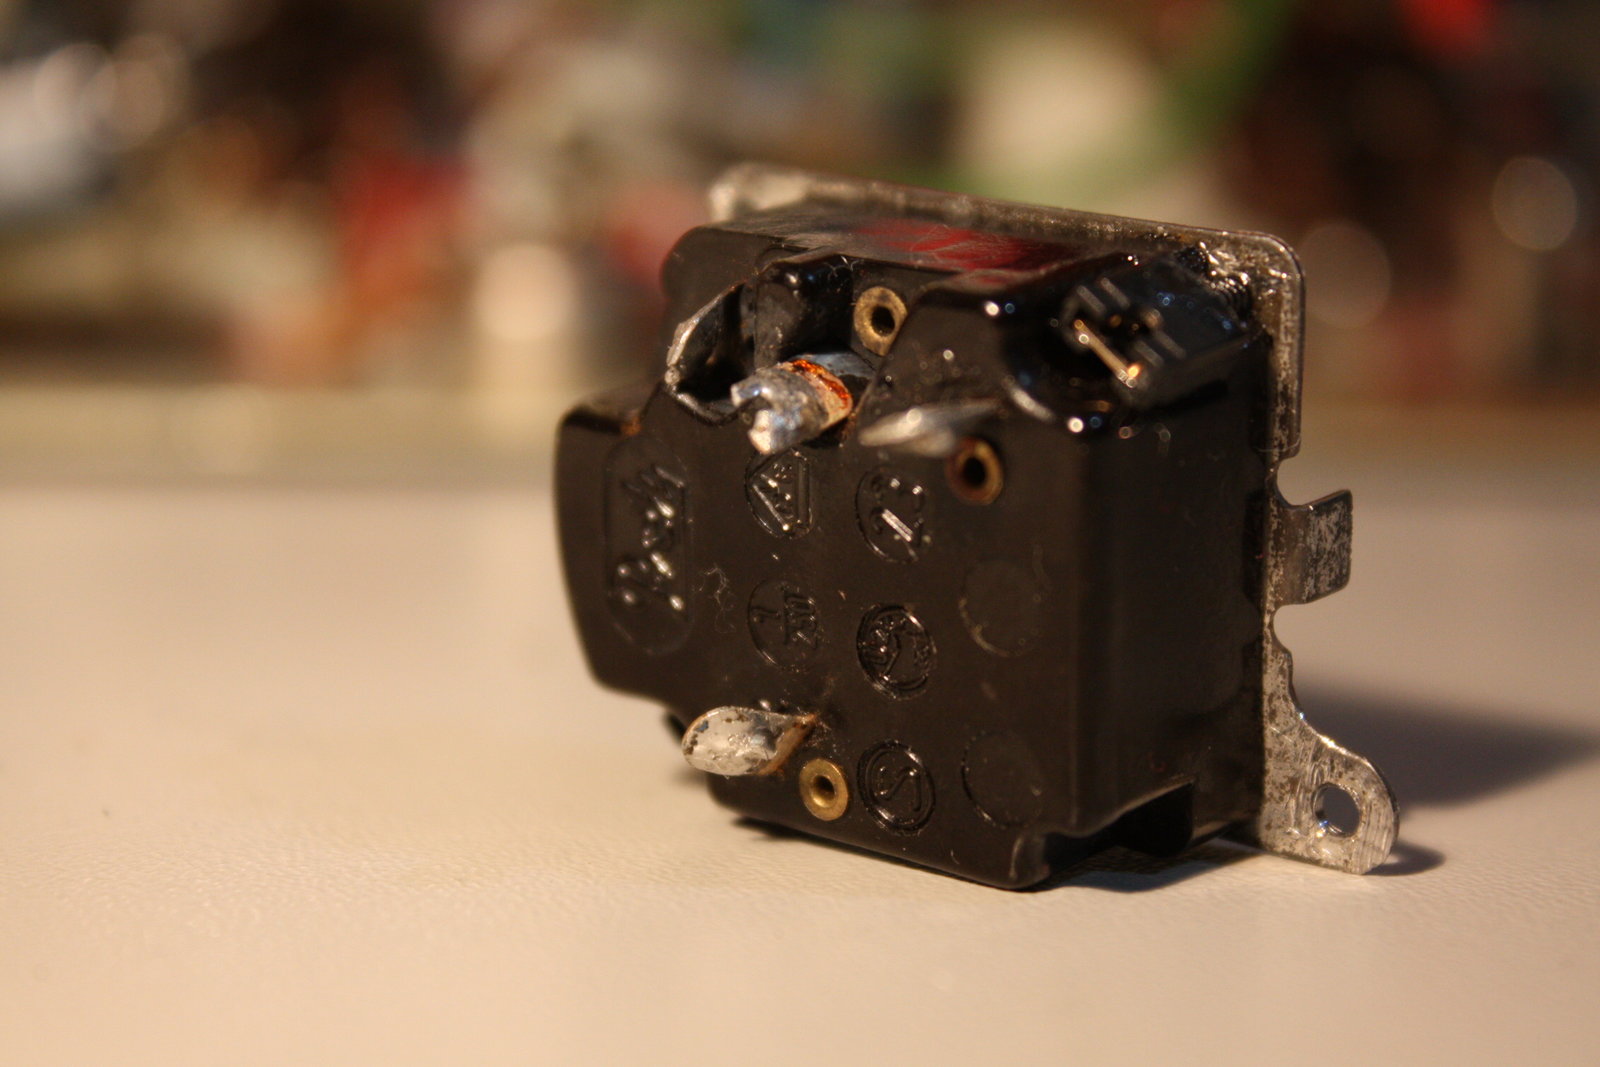
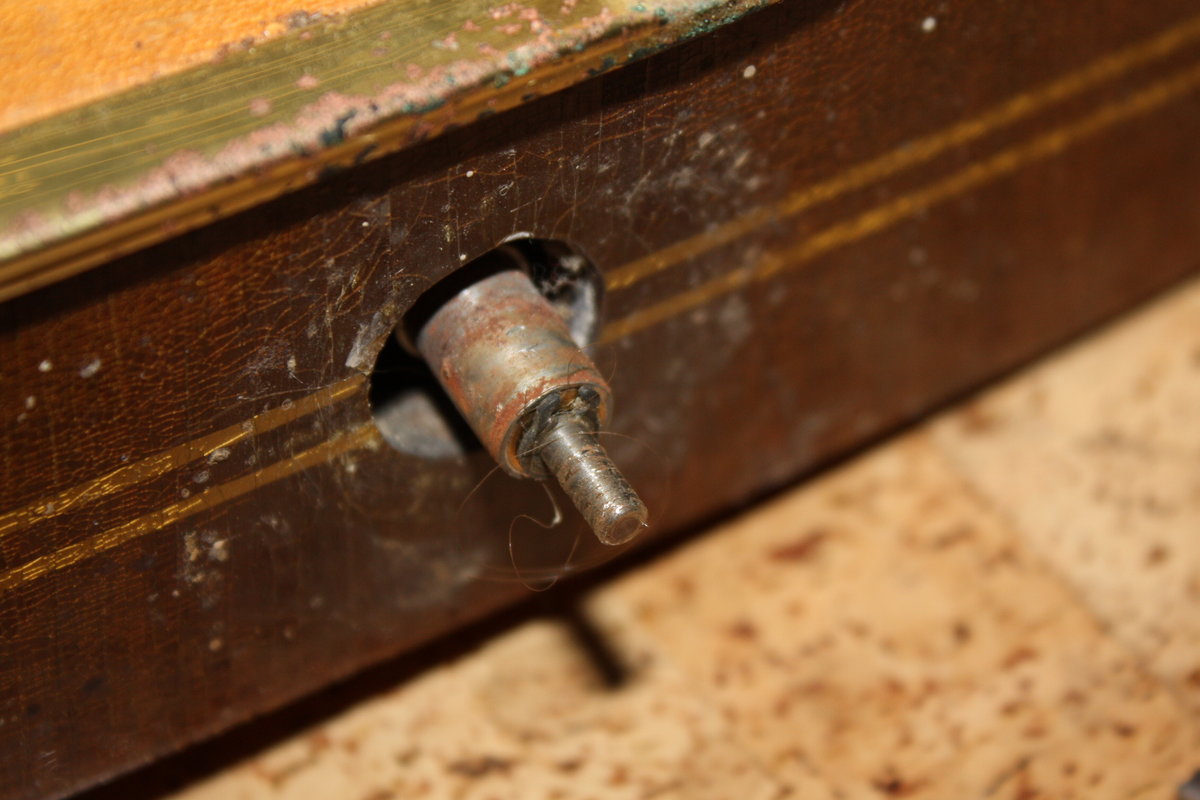
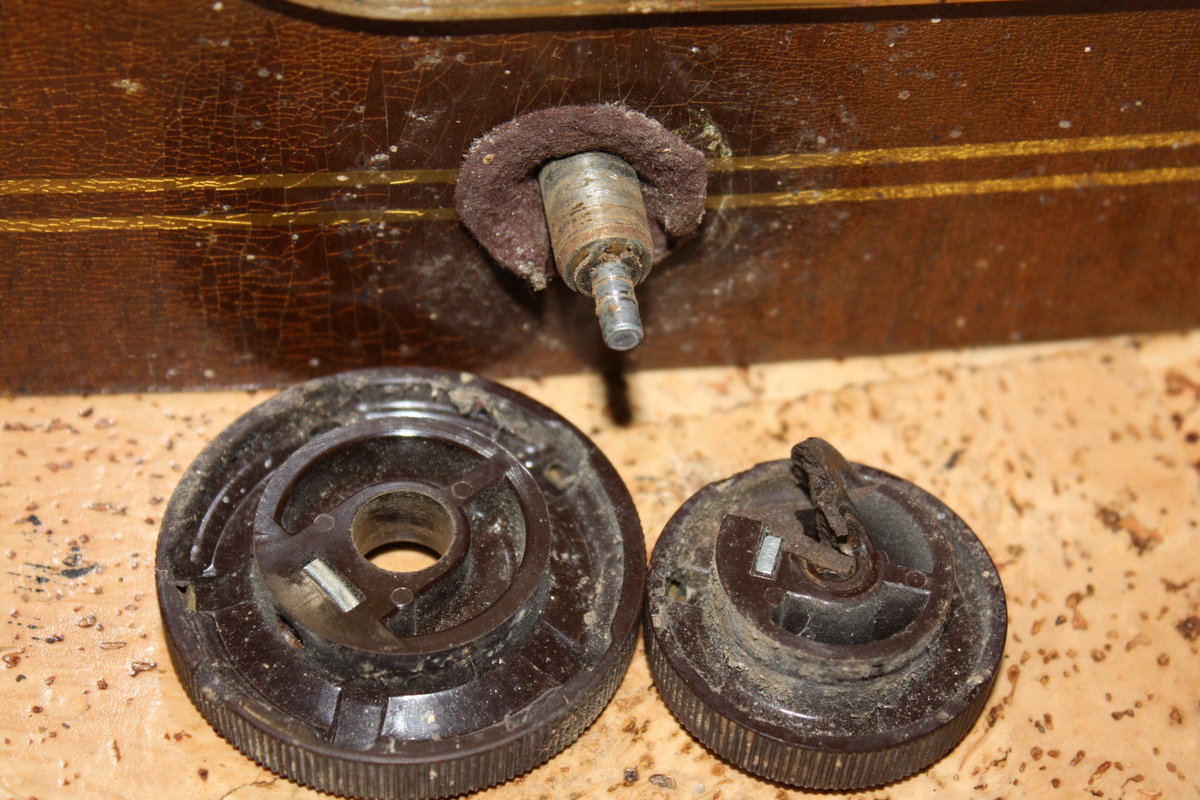
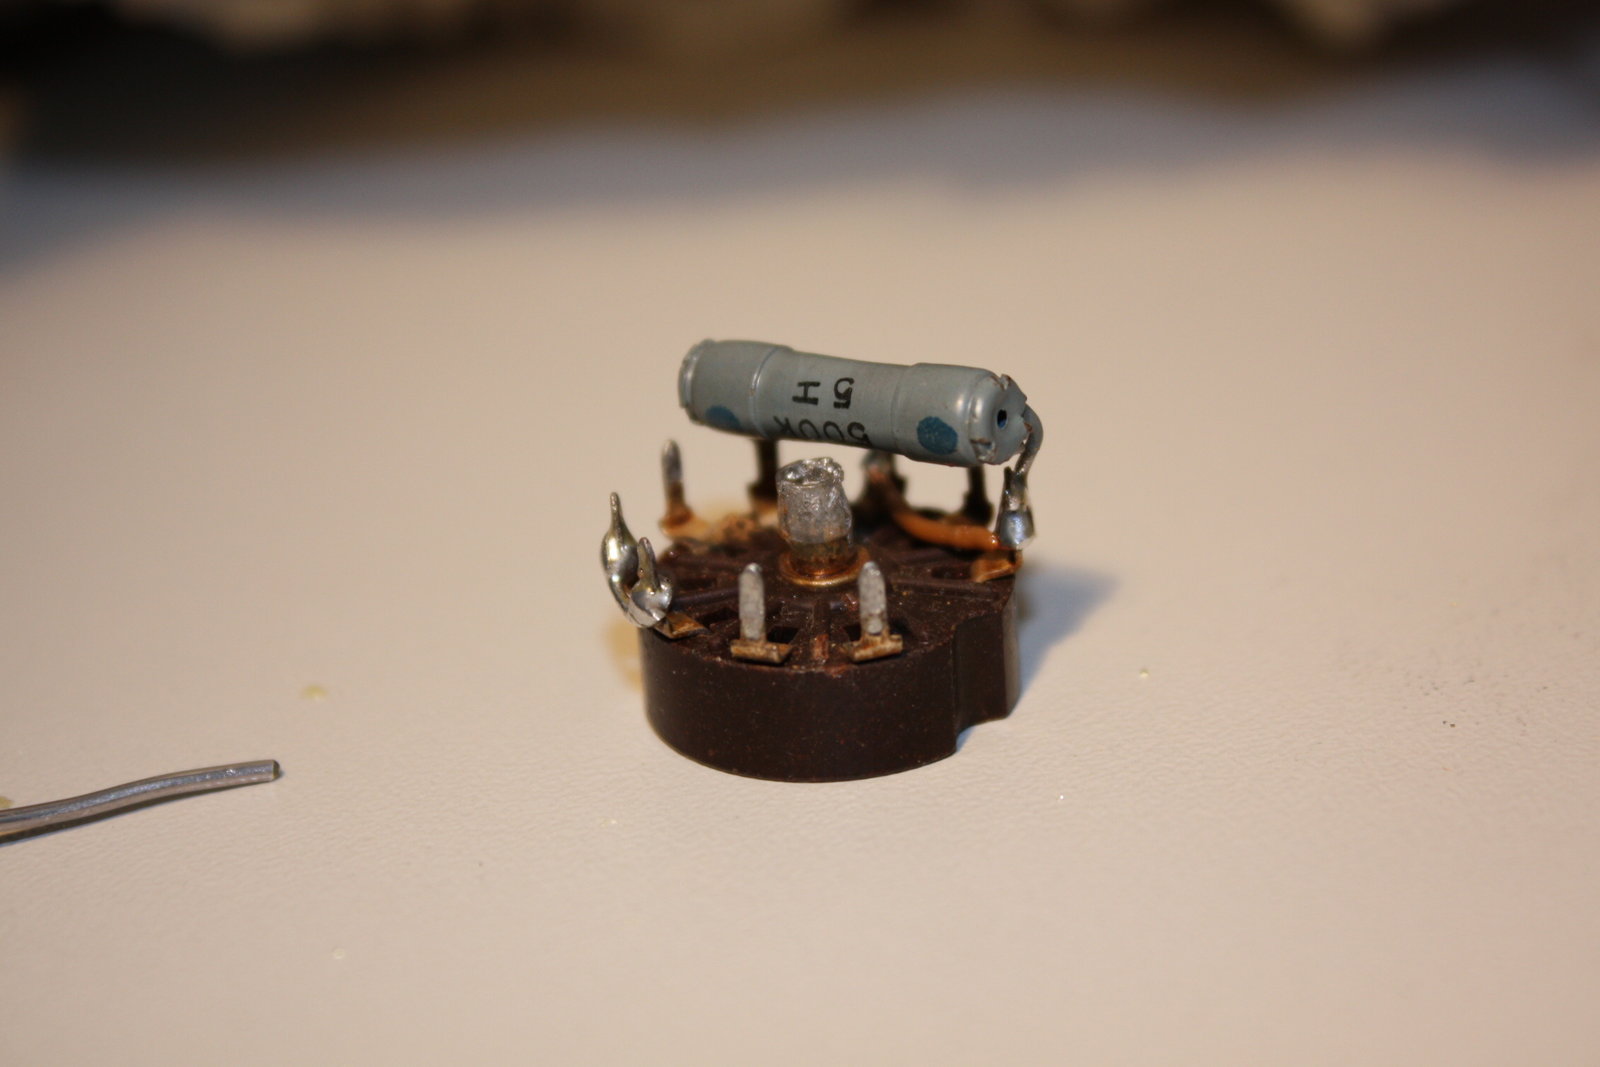
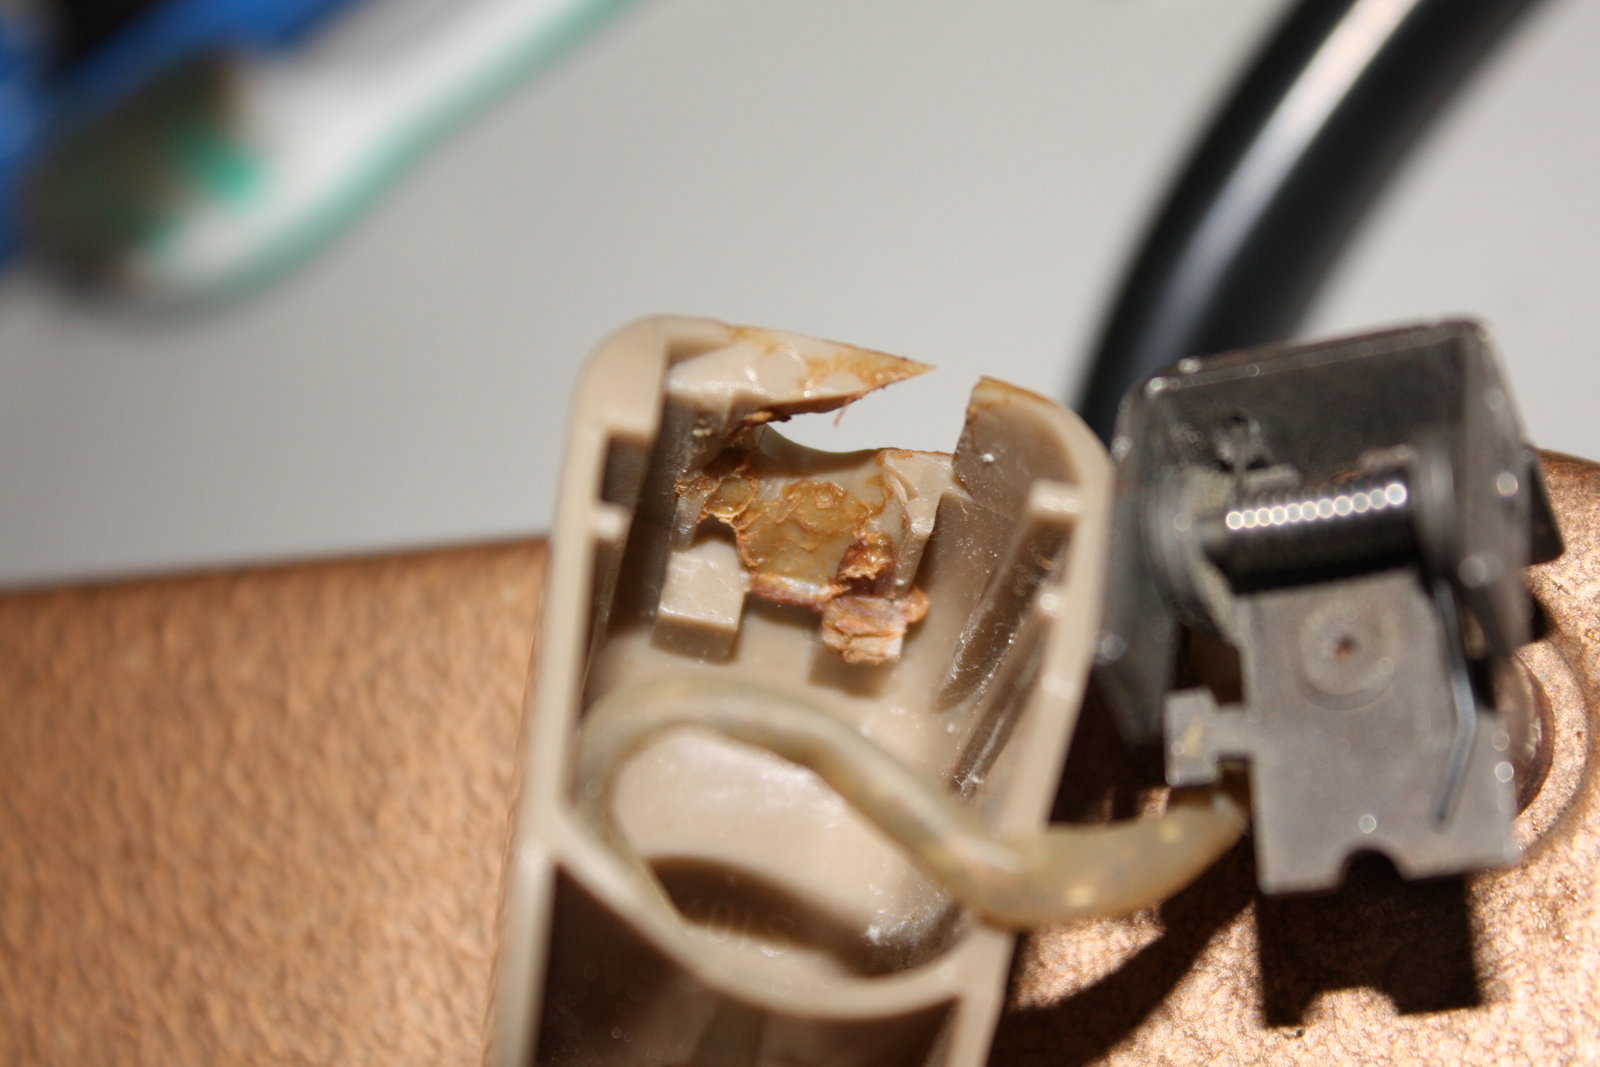
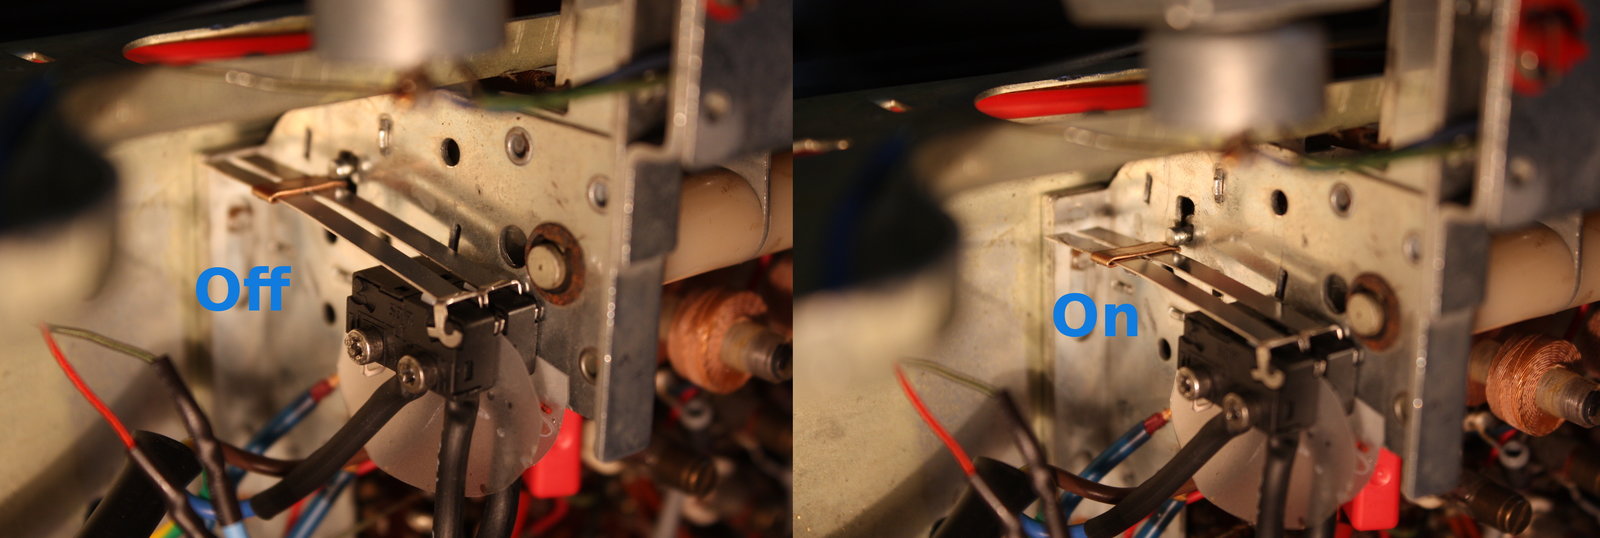
The old "Preh" power switch is dead.
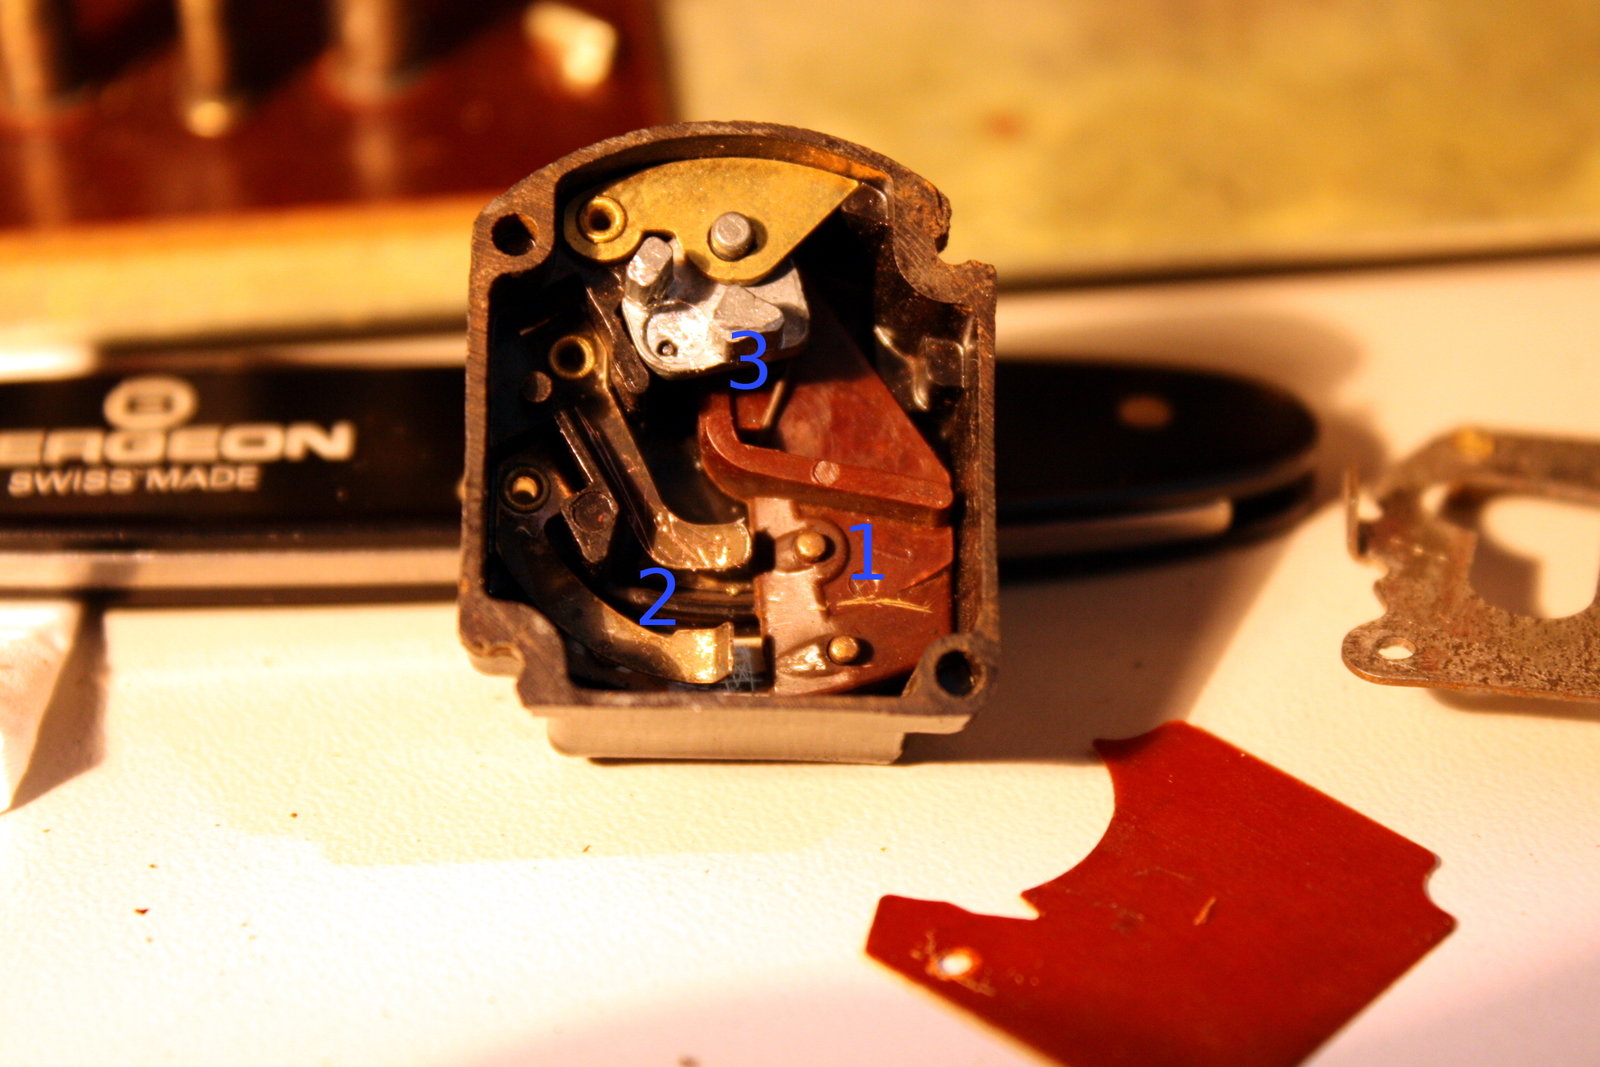
As the picture above shows, it is a double action switch. The two metal bolts in the brown plastic part (1) bridge the contacts in the middle (2) when the metal switch above (3) is flipped. However, the plastic bearing of #3 is broken beyond repair. I will search for a better solution to get this repaired as this kind of switch isn´t produced any more.
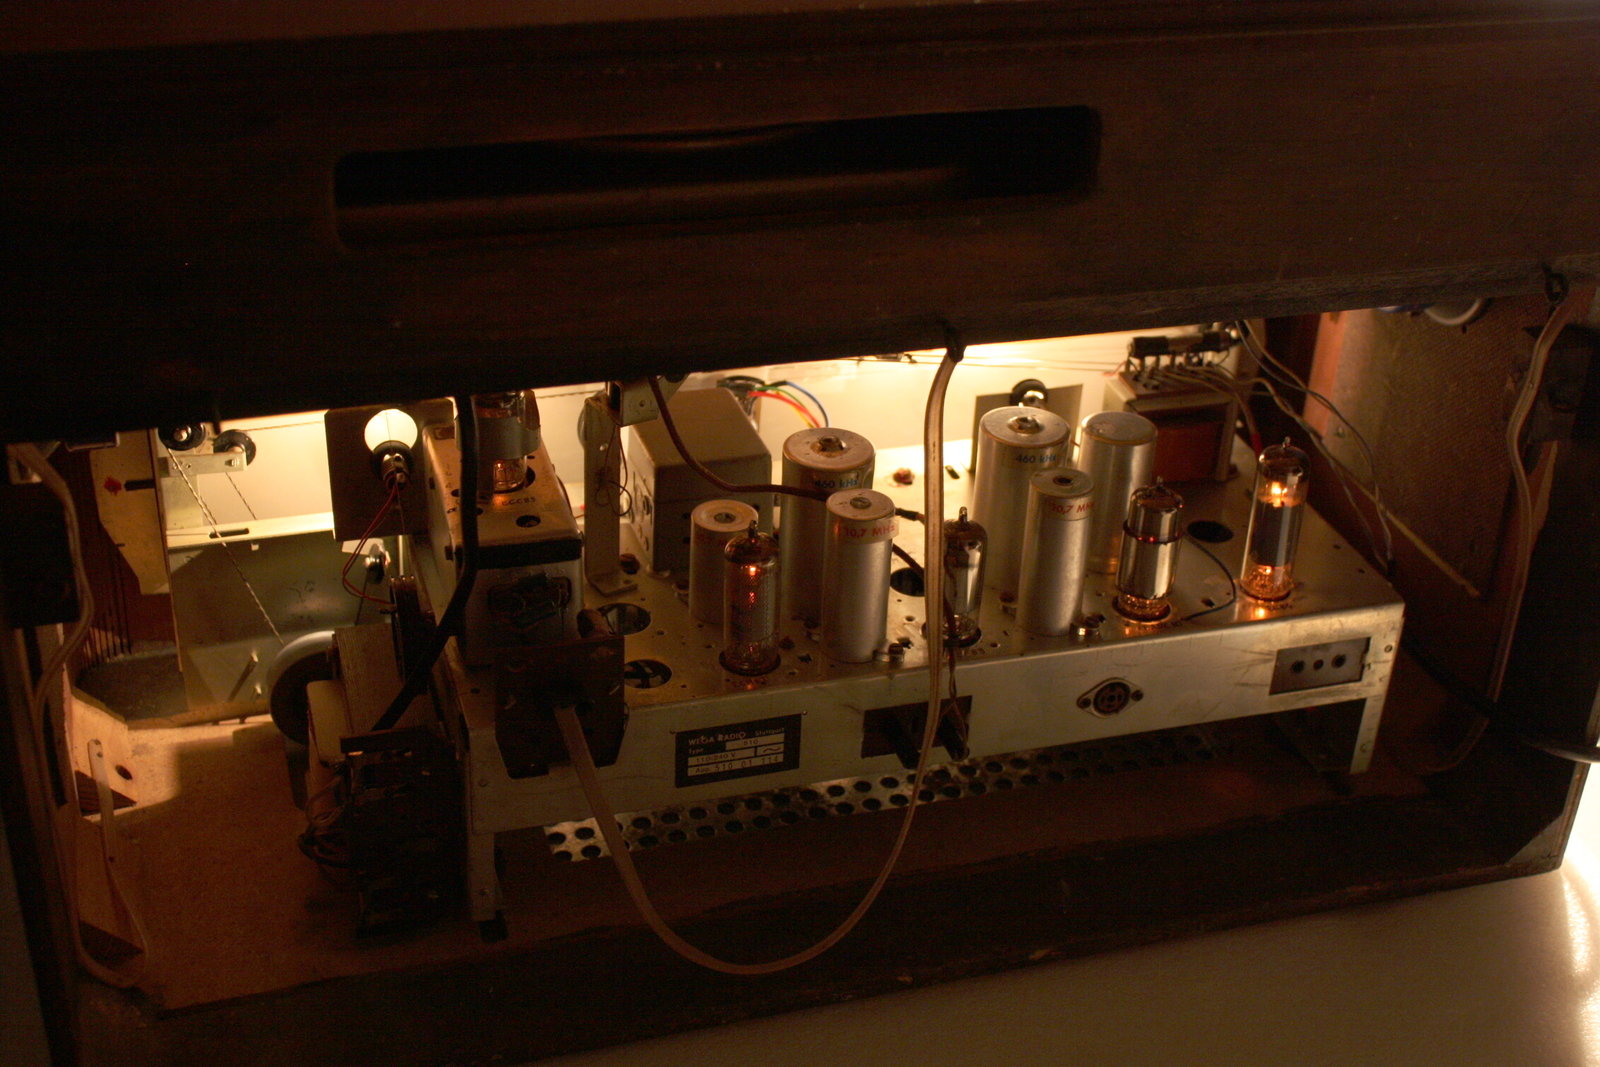
Tubes are back in town...
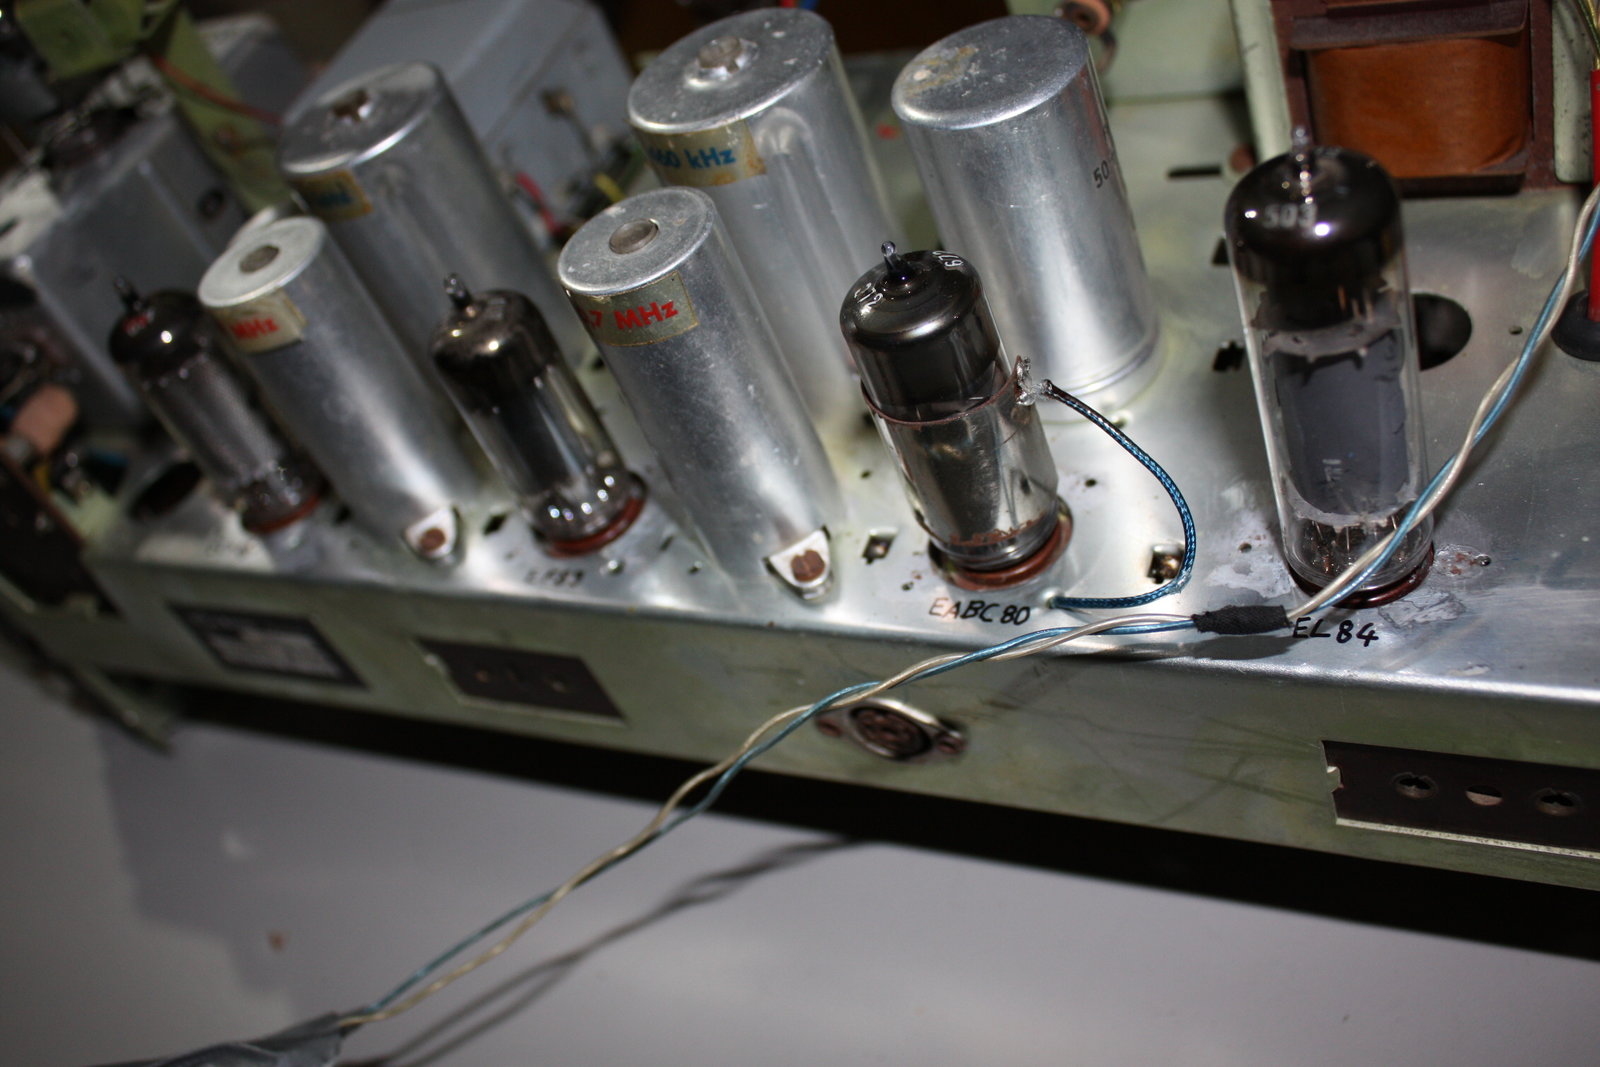
All of the tubes appear to be perfectly preserved.

The ECC85 double triode for FM reception. Time for a test:
The radio plays and already sounds great. Next, I prepare a new tube socket for the EM84 (a magic ribbon indicator tube).
Glowing as it should:

Wegaphon vs. Flir E4 thermal imager
Testing revealed that all voltages are within the desired ranges. How about temperatures? If anything gets way too hot it should be visible for a thermal imager, so let´s have a look (ambient room temp. 20 °C, pictures taken 30 minutes after powering the radio on):
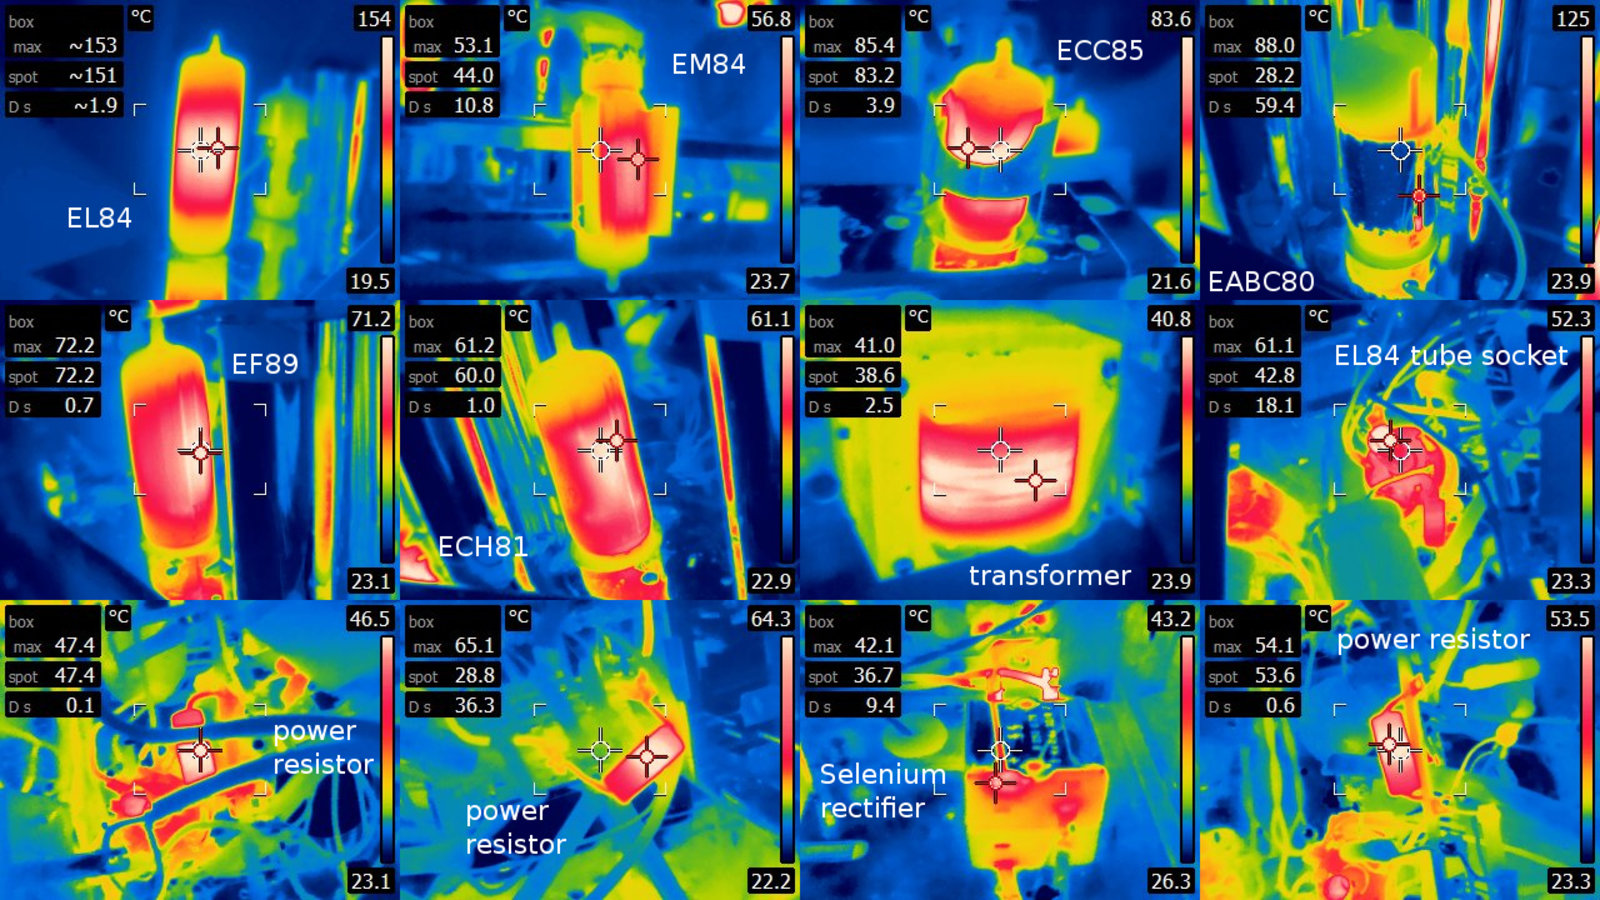
The only real "hotspot" is the EL84 power pentode which appears to be some 30 °C too high. However, I assume it´s okay nevertheless, as the thermal image shows a mixture of the lower outer surface temperature mixed with heat transmission picked up from the much hotter cathode inside (several hundred deg´s).
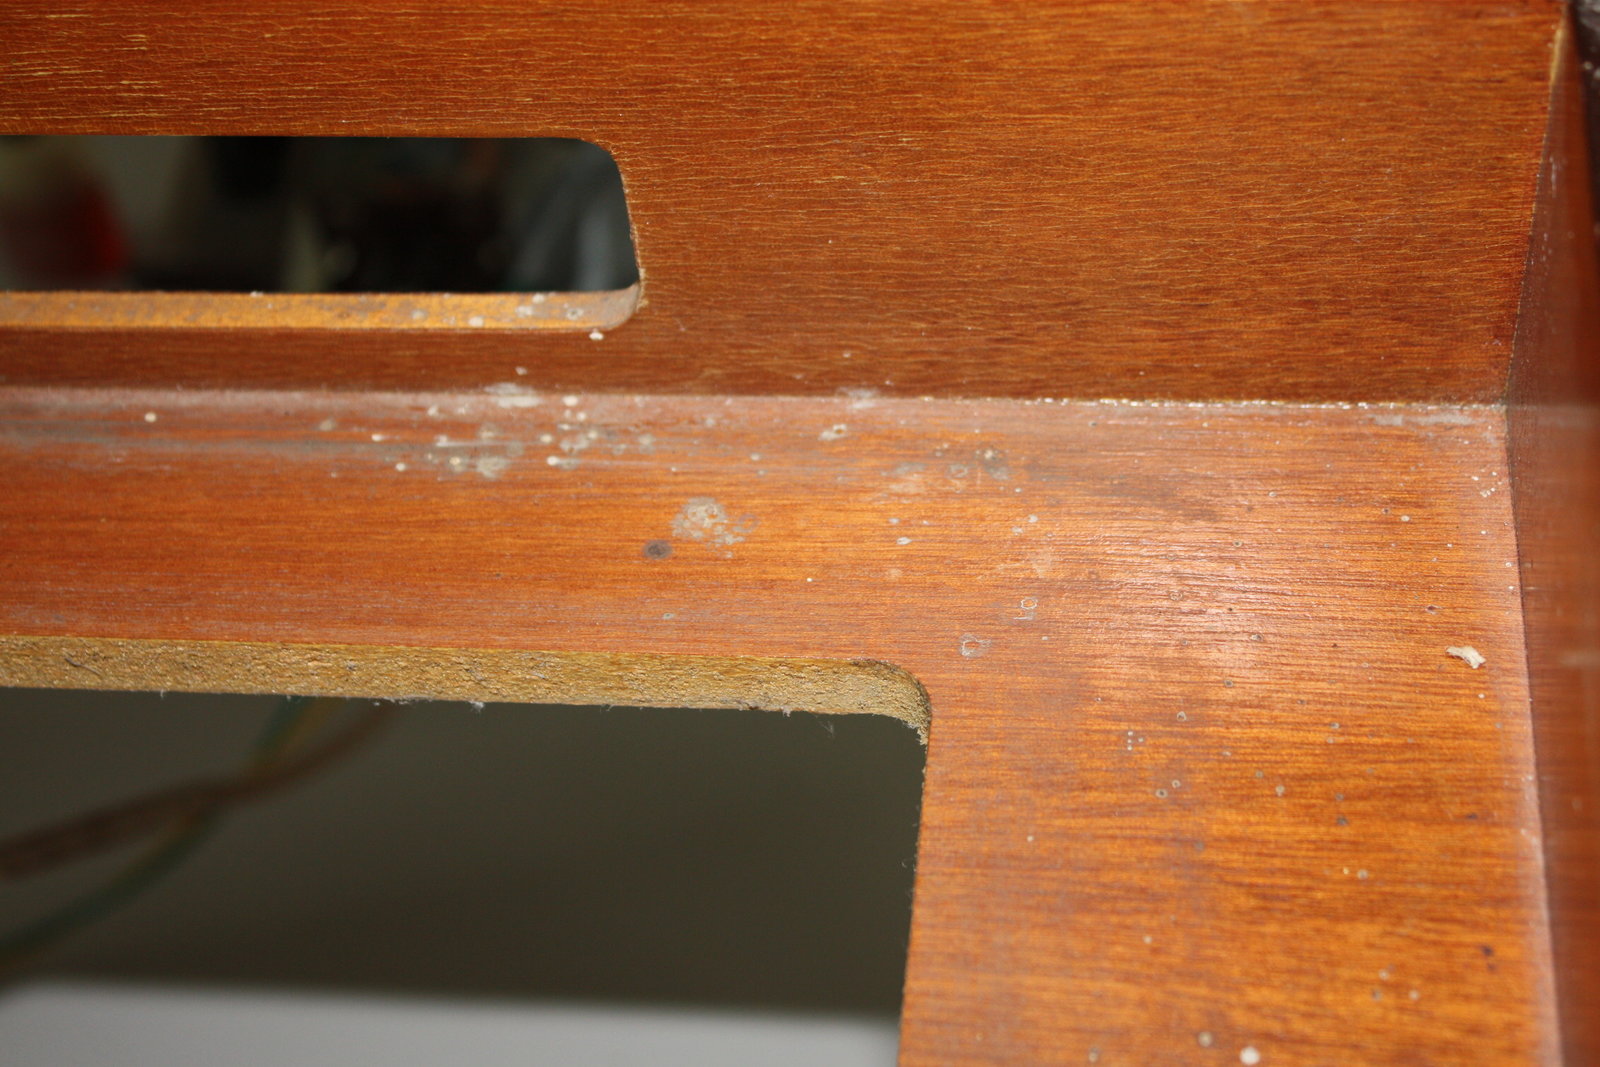
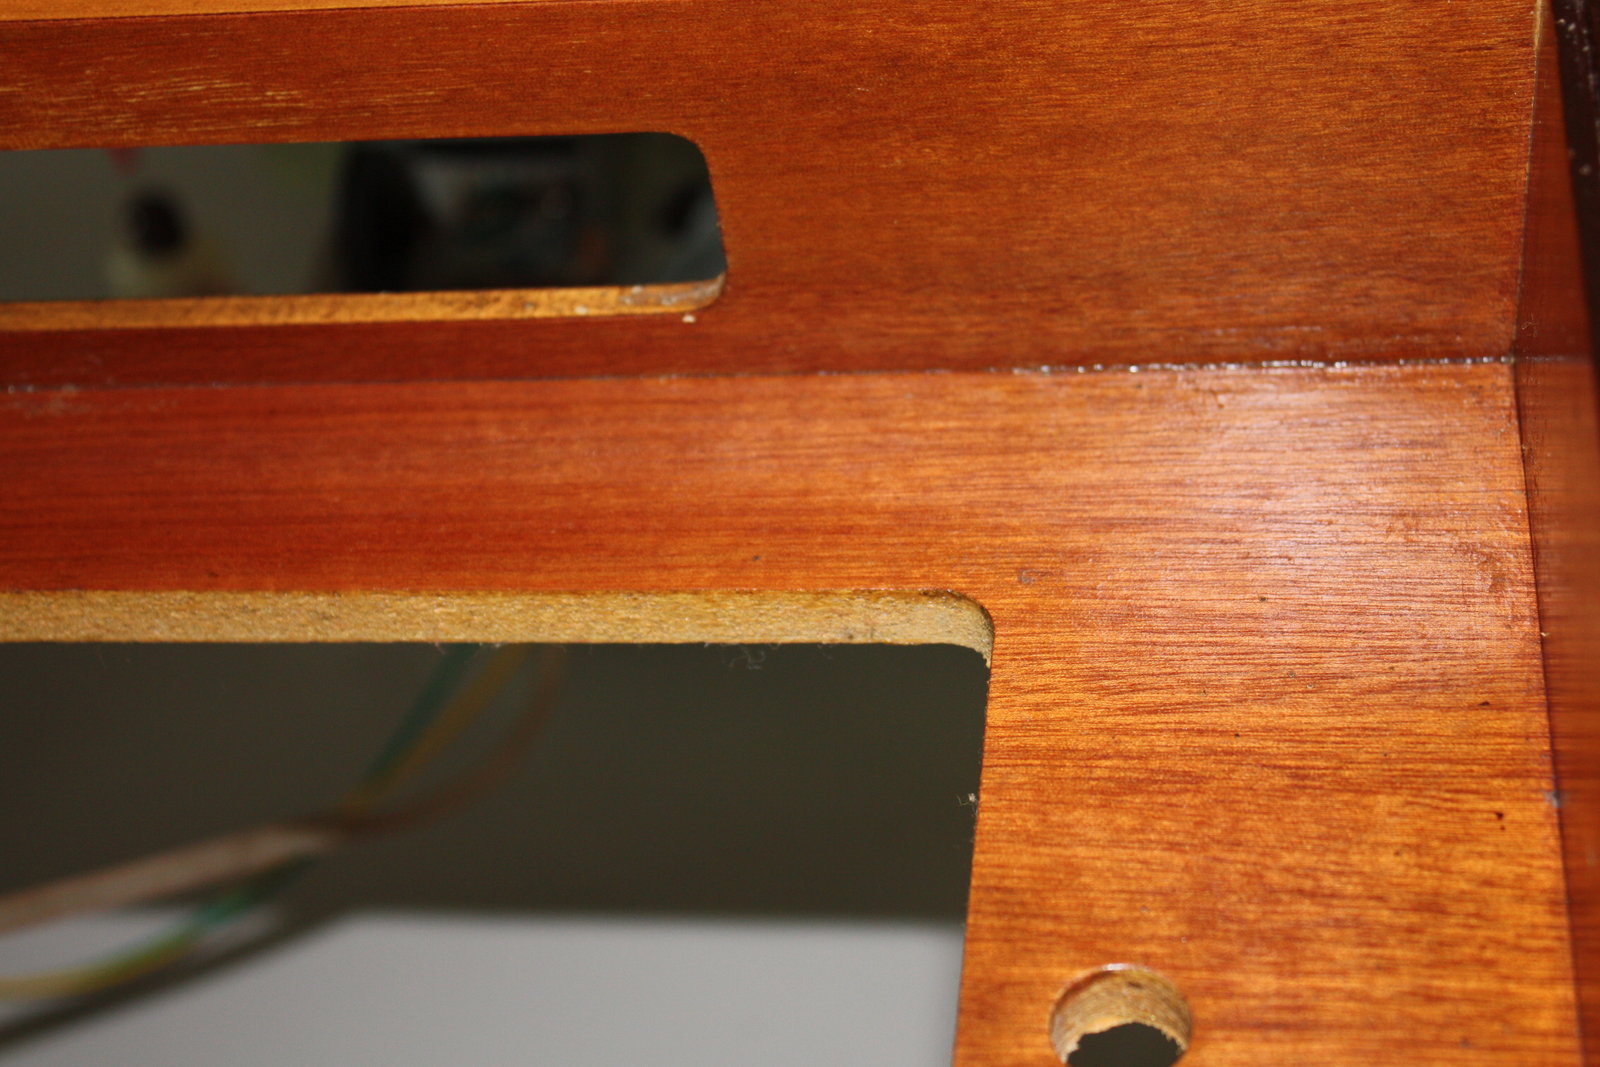
2015-04-04 Case renewal
Just some impressions from renewing the wooden case.
Before:
And after:
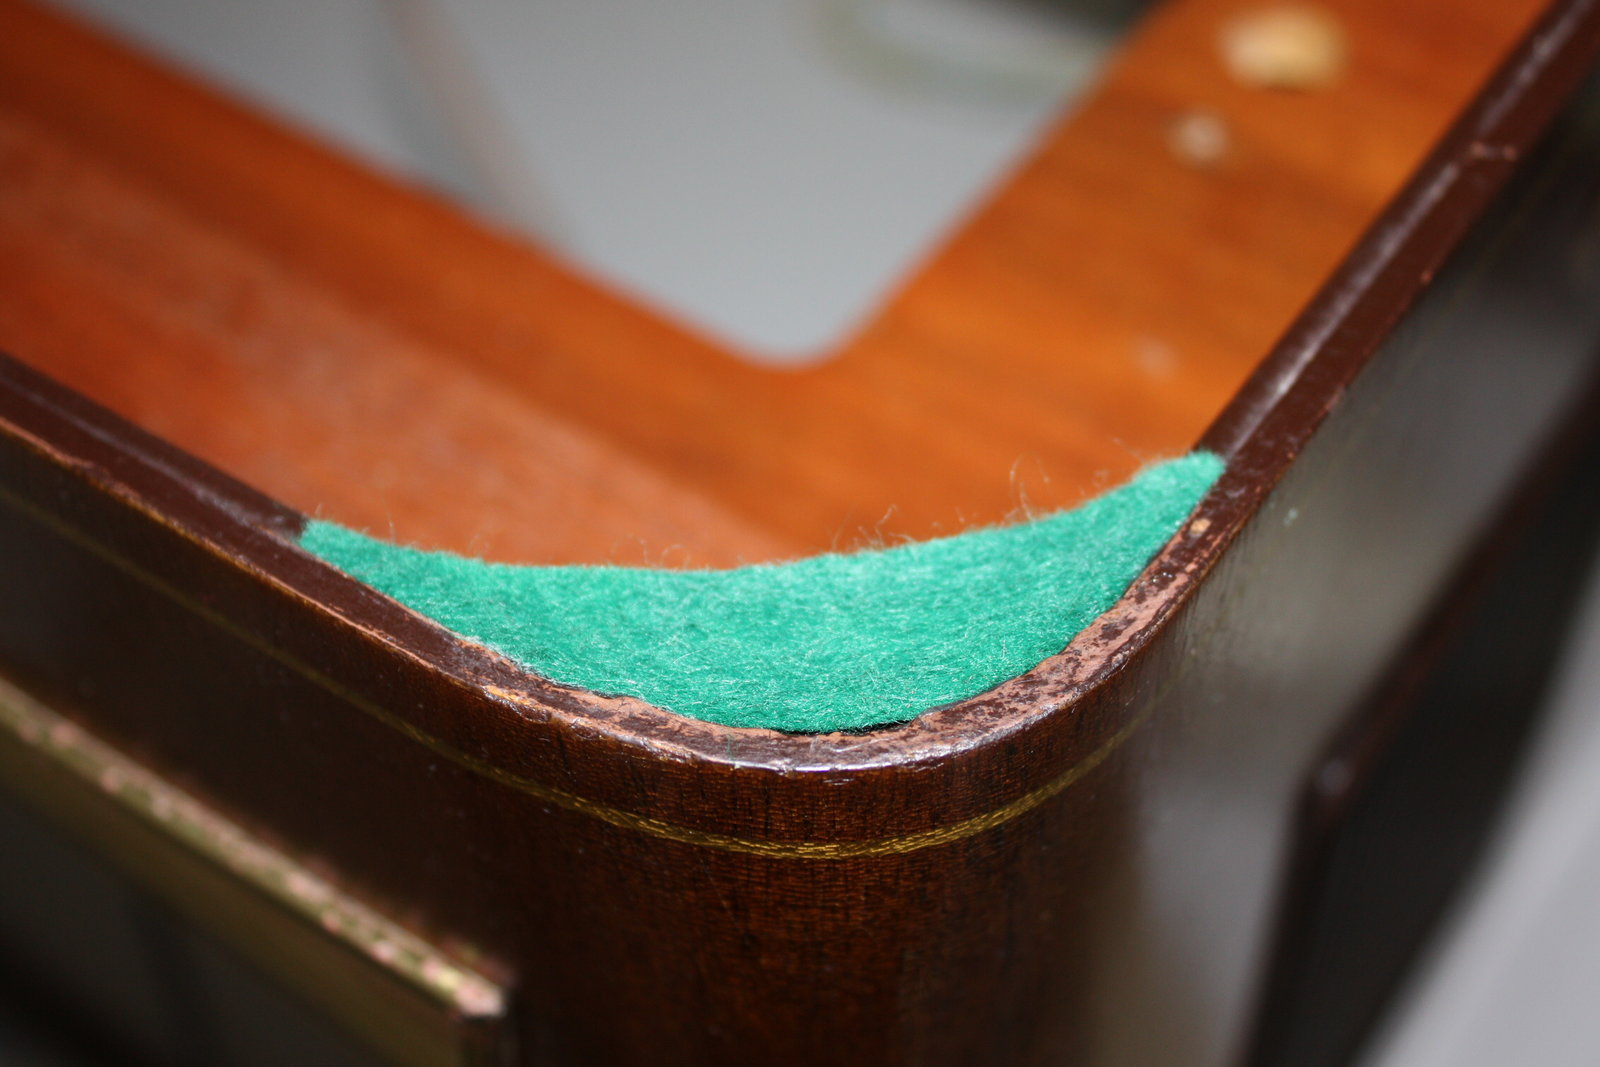
The corners of the record player cover get some felt overlayed to reduce noise when the cover is closed:
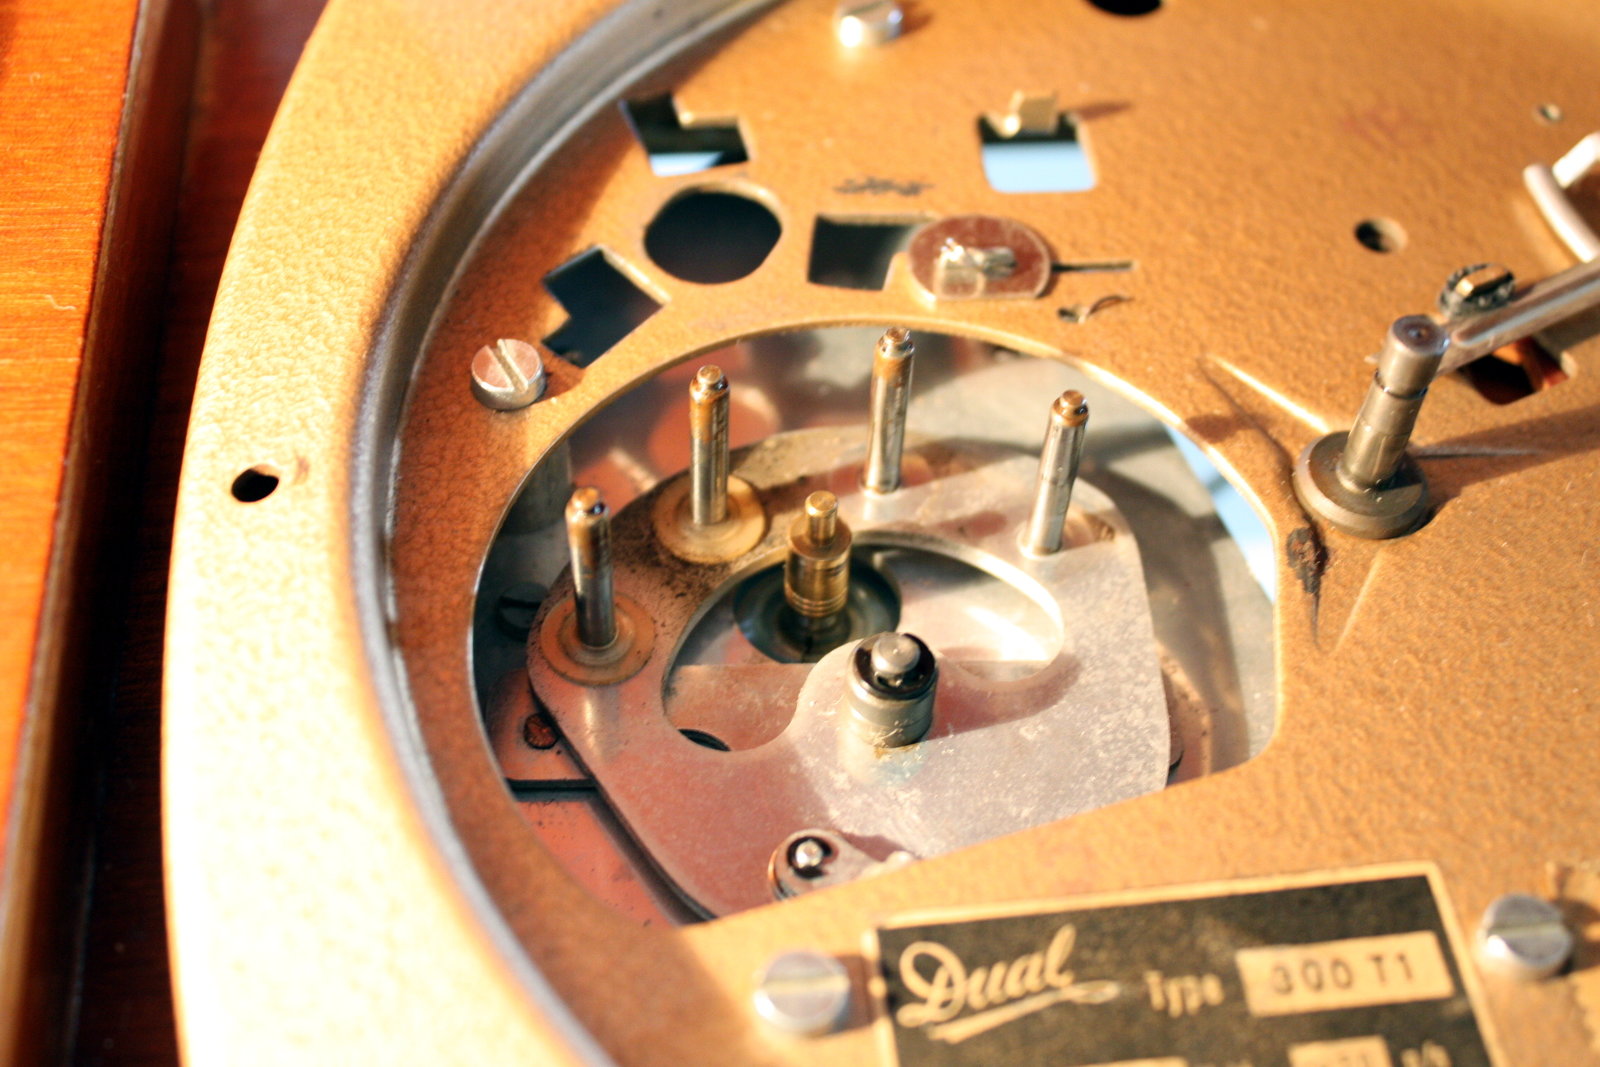
Record player rework
The record player with a new capacitor.
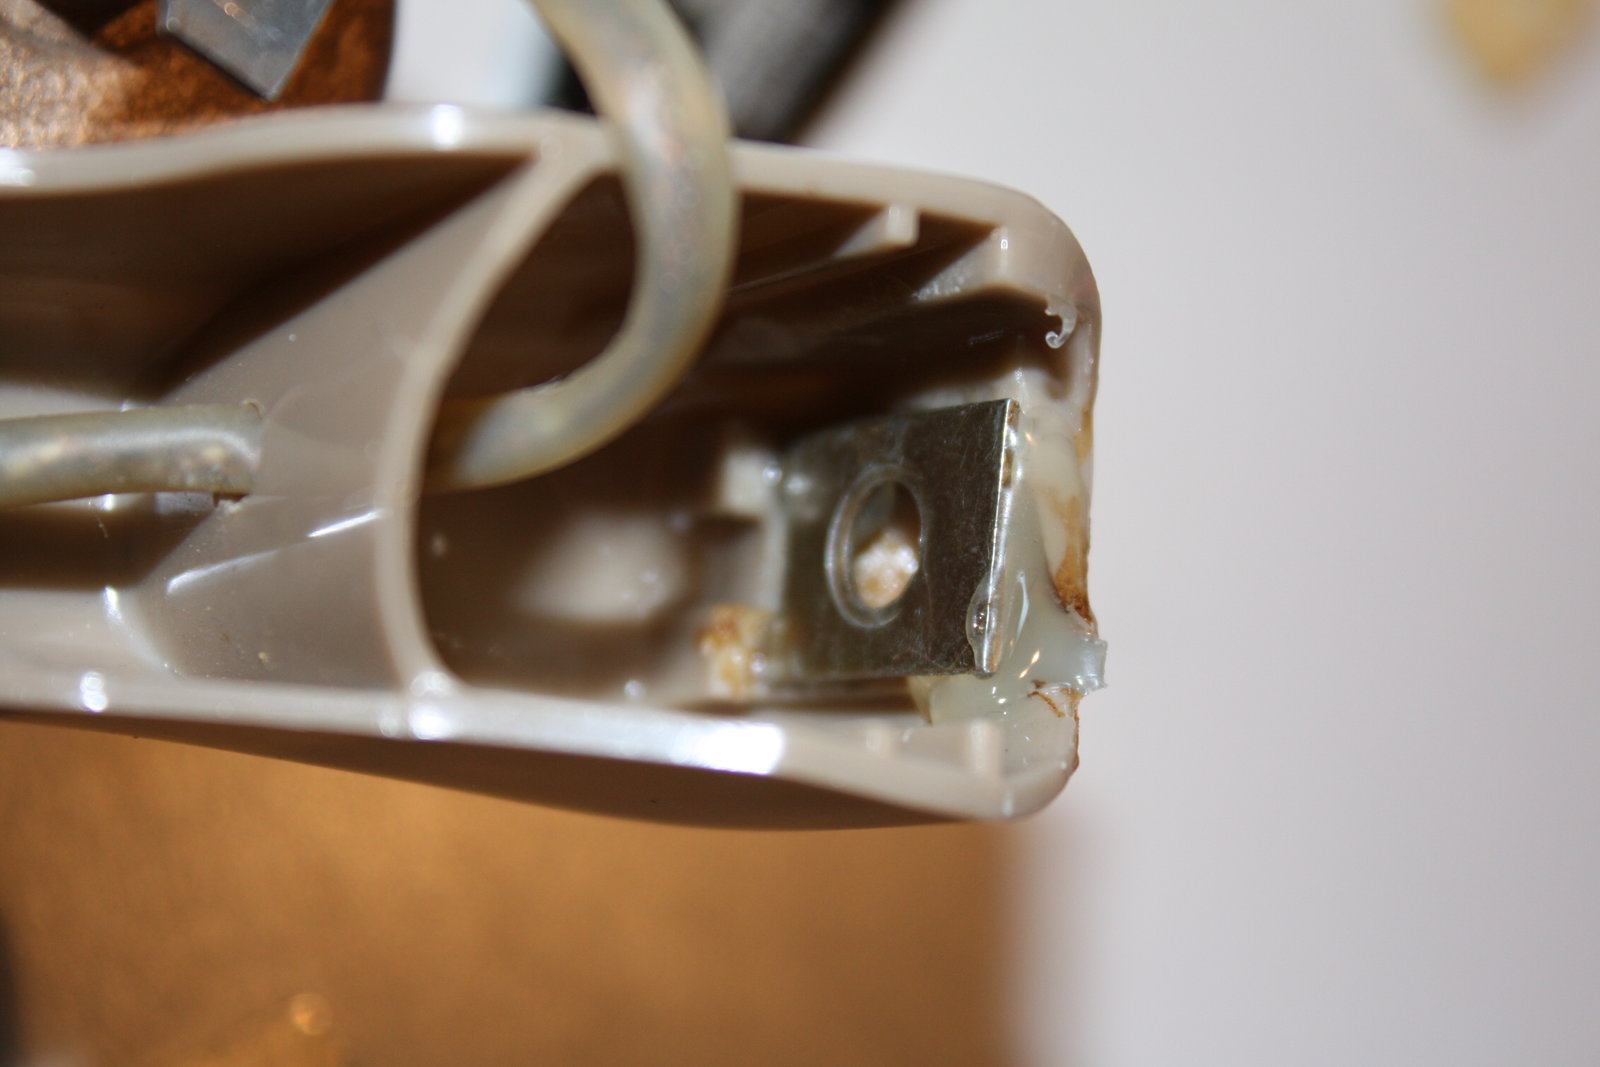
The pickup mounting is broken.
I repair it using some metal and hot glue.
The spring will be replaced...
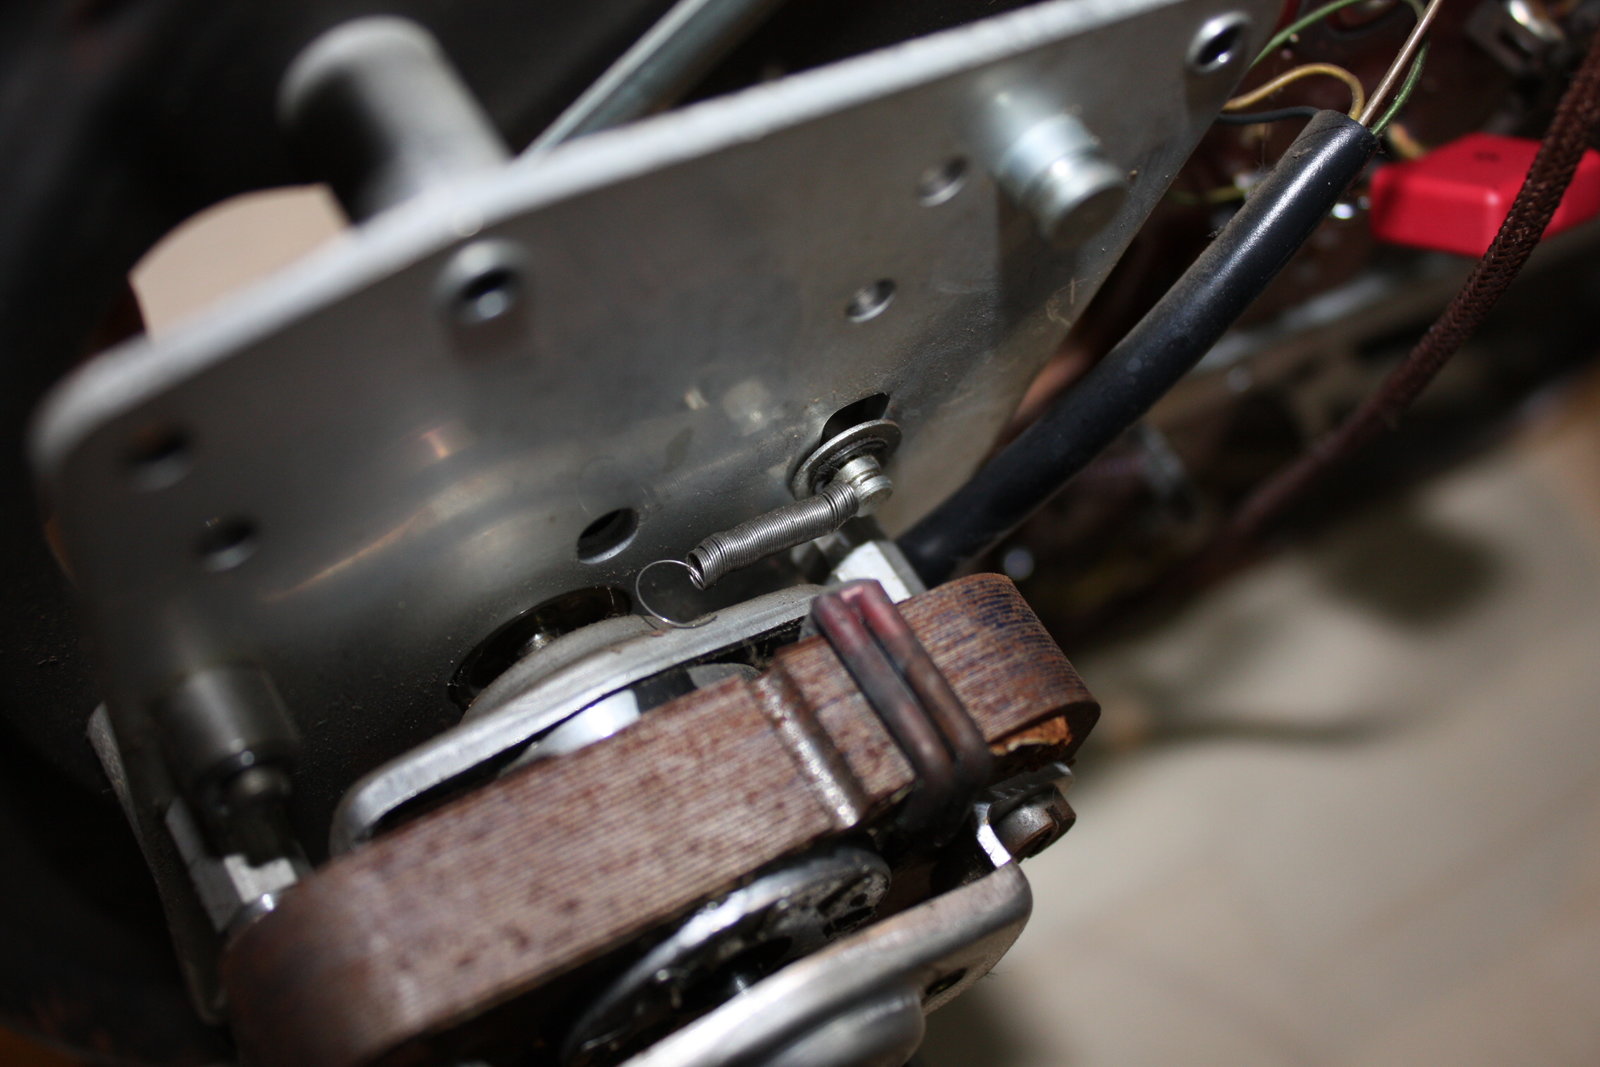
The motor bearings get cleaned and receive some lubrication:

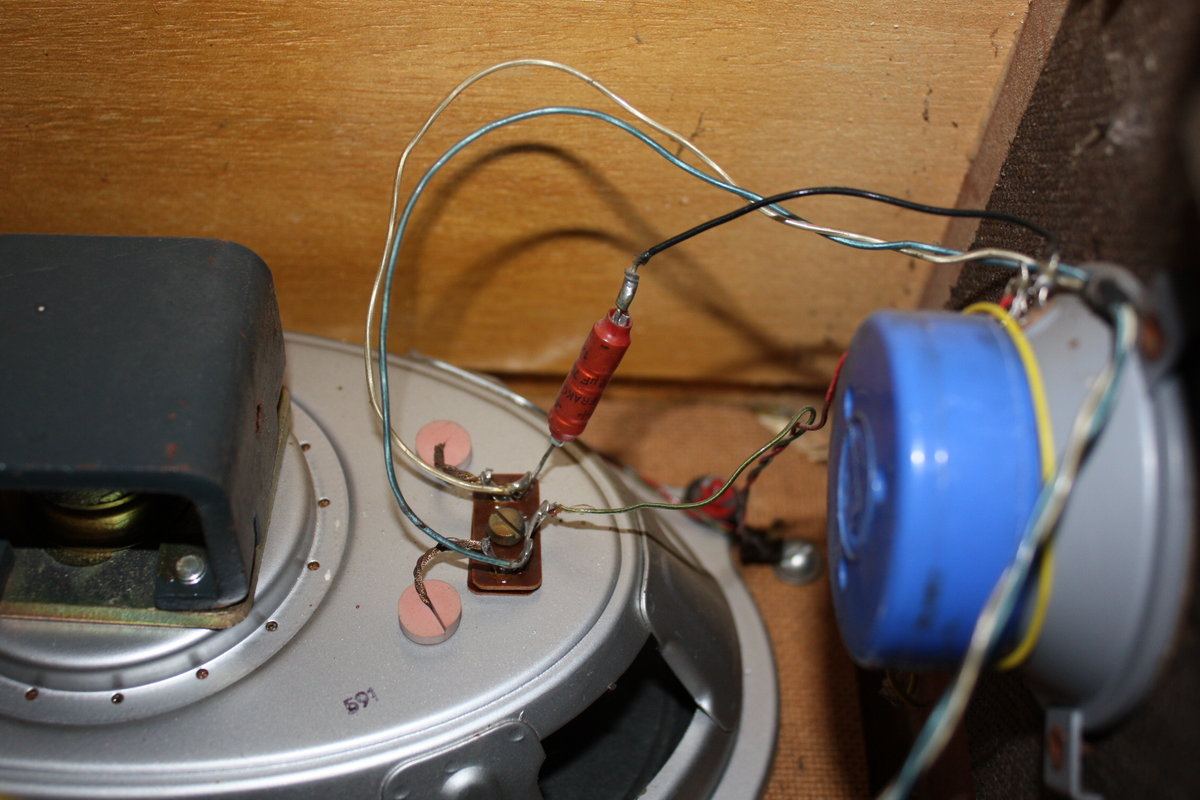
The record player cabling finished:
2015-04-12
New lubrication for the turntable roller bearings (how they look like)
Finishing the radio
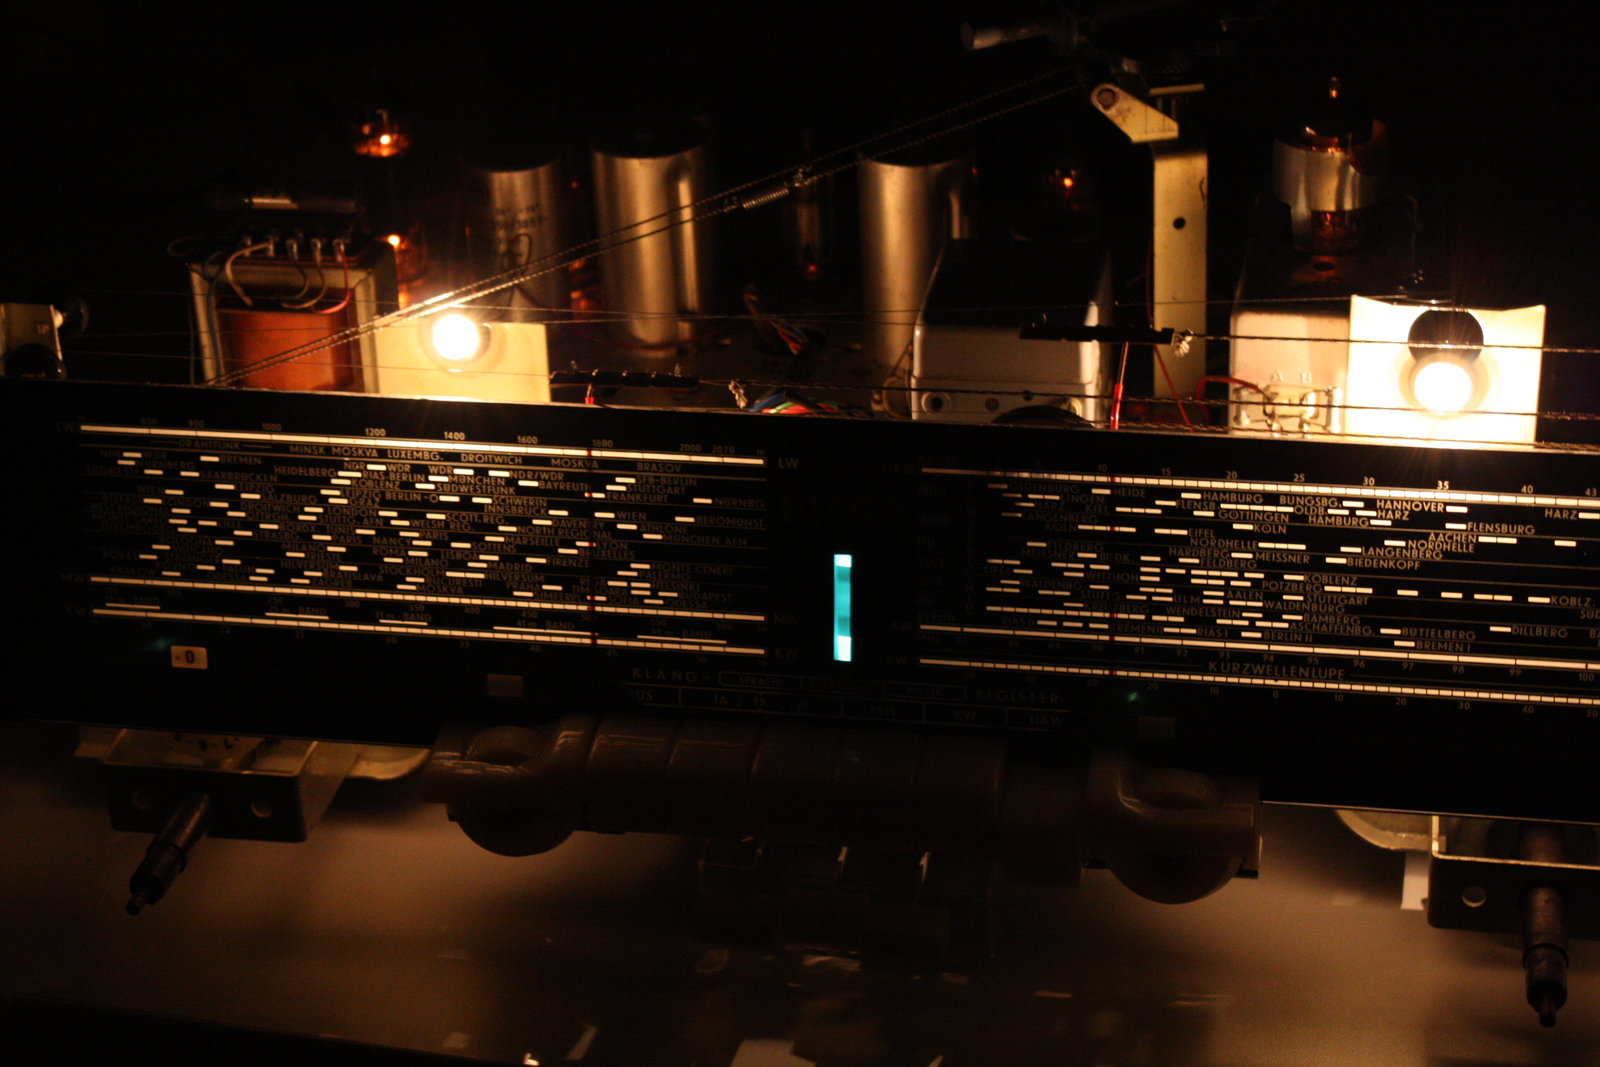
Here the documentation of the final steps in repairing the radio. With diffuser foil salvaged from an old LCD screen, I managed to get a uniform light distribution behind the scale glass.
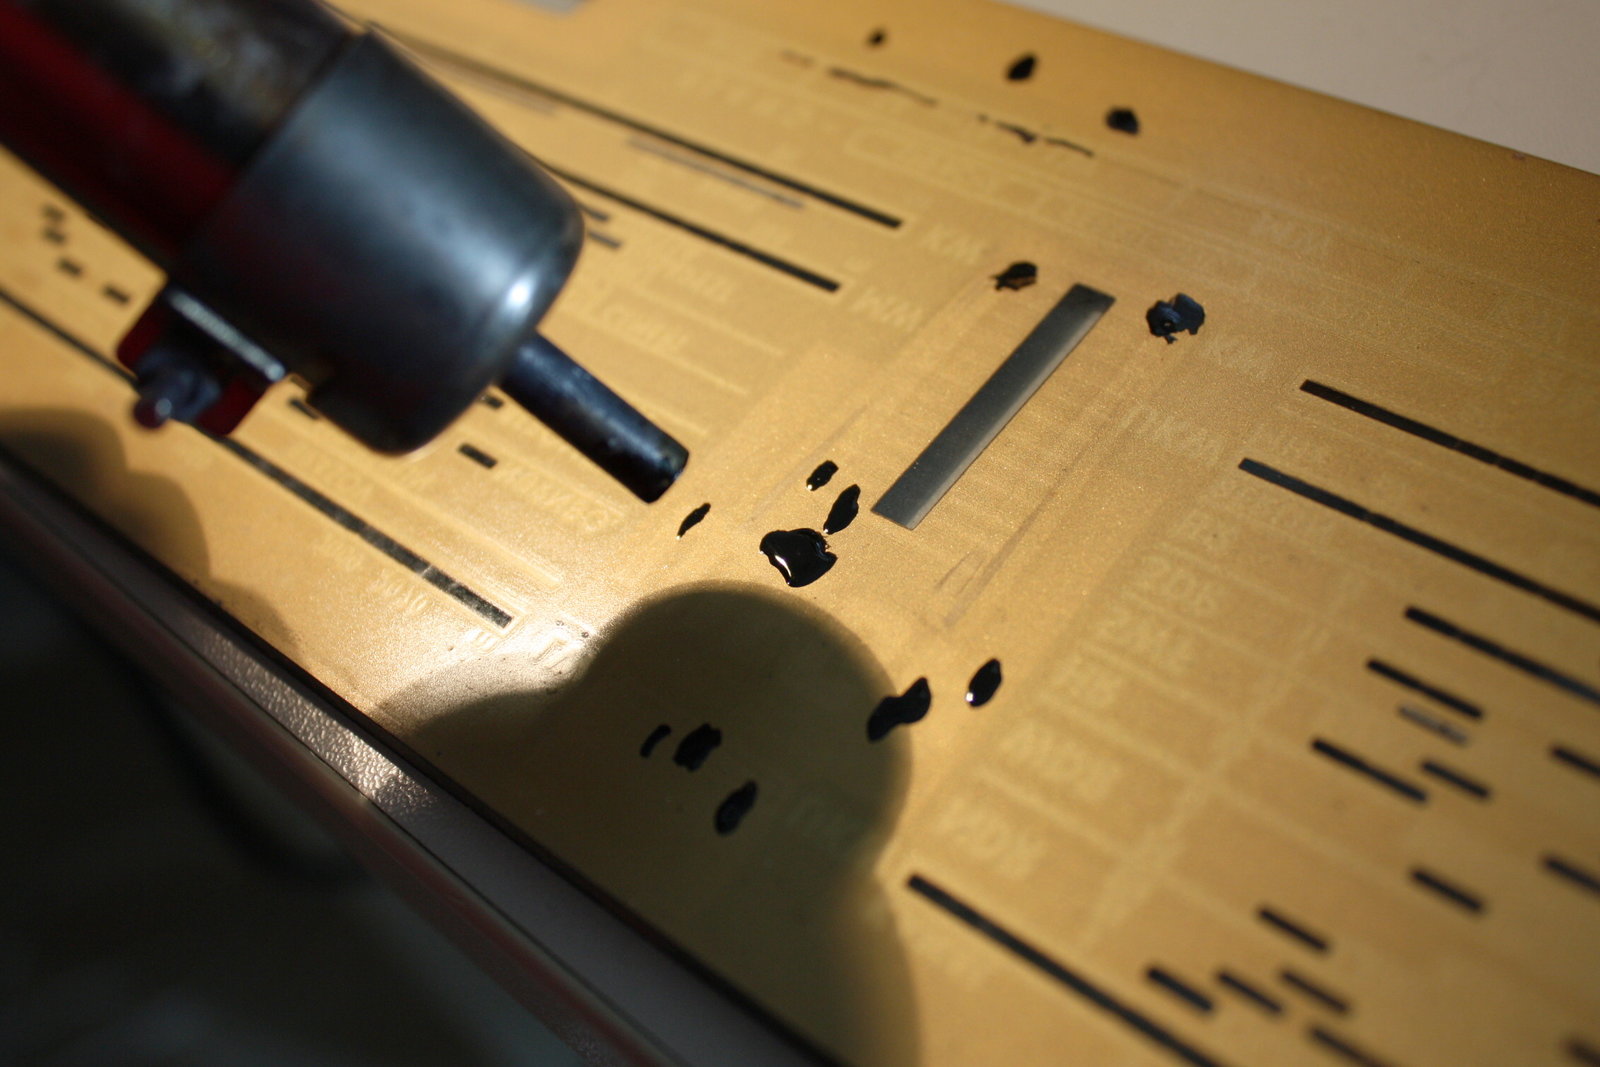
I took special paint (fixated by heat application) to remove some stains in the scale glass (especially small scratches where light was coming through):
To replace the old "Preh" switch I found a great thread in the dampfradioforum.de. I got two switches...
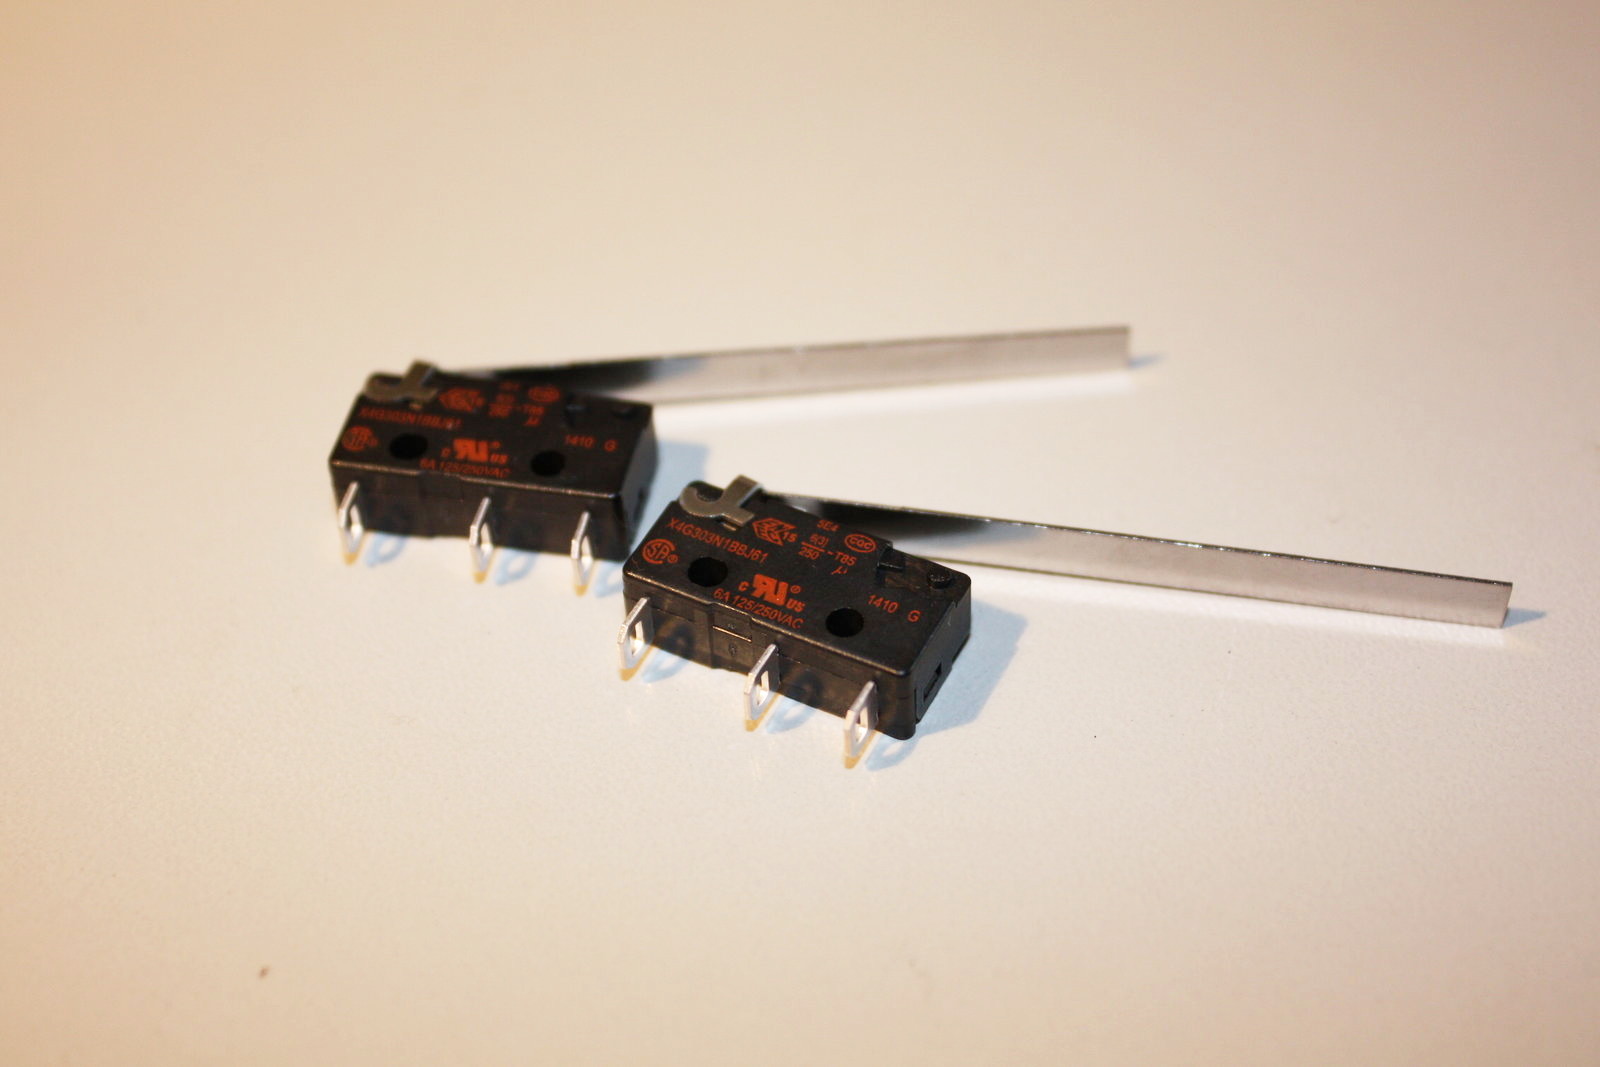
...combined them (the plastic spacer is to prevent the contacts from touching each other)...
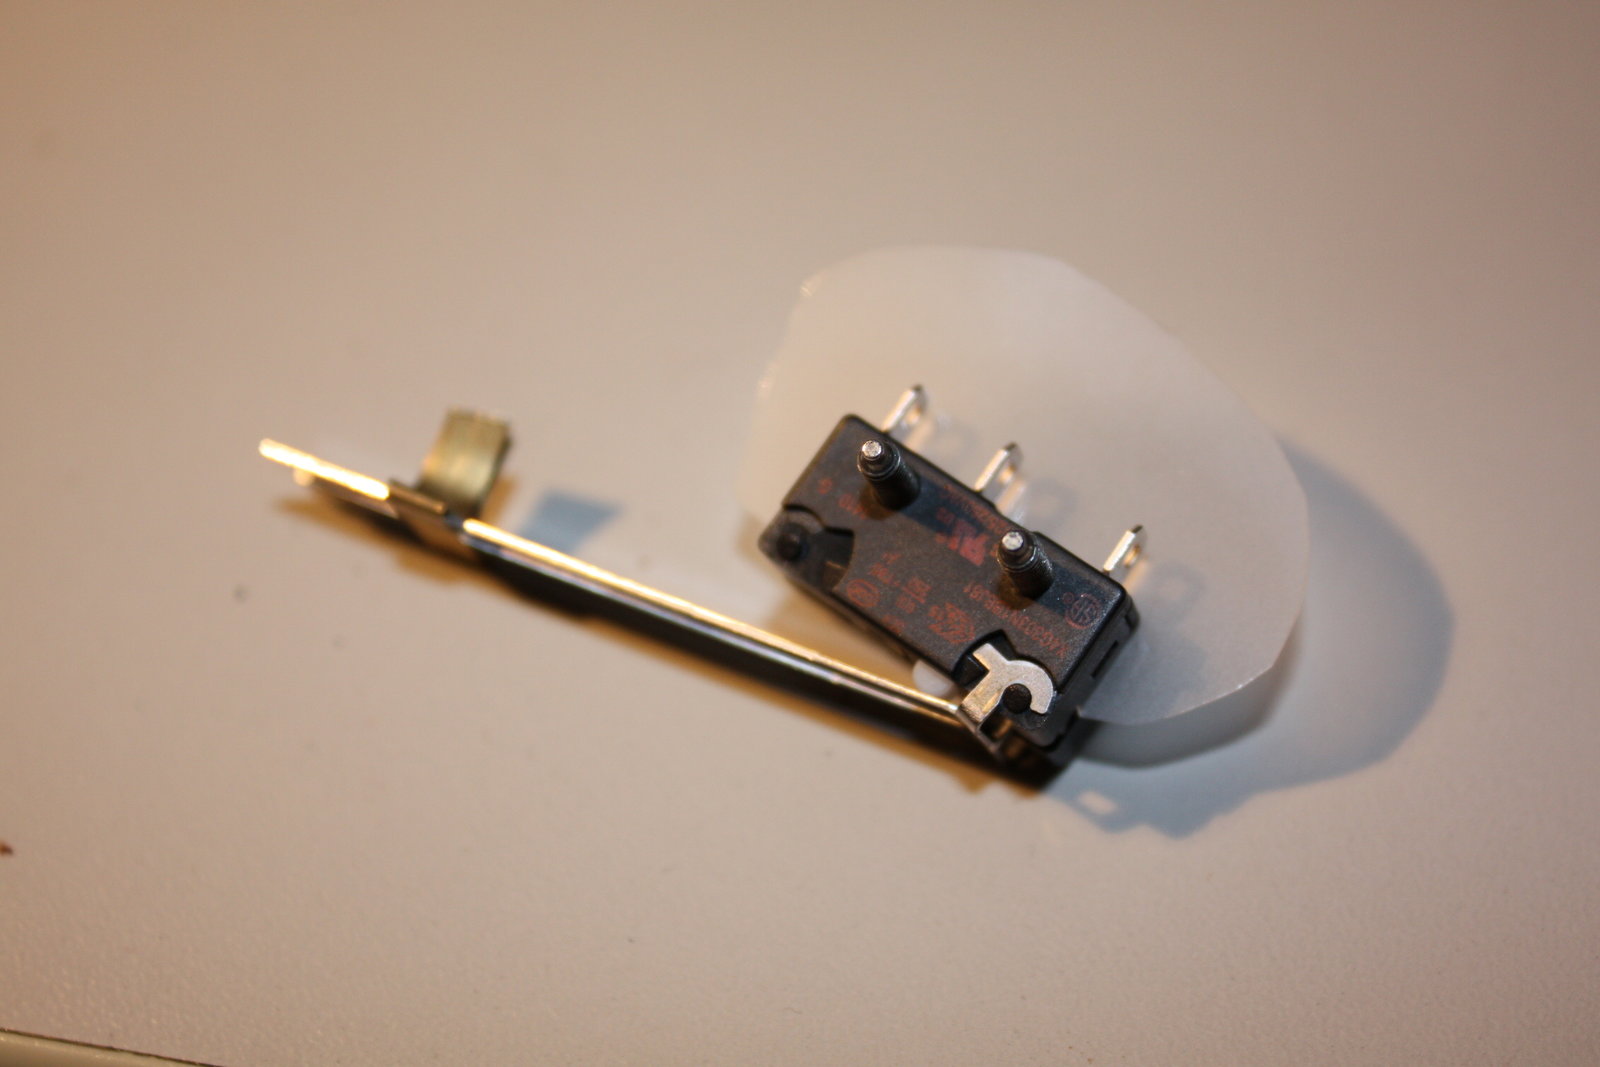
...and put them in the radio:
Scale markers and diffuser foils in action:

And shining through the scale glass:
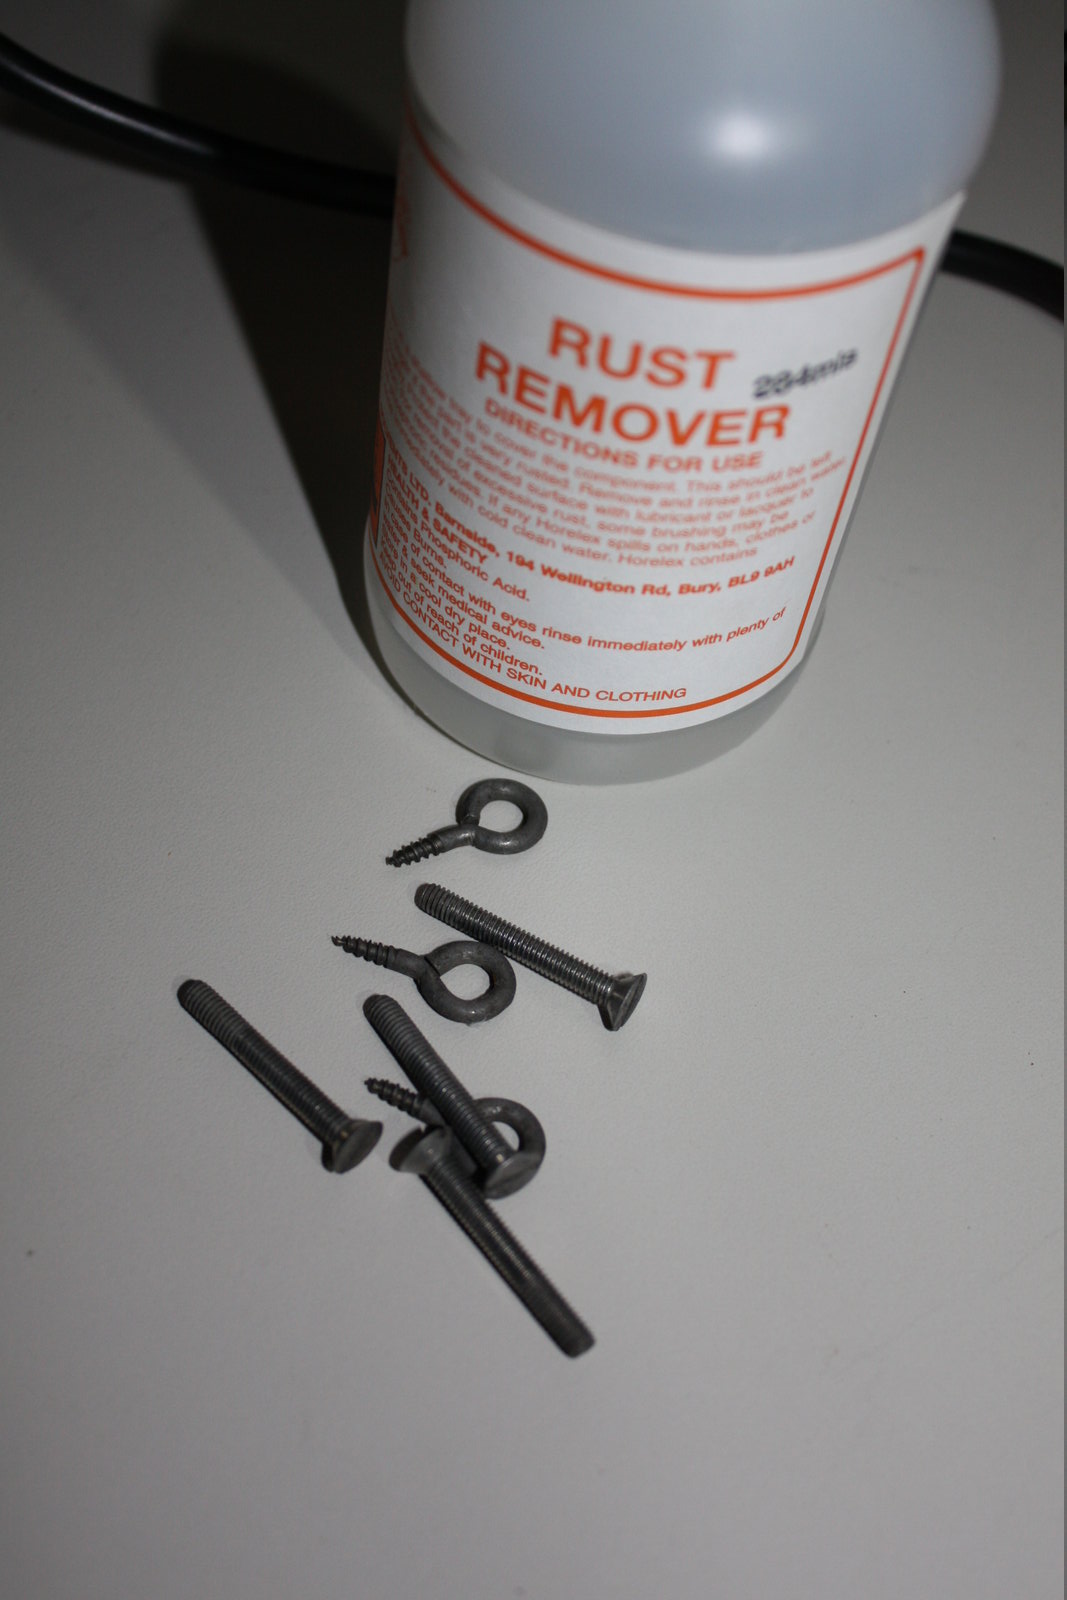
Removing rust from the old screws:
Remounting the chassis:
Fits in perfectly...(and looks cosy when running):
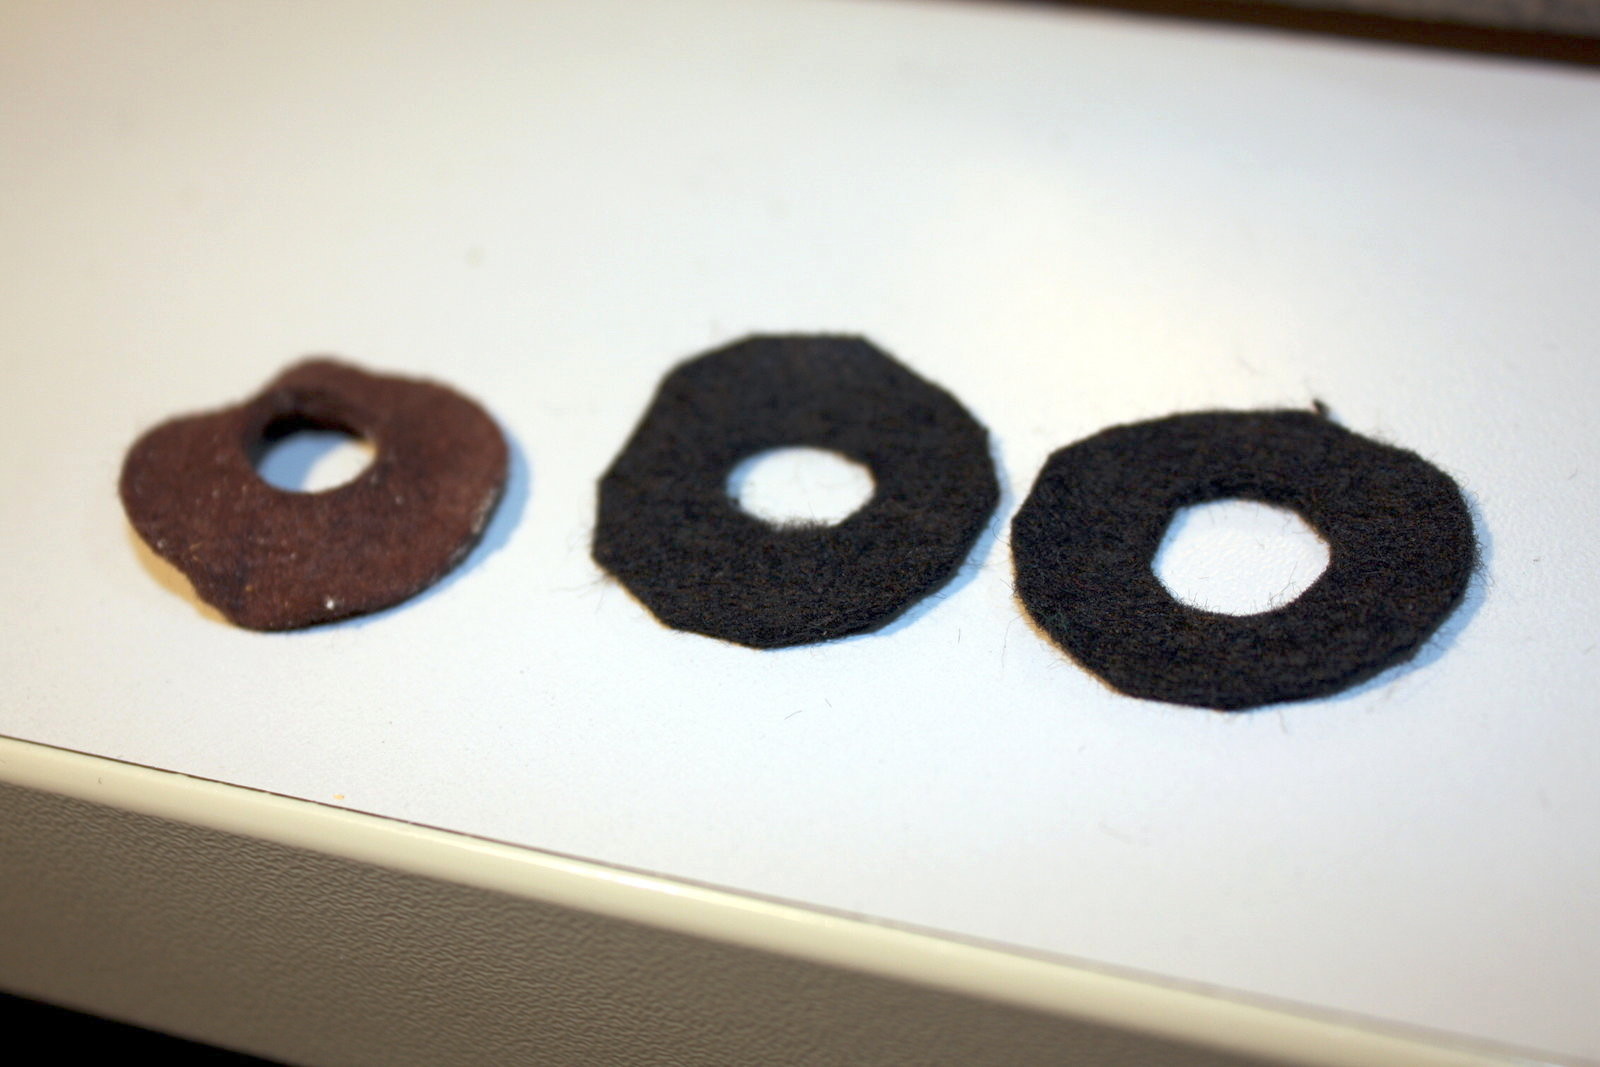
I used some black felt to cut new washers for fitting them between the scale glass and the tuning knobs:
And finally a shot of the +/- finished radio (maybe I will add another shellac coating, but not now =-)
greetings noq2
Comments