Revision of the famous Omega "Cone"
A rusty encounter...
Some weeks ago I received this Omega Seamaster f300 watch, actually a quite cool tuning fork watch (just as the notable Bulova Accutron). But this one has apparently seen some humidity in the past...
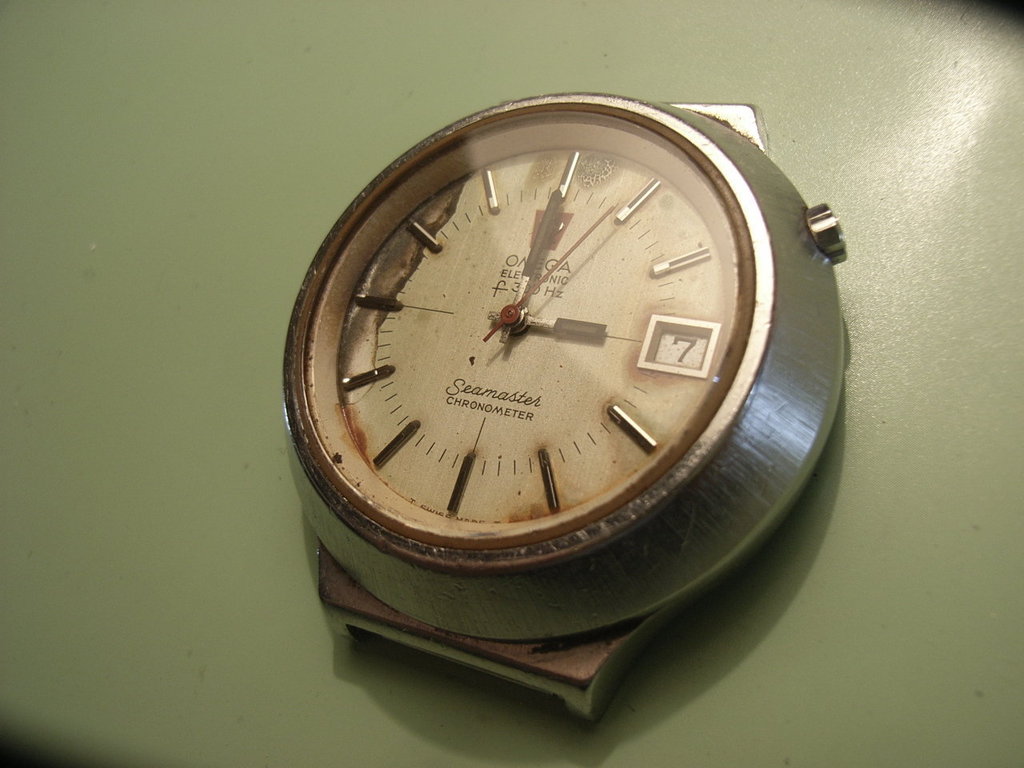
Okay here`s the state of play: Partially corroded dial, discoloured hands, some severe scratches on the stainless steel case - not too good. At least the crystal seems quite okay ;-)
Time for removing the case back and for having a look inside...
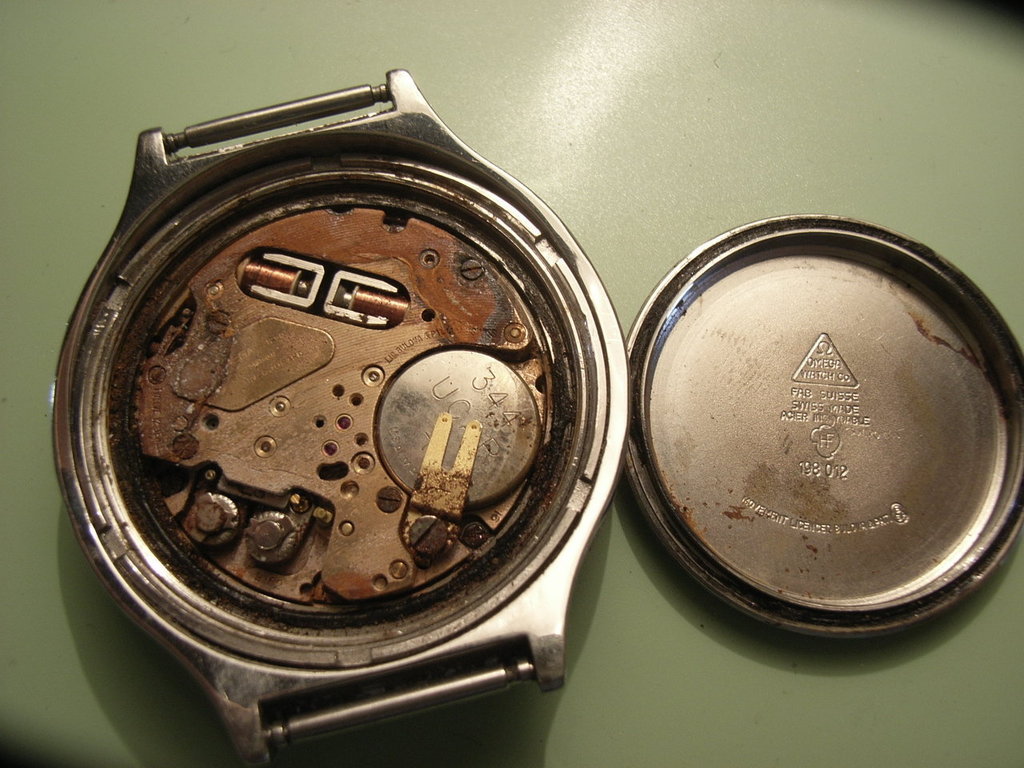
Sadly the movement - a licensed ESA 9162 - is a rusty mess and the former gasket has become a smeary, sticky black substance.
Pushing the reset button...
I started with removing the decaying gasket...(and forming a small ball out of it).

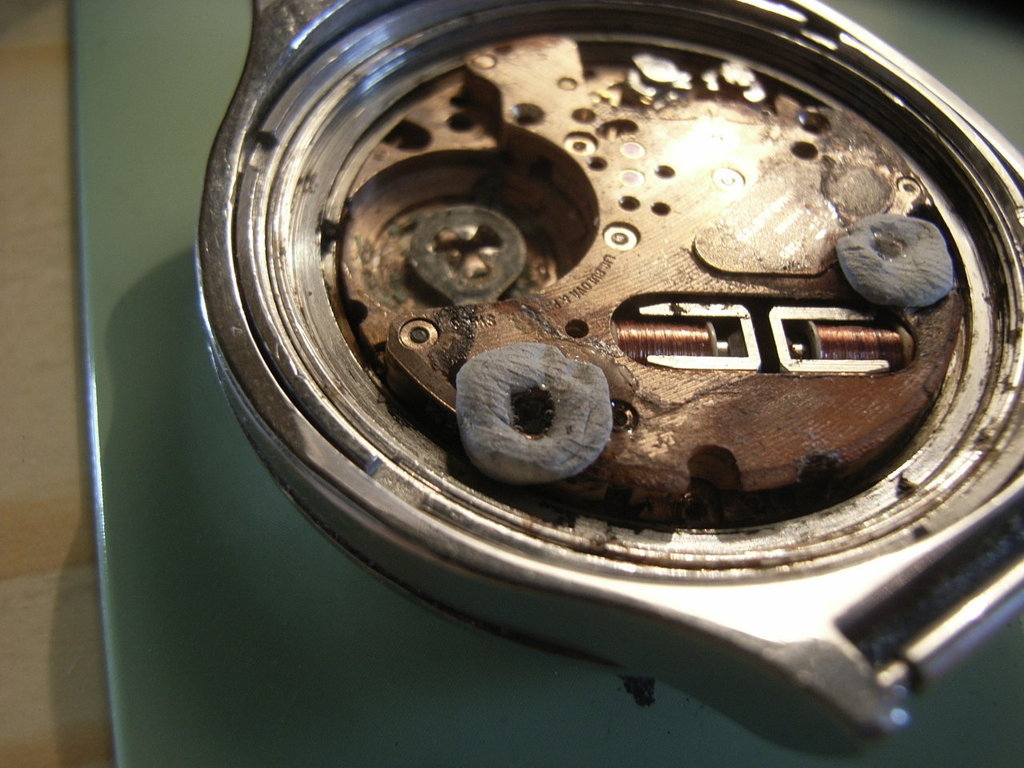
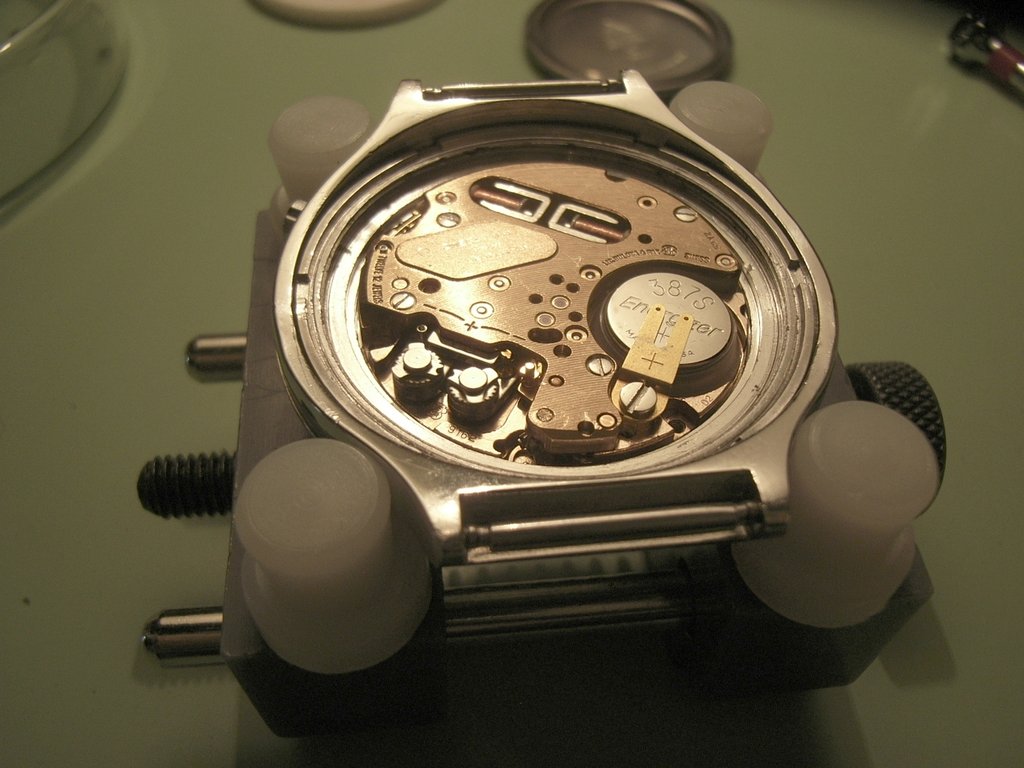
Battery leakage seems to be a minor problem here.

The orange coloured plastic isolation under the battery - almost etched away...

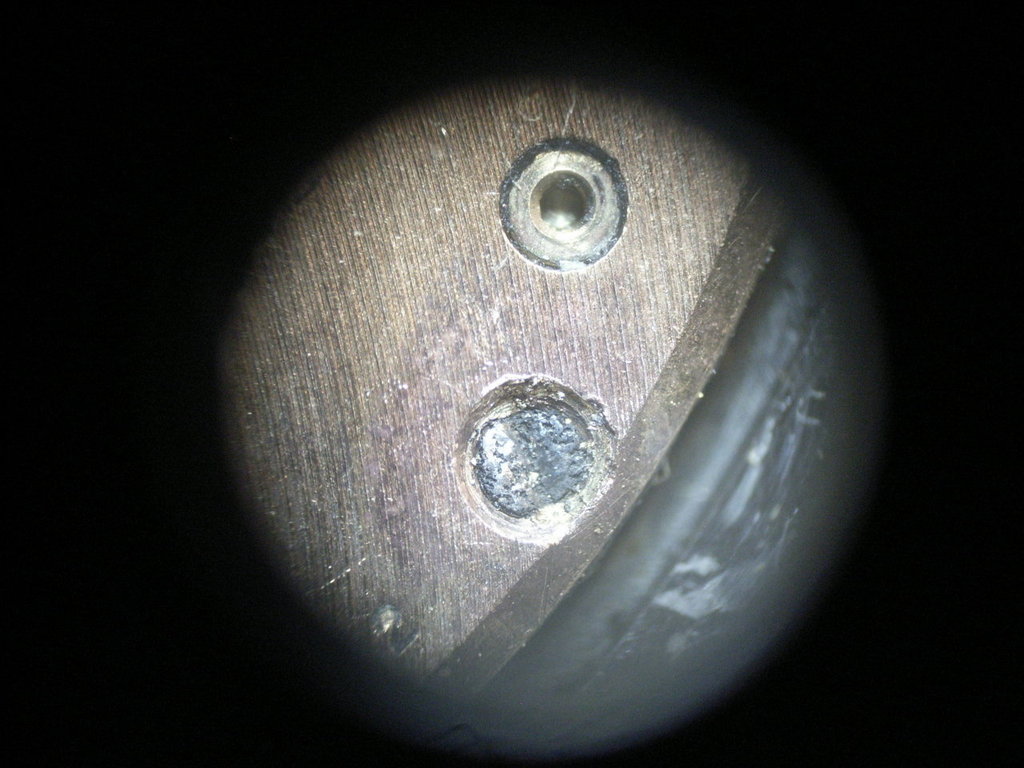
Getting the movement out of the case was not so easy. I had to dissolve two corroded screws first, in order to remove the tuning fork module (sometimes also referred to as oscillator module). Some 75% phosphoric acid came quite handy for this purpose (be sure to wear some safety goggles and gloves if you want to use this hint for your own projects).
I tried to protect the metal near the two screws with some Rodico - didn`t work too well, though. Capillary forces were stronger...
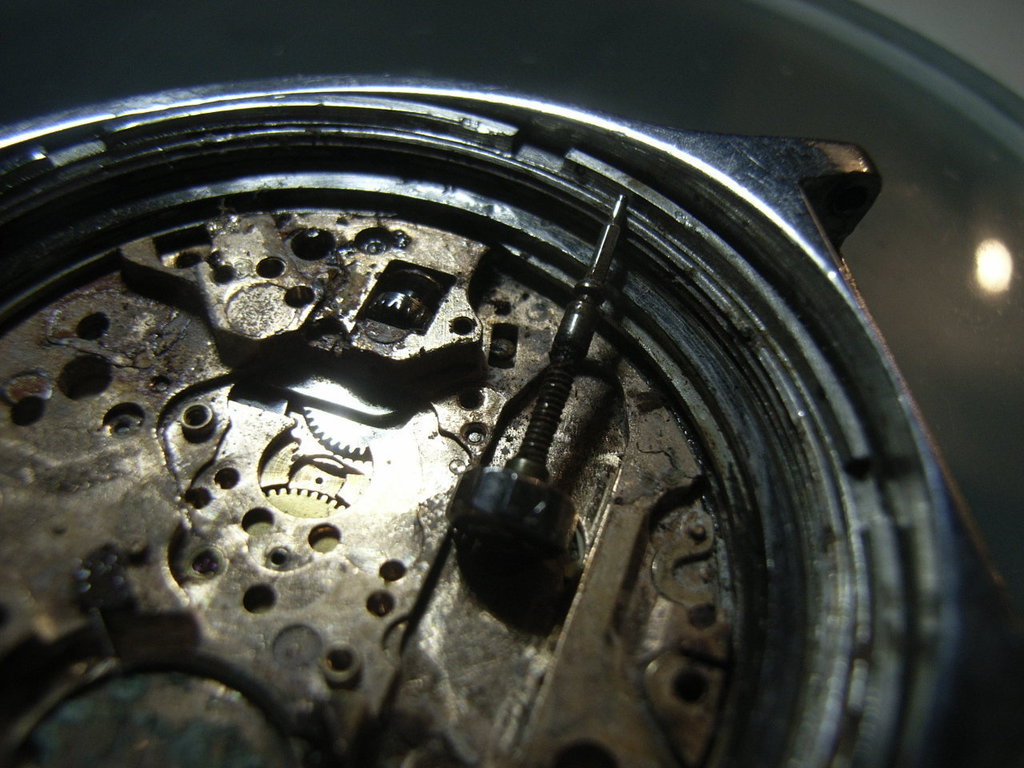
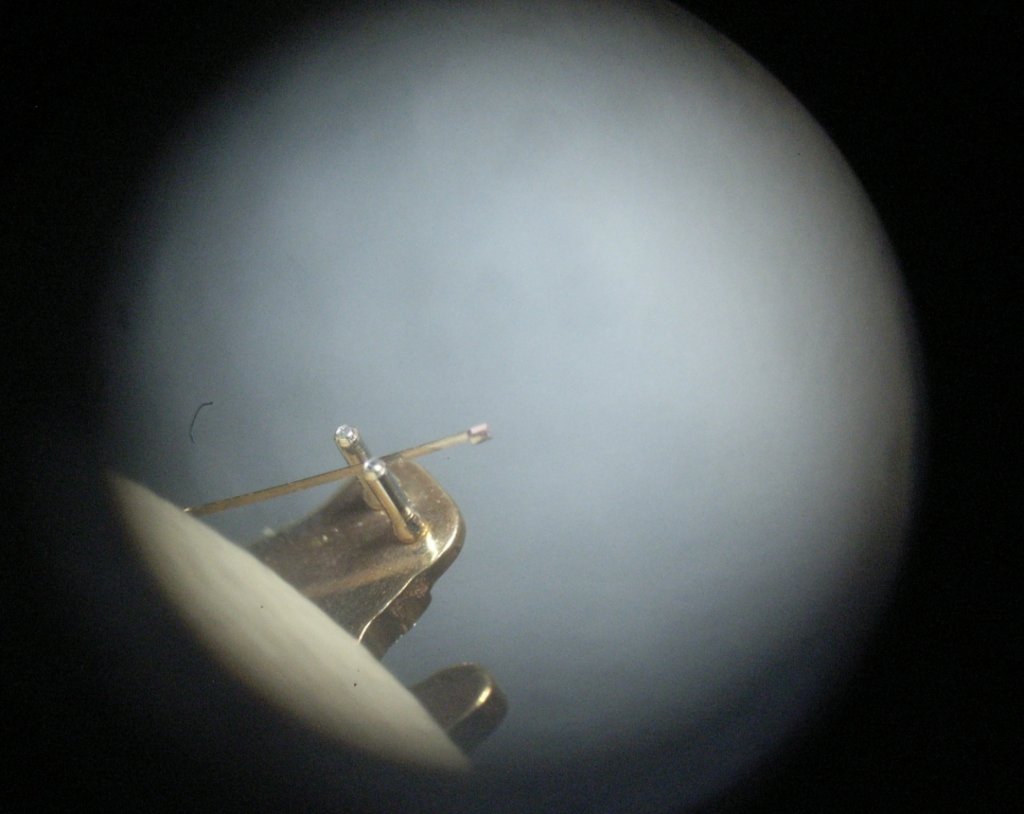
Here a shot I took during the dissolving of the screw.
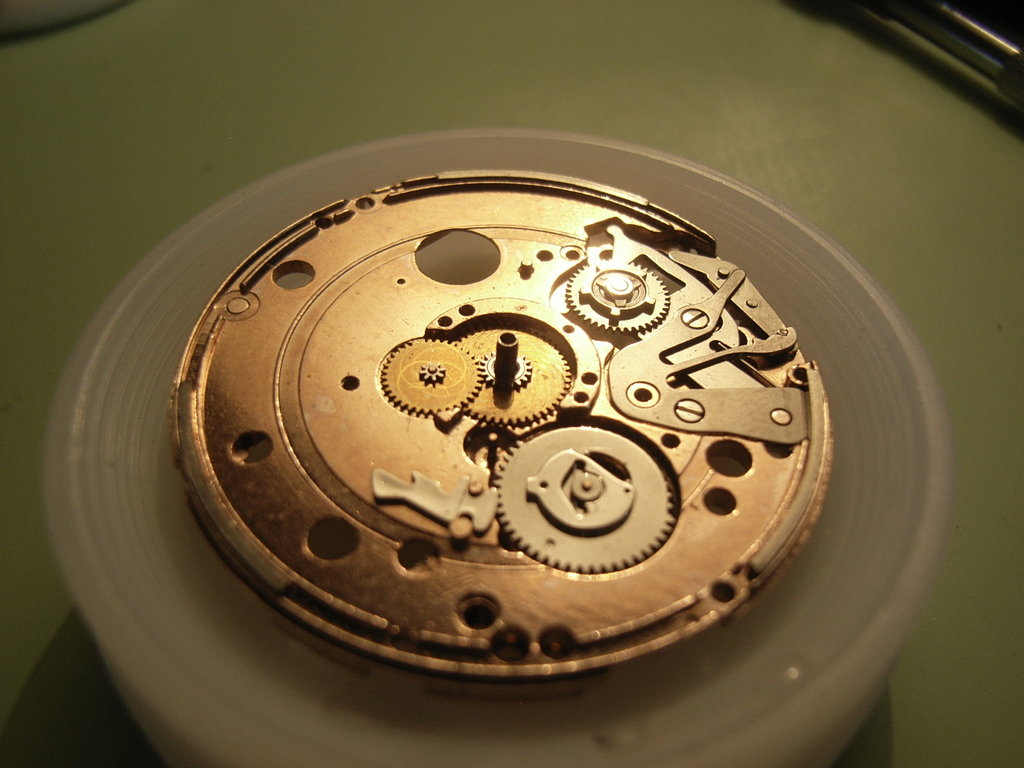
Finally - the oscillator module removed. Both coils are dead and imo the tuning fork needs to be replaced, too.
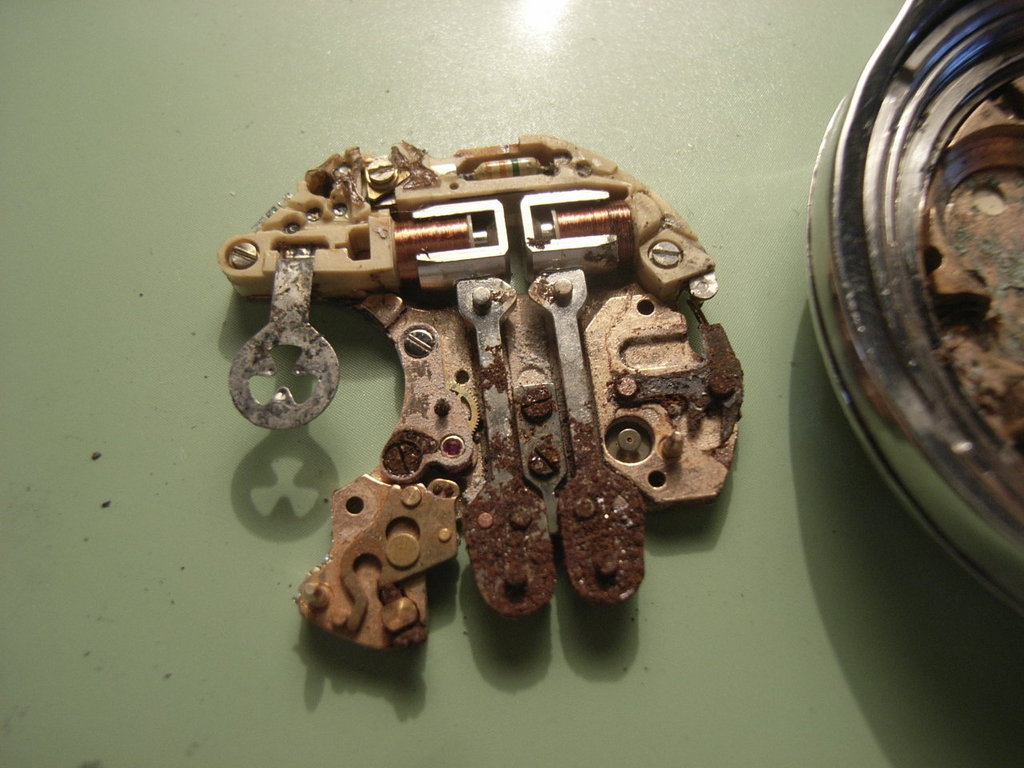
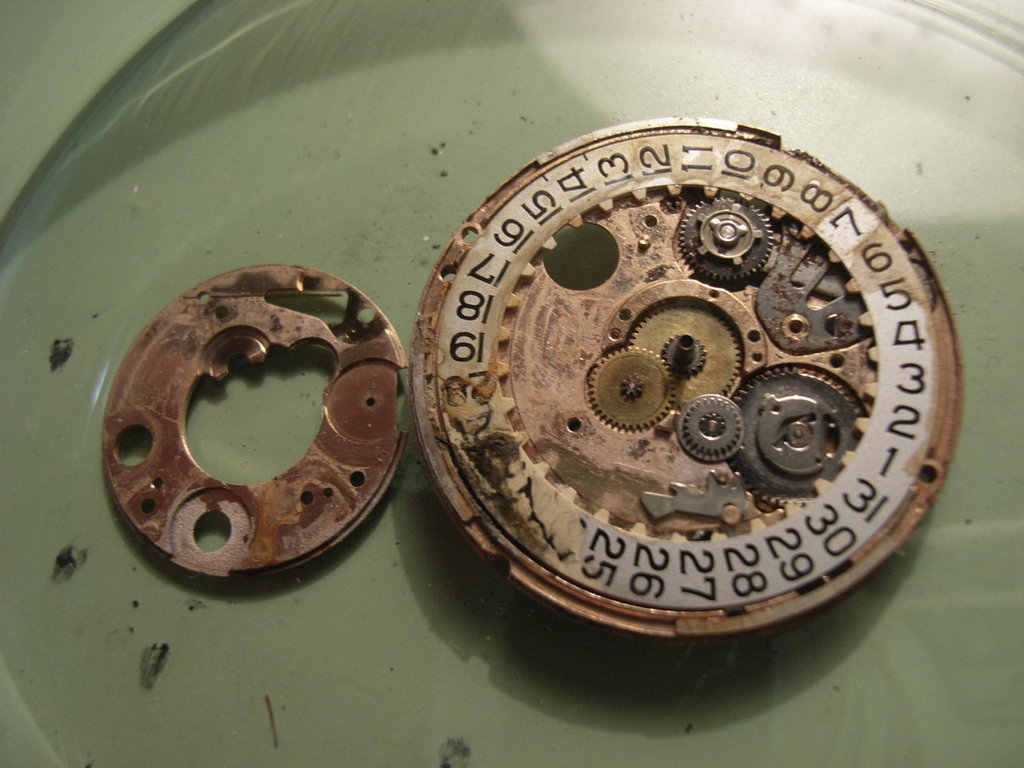
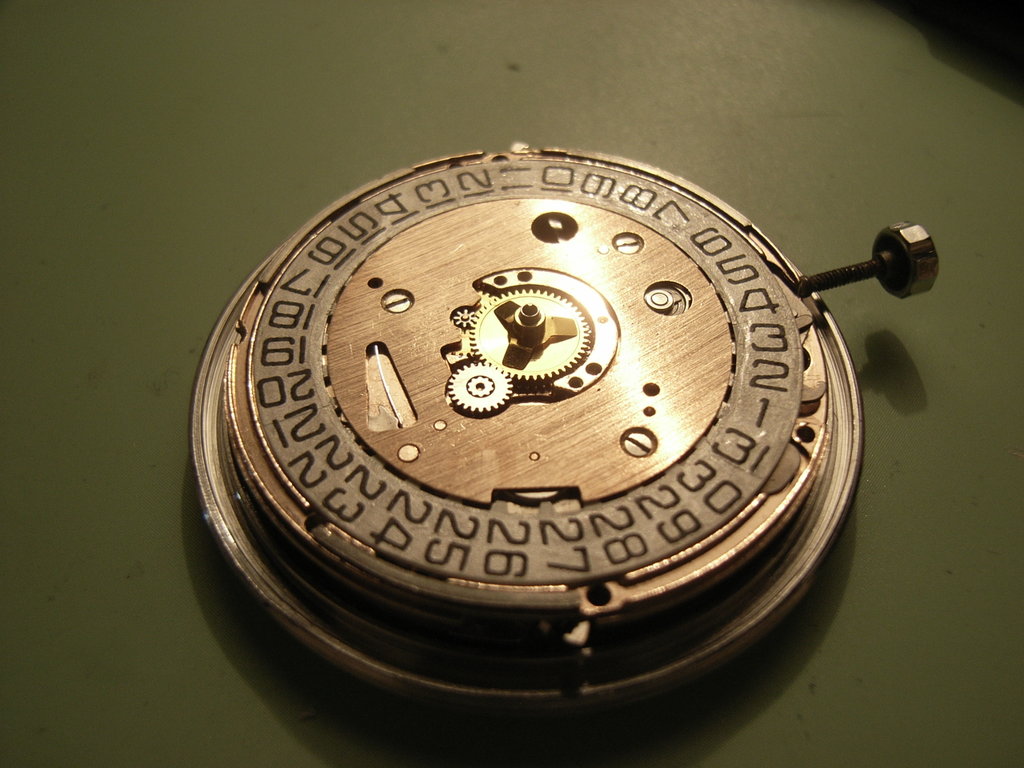
The remaining part of the movement including gear train and date mechanism.
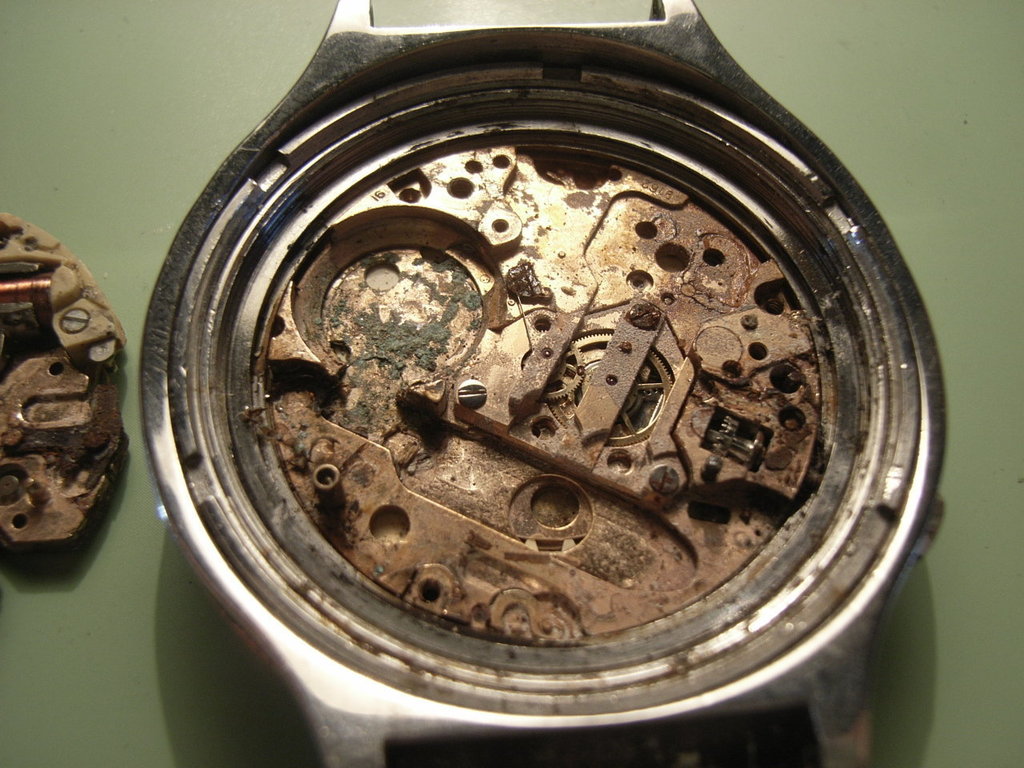
Another stepstone for getting the movement out - the setting stem with crown removed (again with the help of some phosphoric acid).
Sadly, the date ring, as well as the whole setting mechanism is irreversibly damaged.
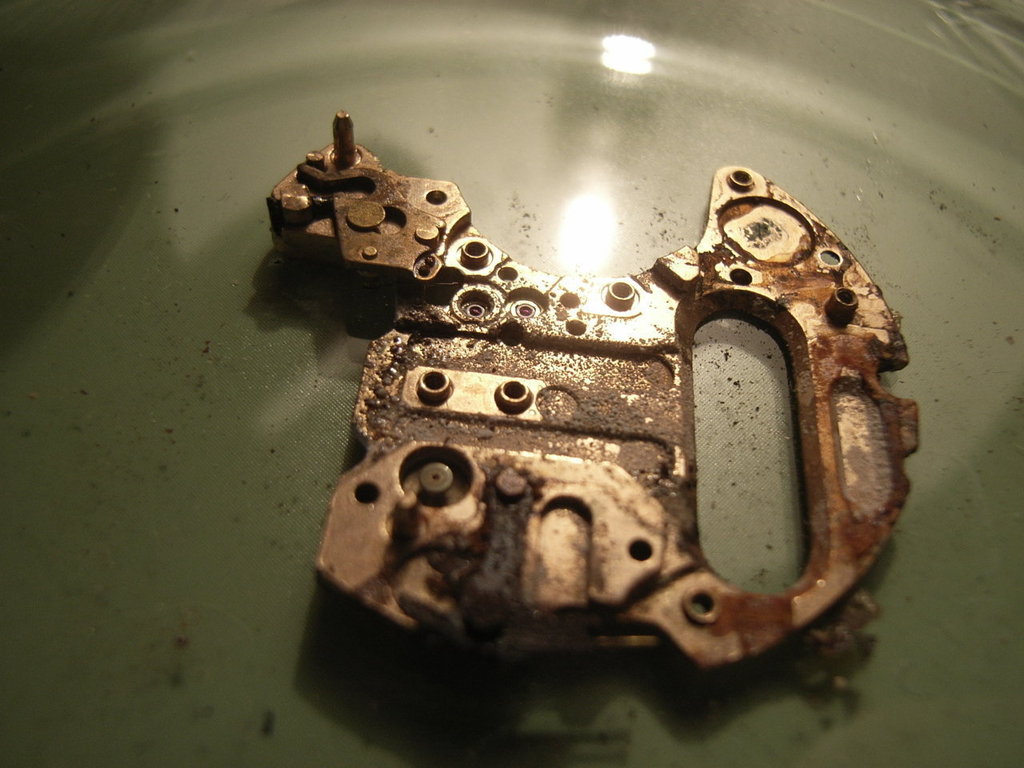
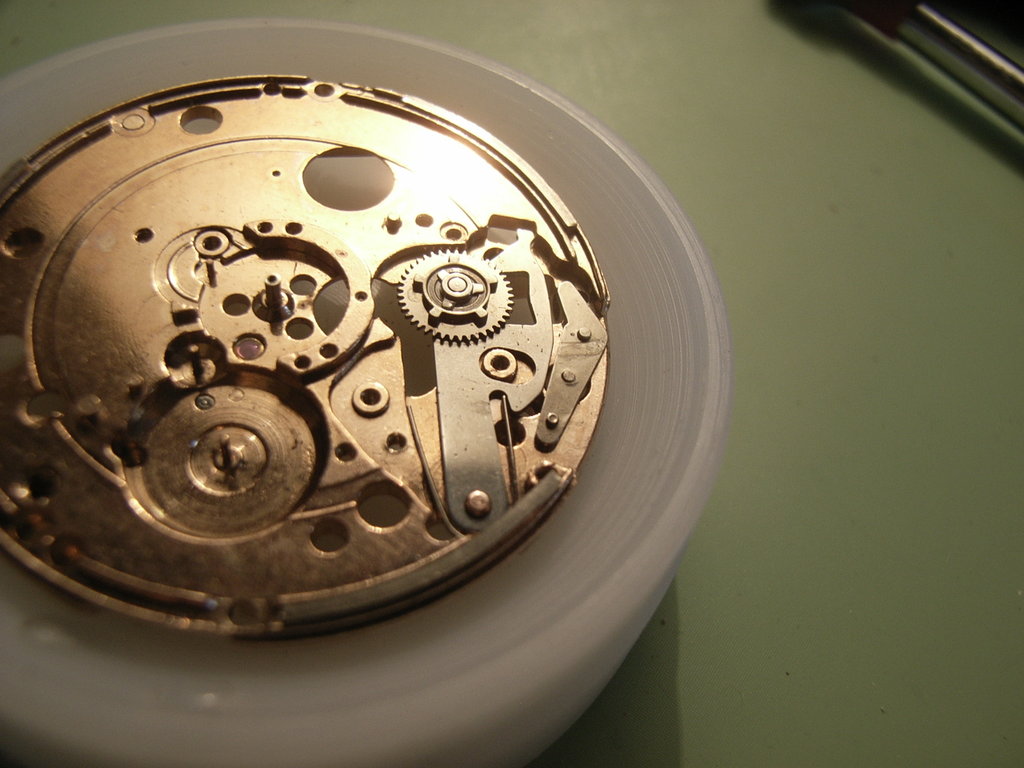
The base plate of the tuning fork building group.
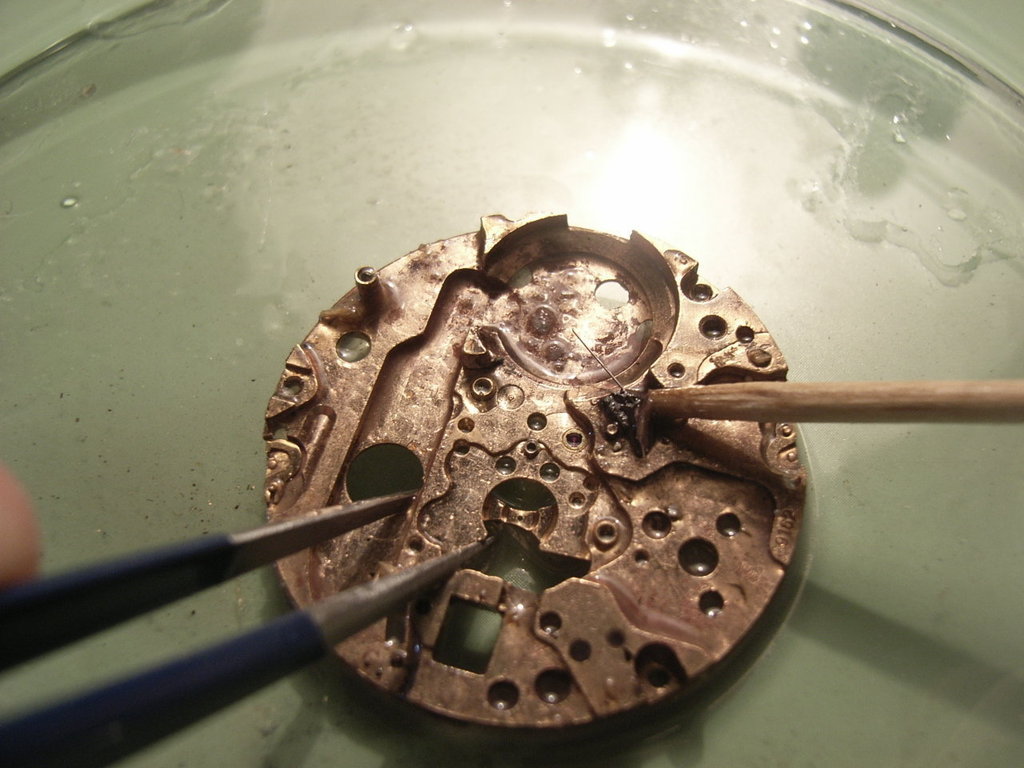
Here I started with removing the rust from the main plate.
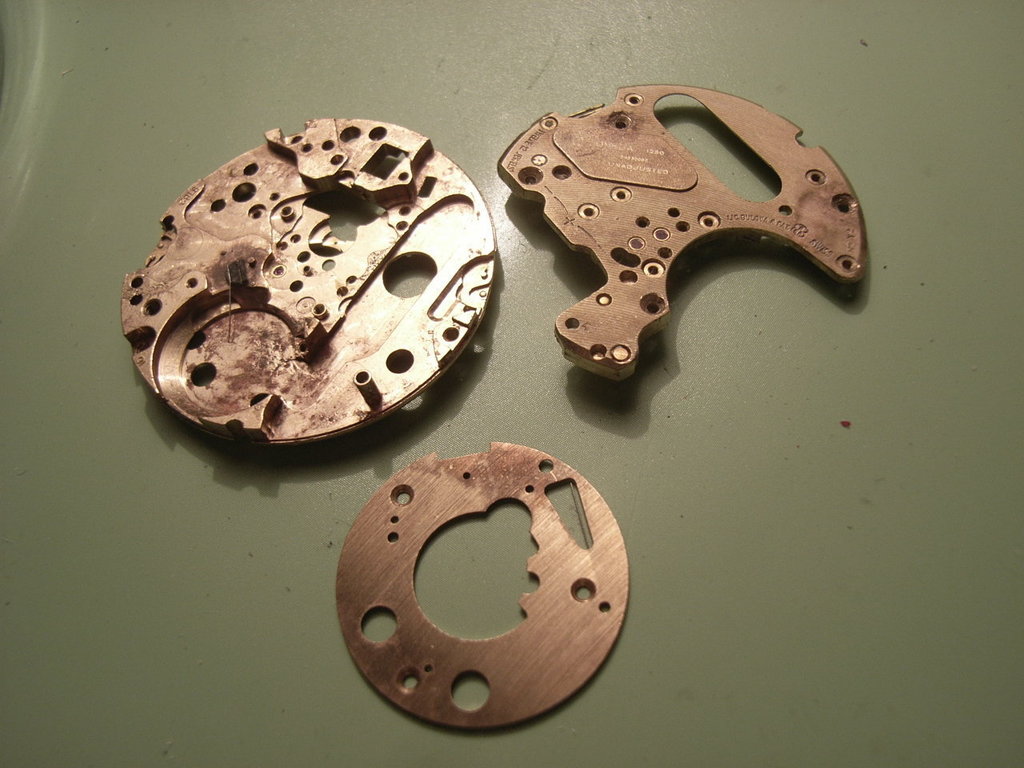
And this is how the base plates looked like after a close encounter with my rust remover...
The tuning fork - most of the corrosion came off quite easily.
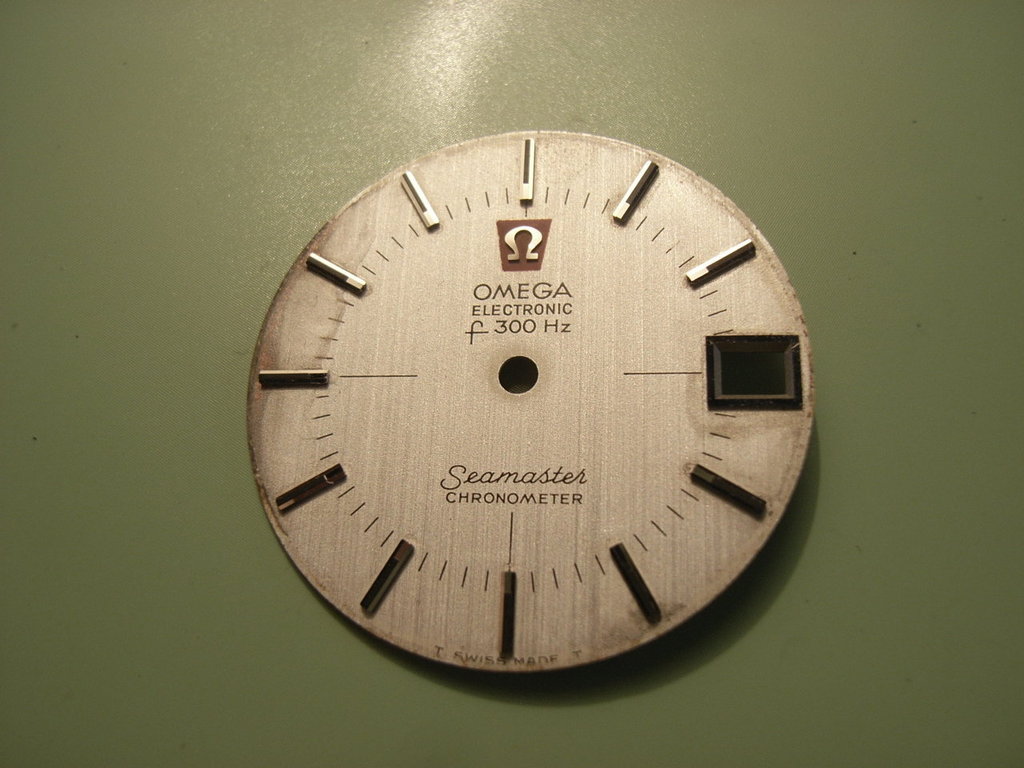
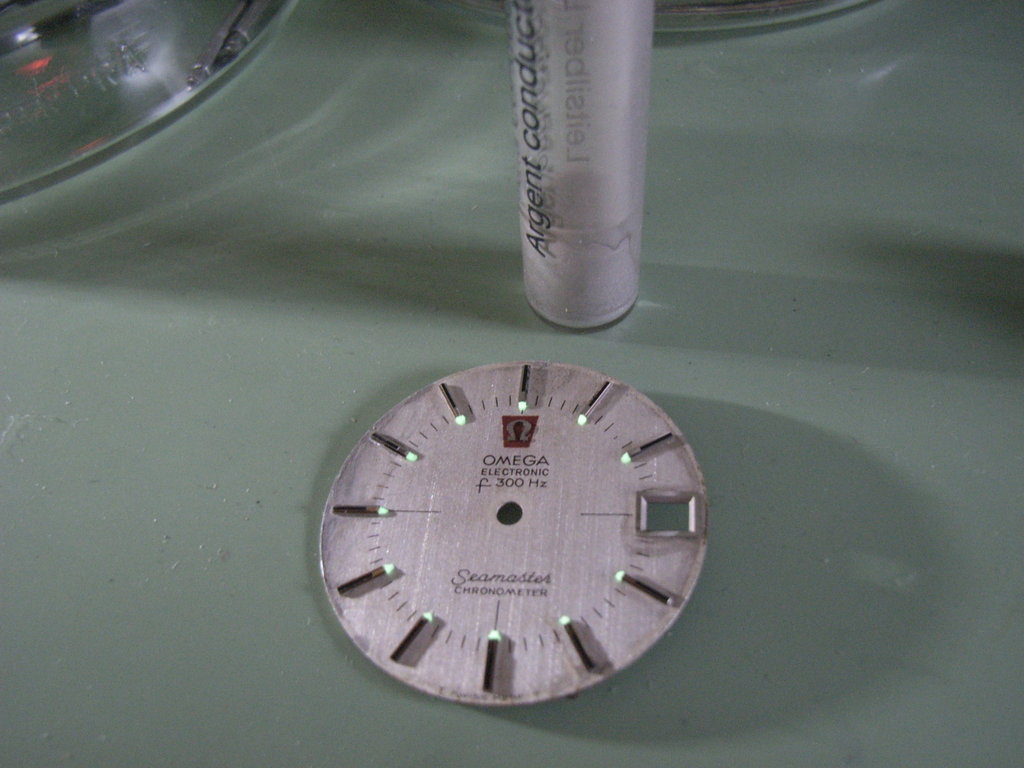
I was actually quite surprised that the dial was well preserved below a superficial layer of dirt and rust. Due to its silvery tone the dial looks even better in reality.
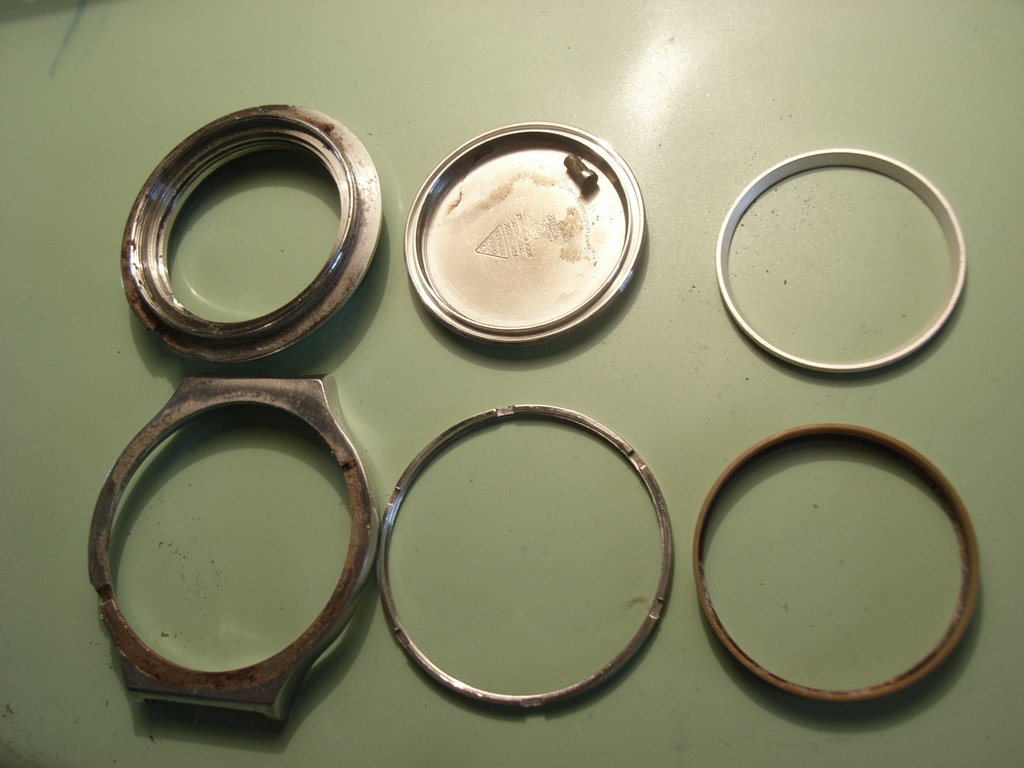
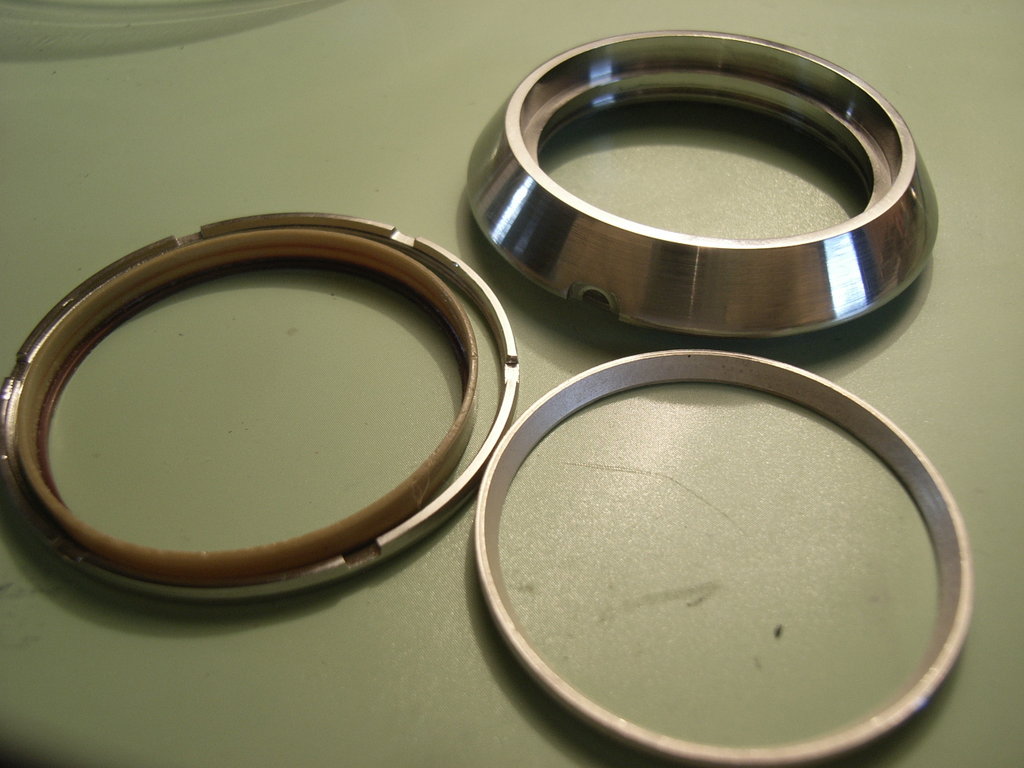
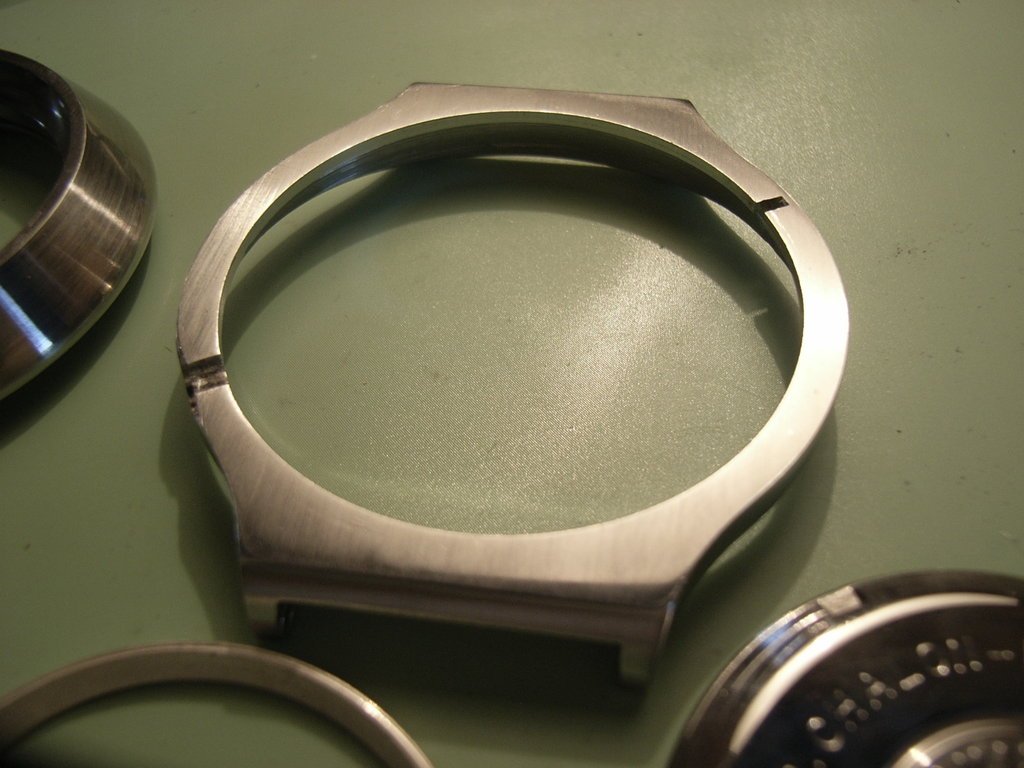
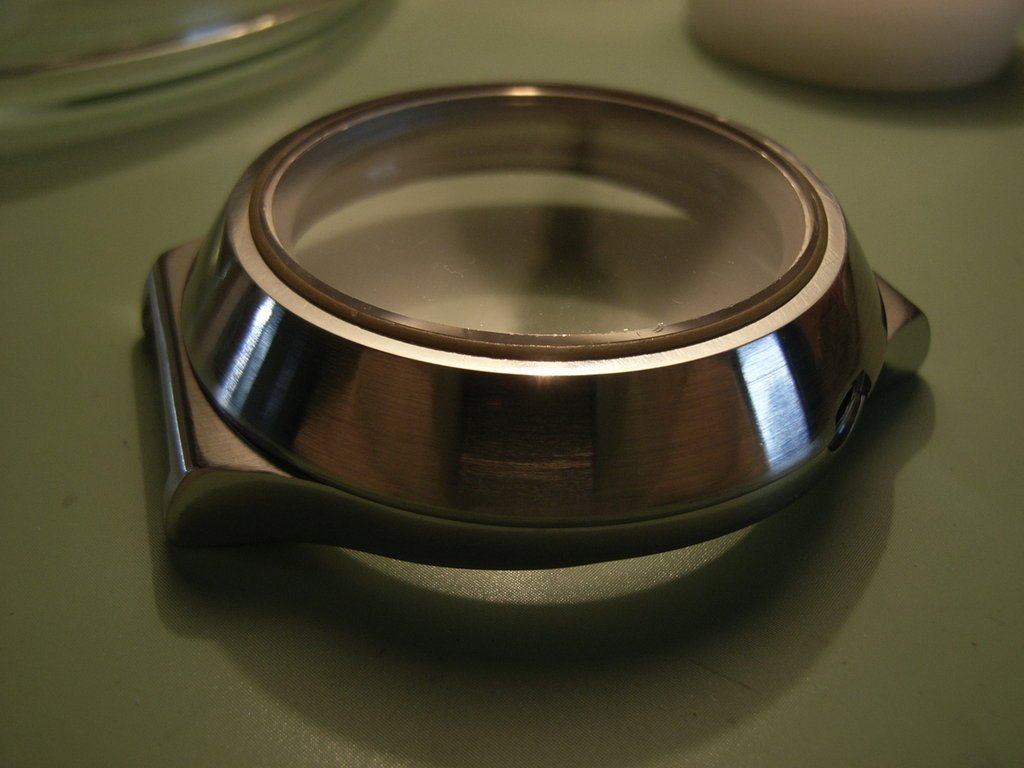
The Cone´s case contains more parts than you might expect.
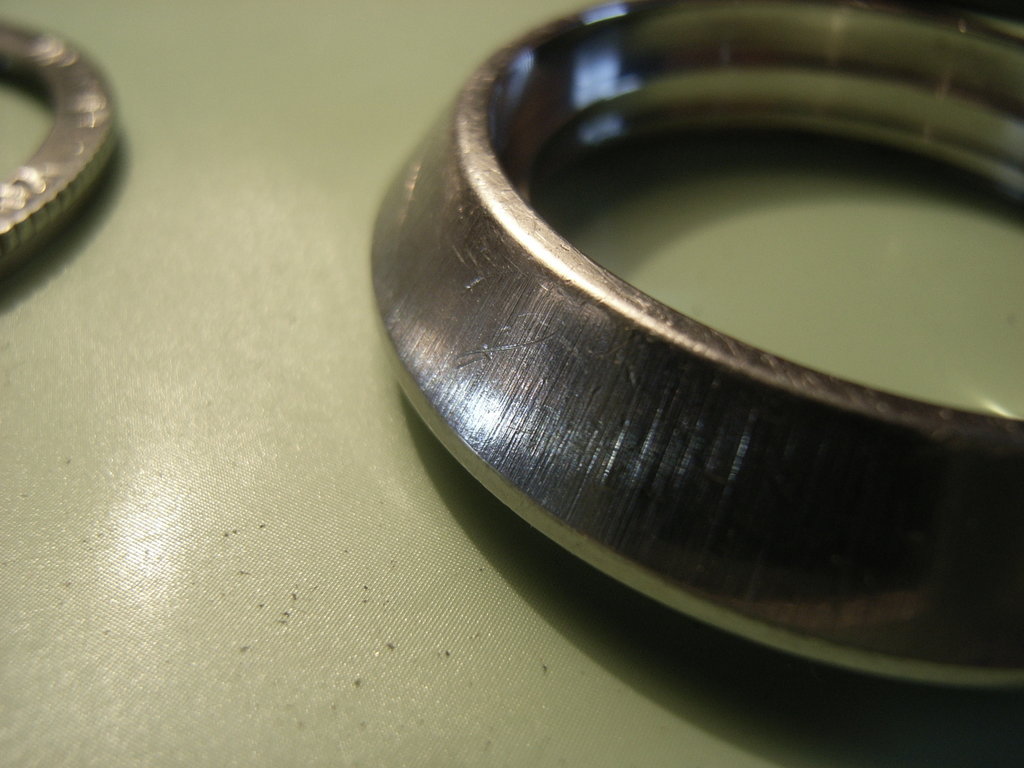
Now here again the eponymous "cone" piece of it. You can still see the original finish with its vertical graining.
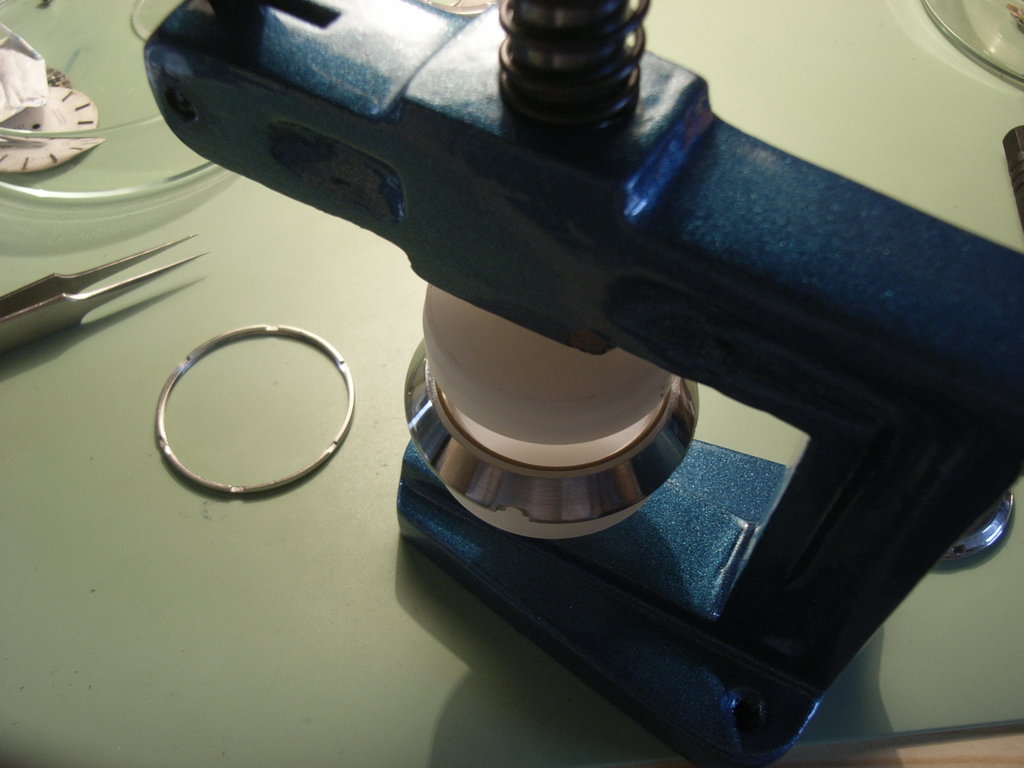
2013-07-07 - Polishing the case and getting it back together again...
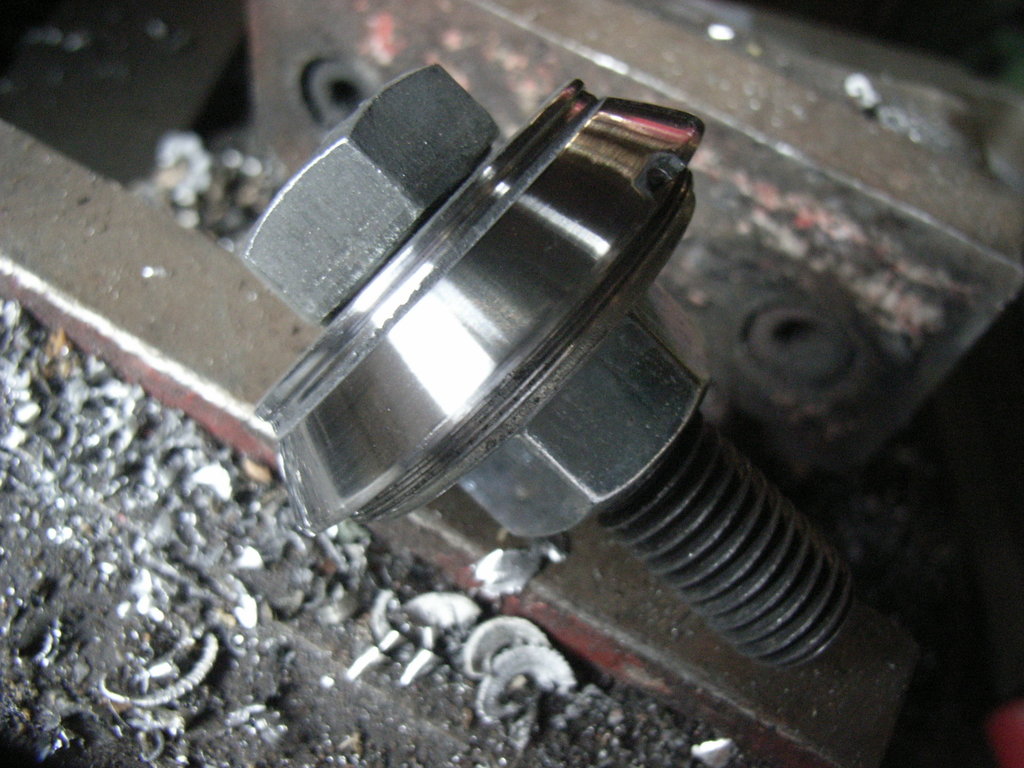
For polishing, I clamped the case between two washers (to be honest I took the photo after I had already polished it a bit ;-)...
...and attached it to a drilling machine.
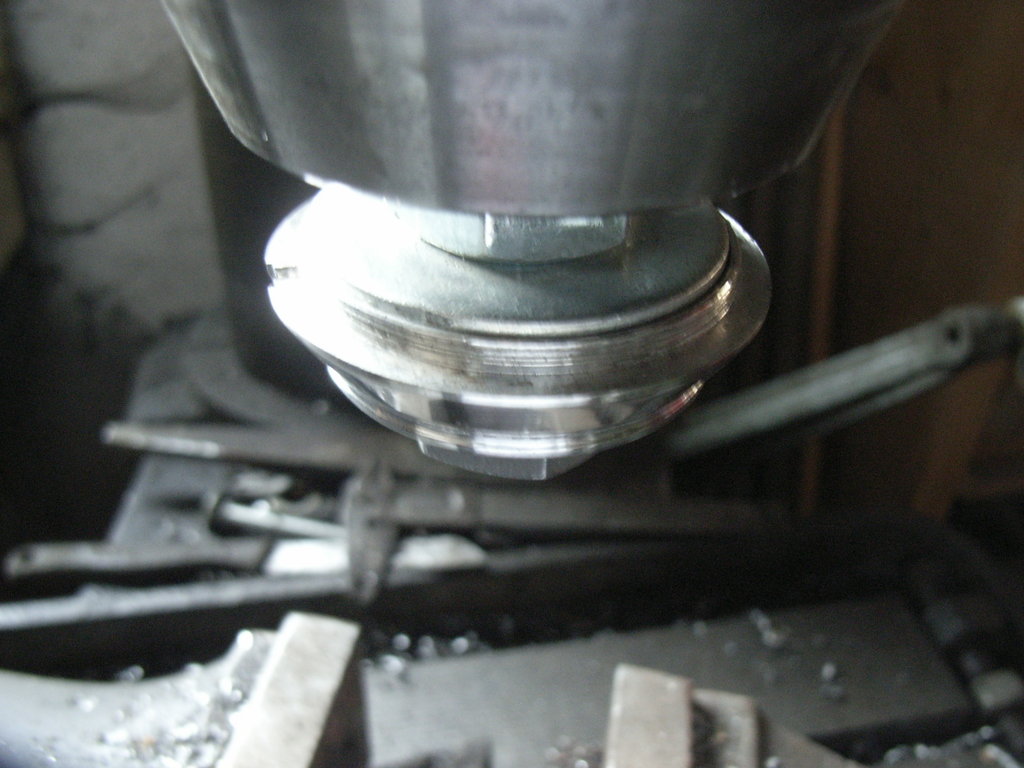
With the drill turning at a moderate speed, I sanded the case down with sandpaper that I had wrapped around a file (grit sizes 400 -> 600 -> 1000). The next picture shows the case after polishing.
The "cone" looks *okay*. It´s not the original finish any more but I did not find a way to recreate the vertical graining convincingly with my current equipment. With some additional tools - visit this great site - it is possible, though. I will most definitely do this as soon as I get the opportunity.
Here the lower part of the case - graining this part was a child´s play in comparison.
And here I put everything together again:
2013-07-16 - Some enlightenment...Re-Luming
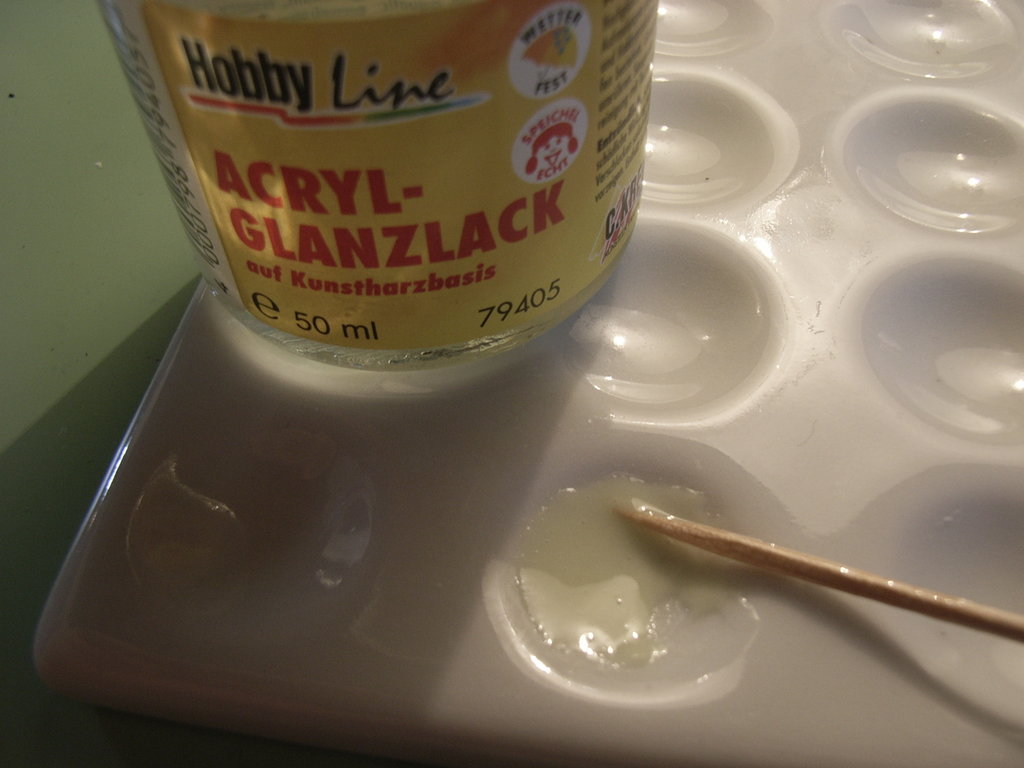
The next step was mixing some Luminova powder with gloss varnish for re-luming the dial and hands.
I also tried to restore the silvery tone of the dial on its slightly damaged left side by applying a thin layer of conducting silver paint. The next picture shows what the dial looks like after this treatment.
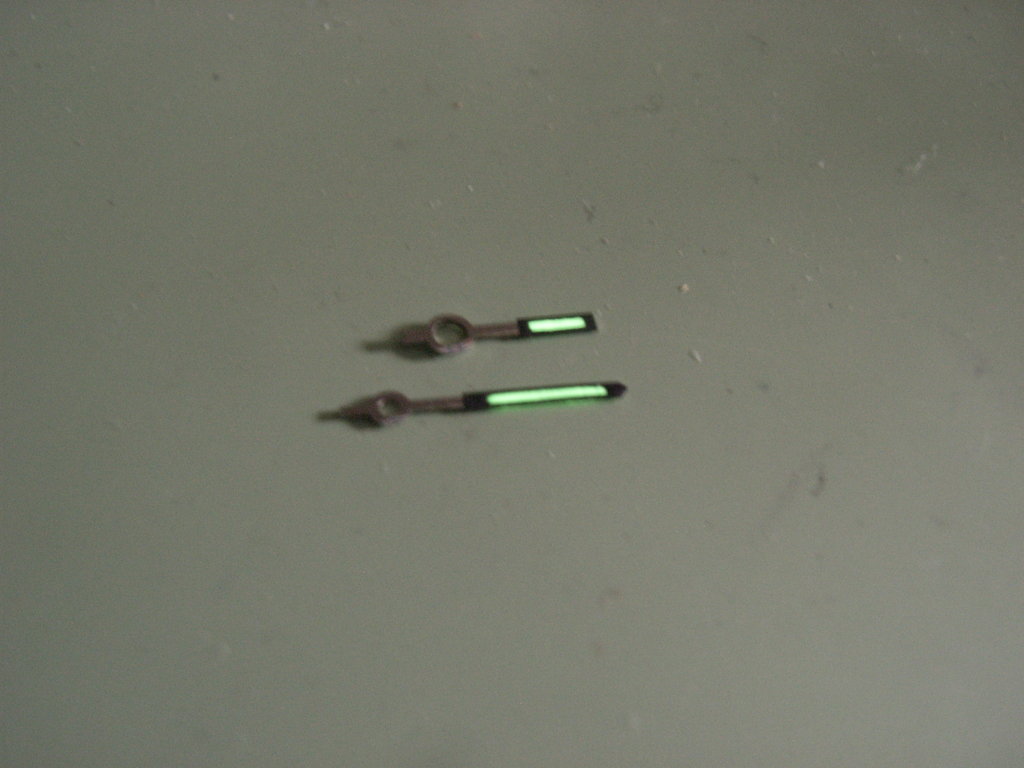
Finally, the minute and hour hands with renewed luminous mass.
2013-07-27 - Reviving the watch...
Thanks to ebay, I got two replacement movements for a moderate price - one for the coils and date wheel and one for the remaining movement parts. Here I started to disassemble the latter one:
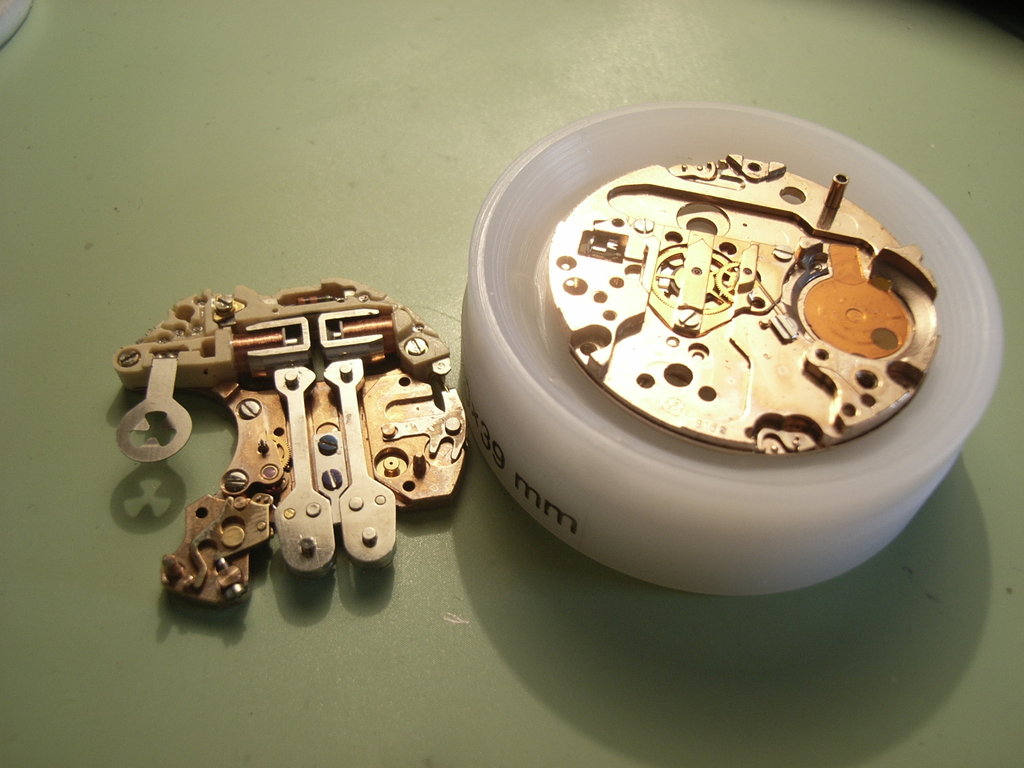
This is a tuning fork module without corrosion...(when I saw the great state of preservation of these parts, I actually buried my plan to use the parts of the corroded movement immediately...).
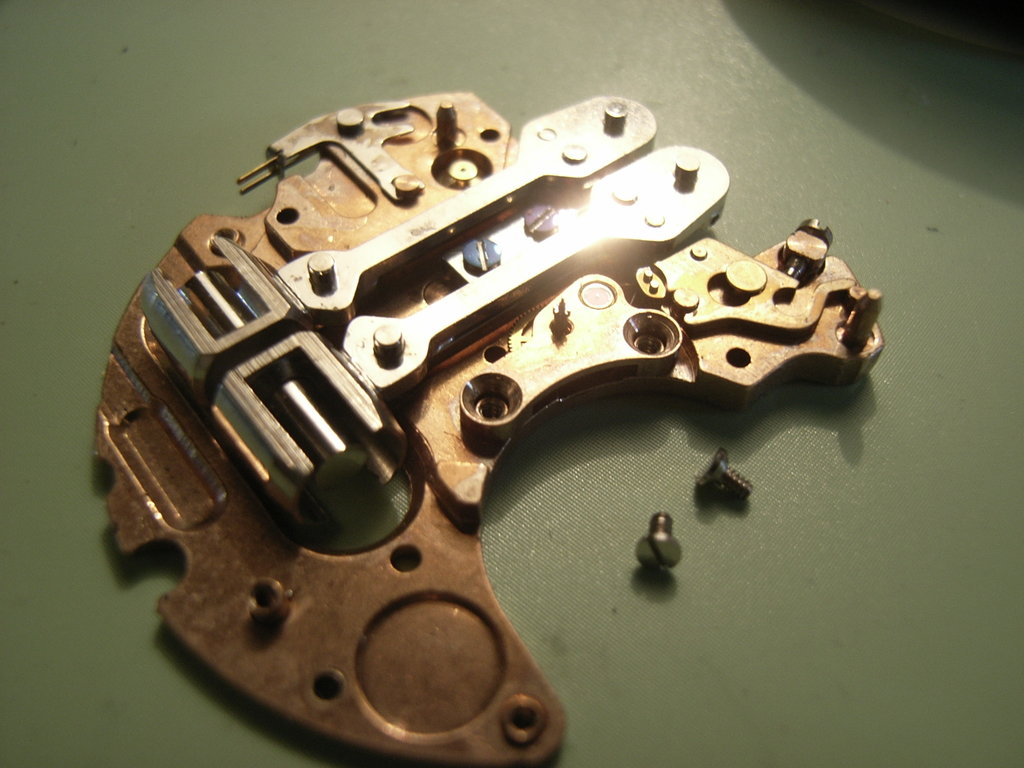
The screws which hold the tuning fork in place are blued - maybe for better visibility or just because it looks cool on the red-golden baseplate. Interesting, too: The index wheel (or "click wheel") is secured with its own bridge. This greatly simplifies working on the module - especially in comparison with the Accutron movements from Bulova (214, but especially 218, where the index wheel is quite exposed during assembly of the other wheels).
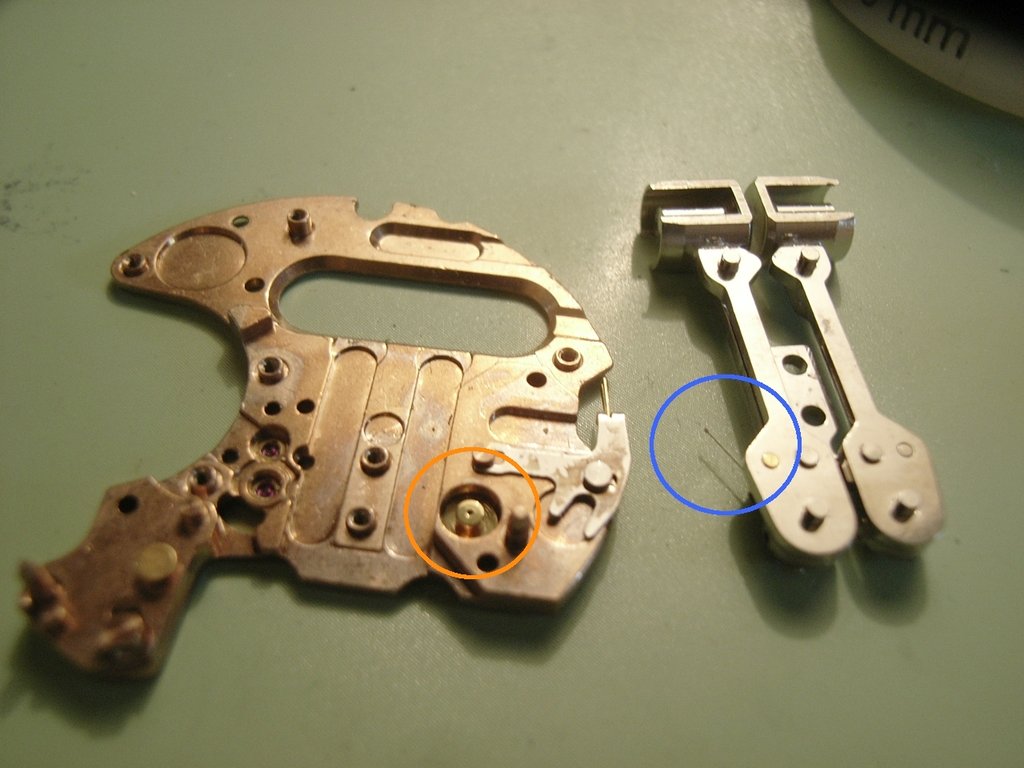
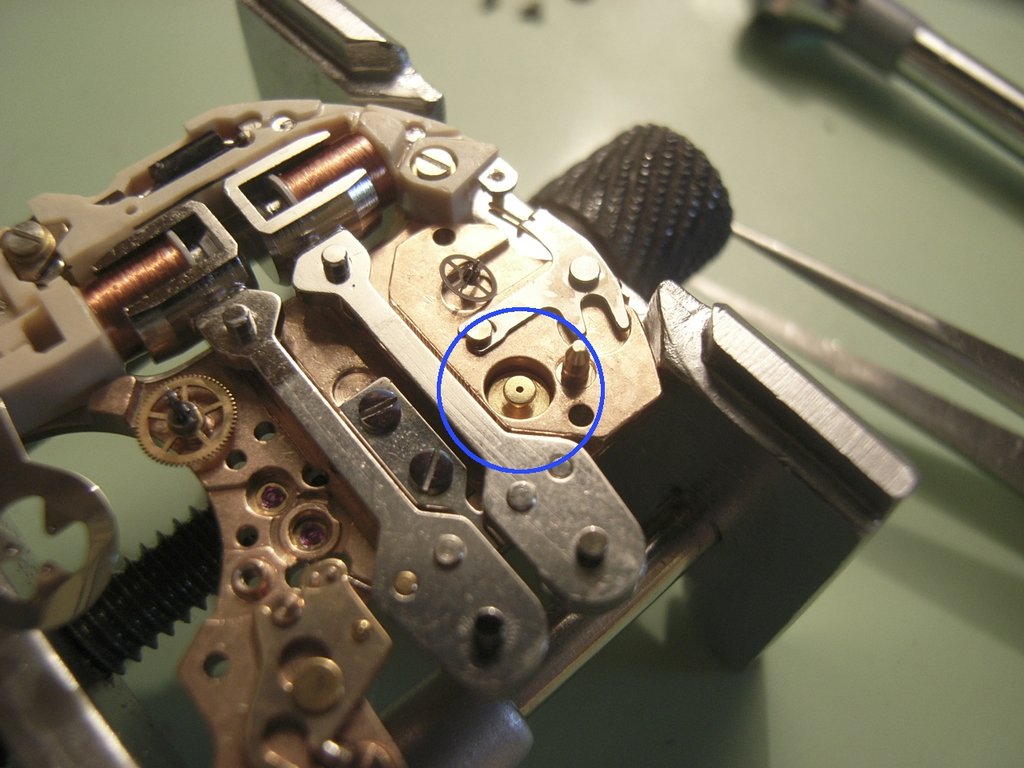
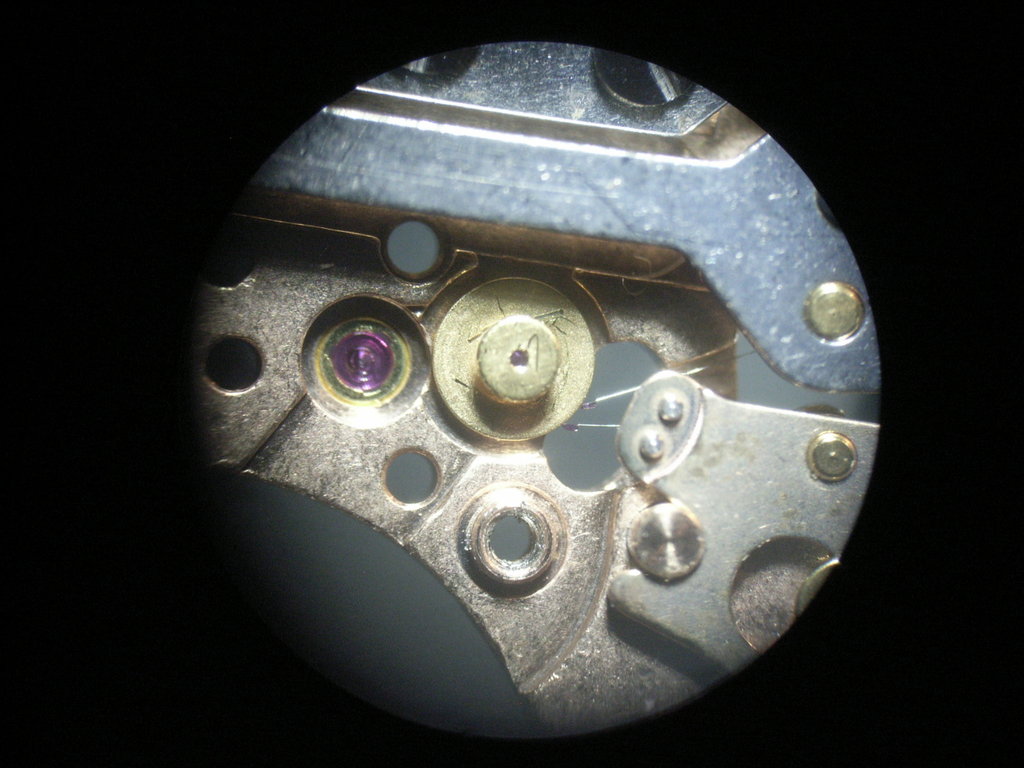
The final stage of the oscillator module disassembly. You can see a very special and helpful tool in the orange circle (not sure if you know something about its function - more on that later) and the tiny index finger in the blue circle (the dot at the tip of its blade is the pawl or "click" jewel). As the tuning fork itself is just around 2.5 centimeters long, the finger is almost invisible for the naked eye and touching it will almost inevitably damage it - extreme caution recommended!
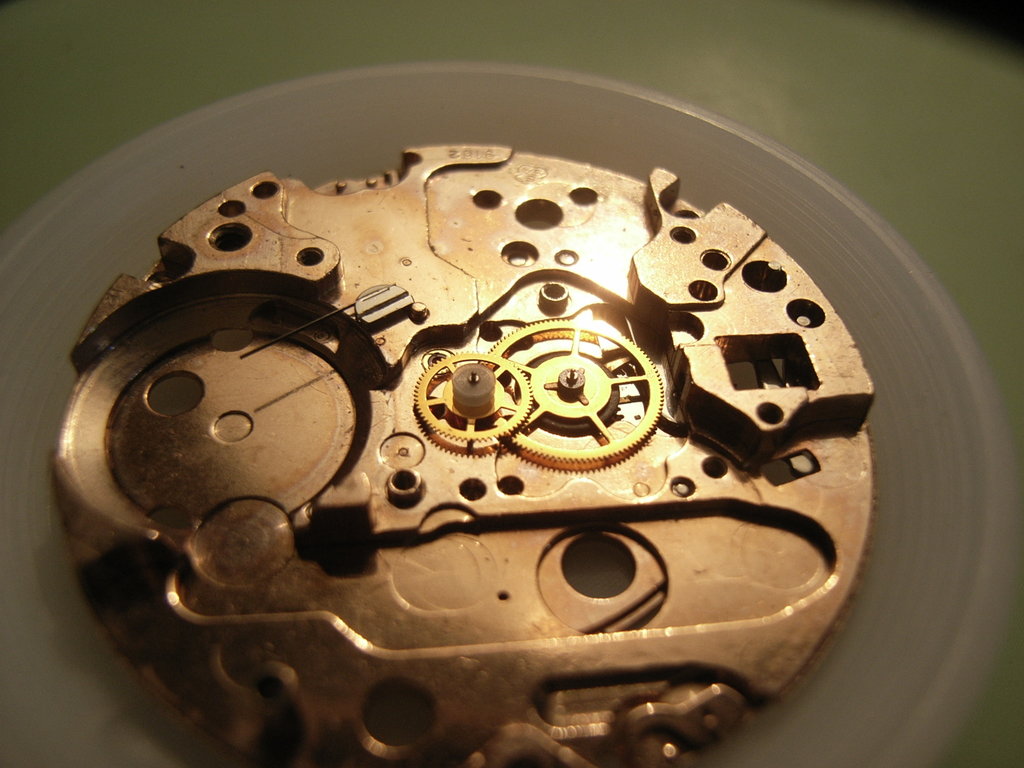
Next is the lower movement plate - or timing module as ESA called it. This time, the battery insulation, i.e. the yellow foil piece, is intact, too (quite a difference if you compare it with the mess here).

Here the center seconds wheel and the bigger friction wheel. The latter allows setting the time manually without irritating the oscillatory system. If its friction gets too high, however, e.g. due to rust or varnished lubricants, this construction can cause severe damage to the index wheel. The decoupling, for which the friction wheel is actually there for, does not work then and much too much force is transmitted directly to the index wheel causing it to spin extremely fast -> the pawl jewels can thus grind the tiny click wheel teeth away; for minimizing the risk of damaging the teeth, never turn the hands counterclockwise!).
On the dial side of the timing module, you find the calendar and setting mechanism (already disassembled here).
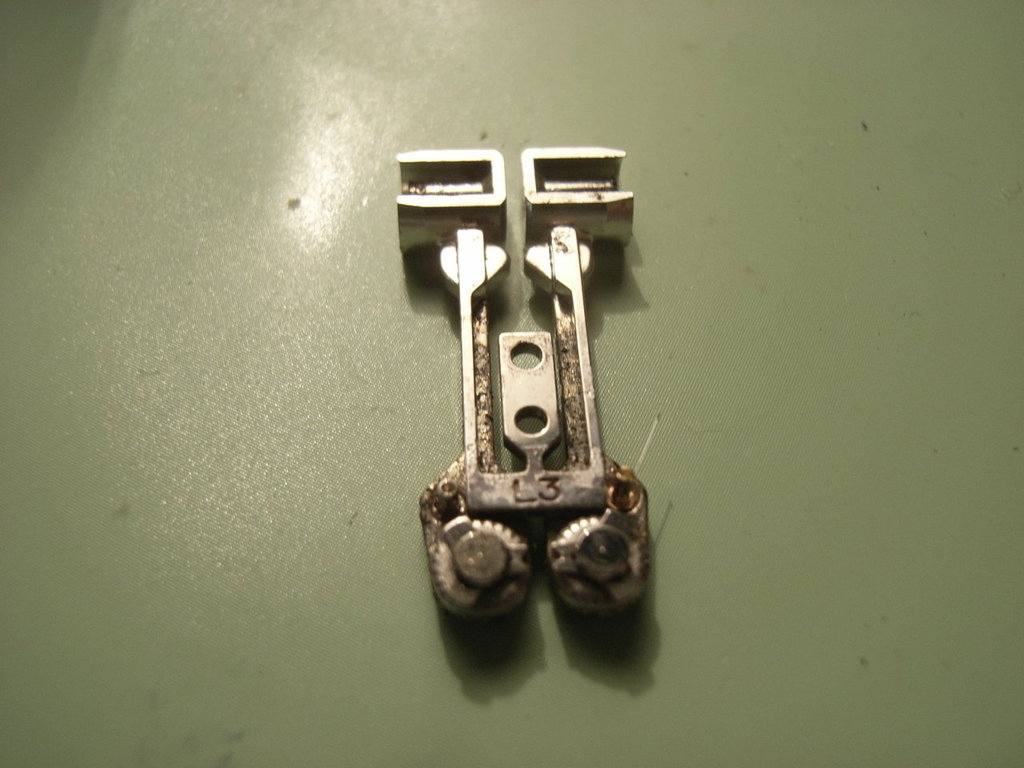
The setting wheel (for hand-setting) is situated on a moveable arm, which is held in its place by the tension from a small U-shaped spring.
The setting wheel of the corroded movement did not move at all!
2013-08-18 - Re-assembly
The last two days I used for cleaning all of the movement parts - a quite boring but very important procedure. As prescibed by ESA (and common sense imo), the electronic parts were not cleaned with any liquids, but only with Rodico and a dust blower. The other parts were cleaned with several watch cleaning solutions and - where I thought is was necessary / reasonable - with an ultra-sonic cleaner.
After everything had dried completely, I continued with re-assembling the watch movement. The first thing I did, was to check the clicks and their pawl jewels - here the retaining click:
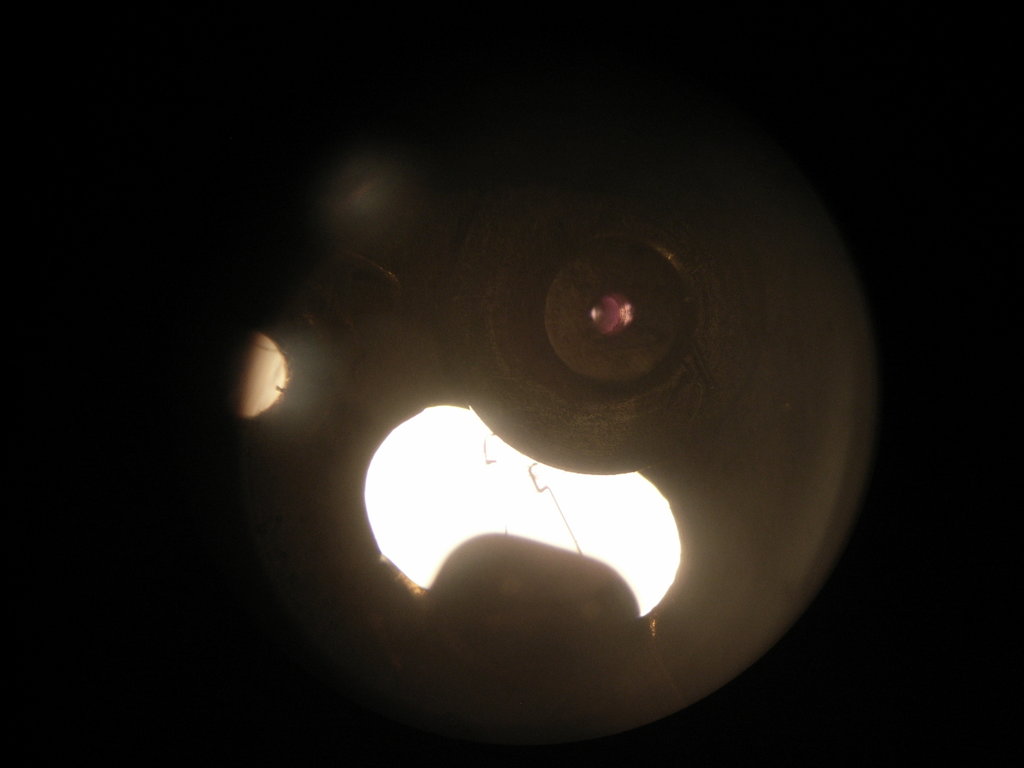
It appeared to be in perfect health. At this point, I want to come back to the small tool, that comes with each movement (blue circle).
It is a click gauge - used for aligning the clicks correctly. It can be torn out with some tweezers...

...and then it is placed where the index wheel is situated normally.
Some illumination from below can help you in finding the perfect pawl position:
Cool tool, isn´t? One thing I have noticed during re-assembly: Although the ESA 1962 is a great movement overall, I found that inserting the coil units in the tuning fork cups was a bit harder, than it was with those of the Bulova-produced tuning fork movements (in the latter the tuning fork cups have rounder edges and are way better accessable imo). So much for today...
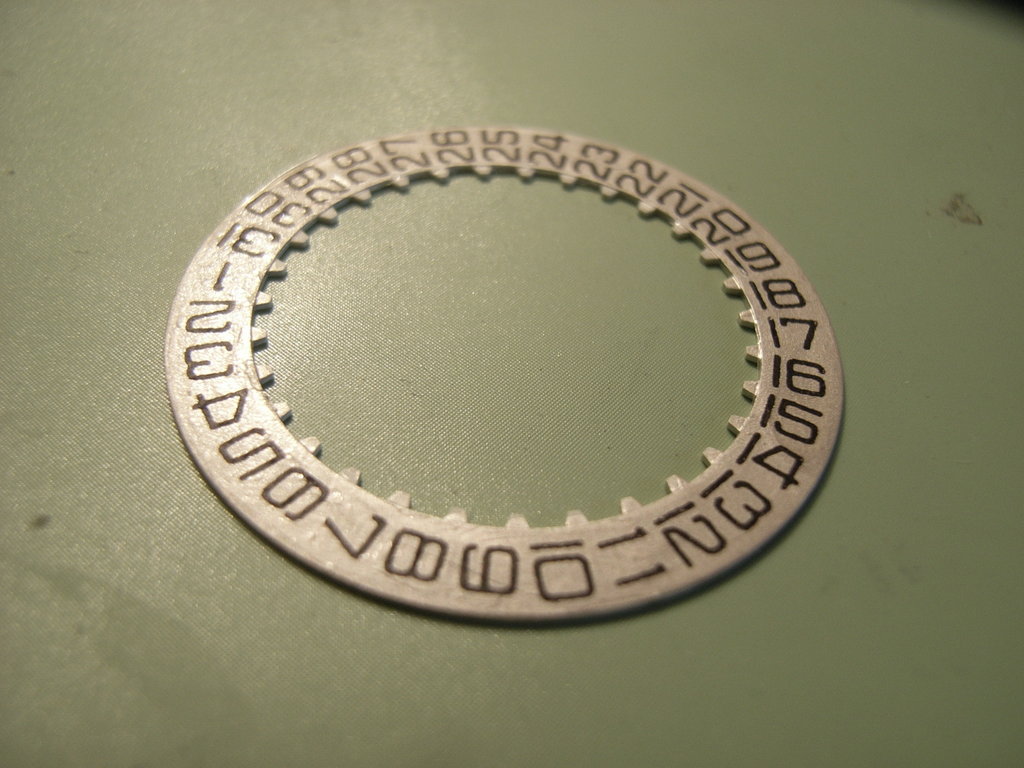
2013-08-24 - "Printing" a new date ring
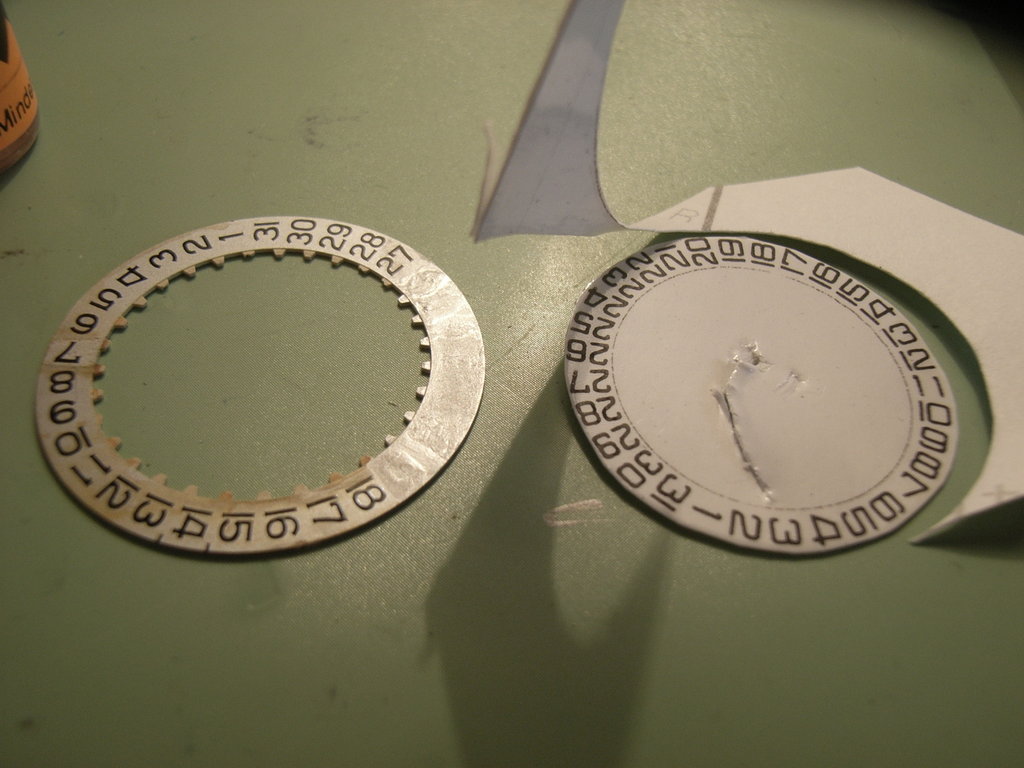
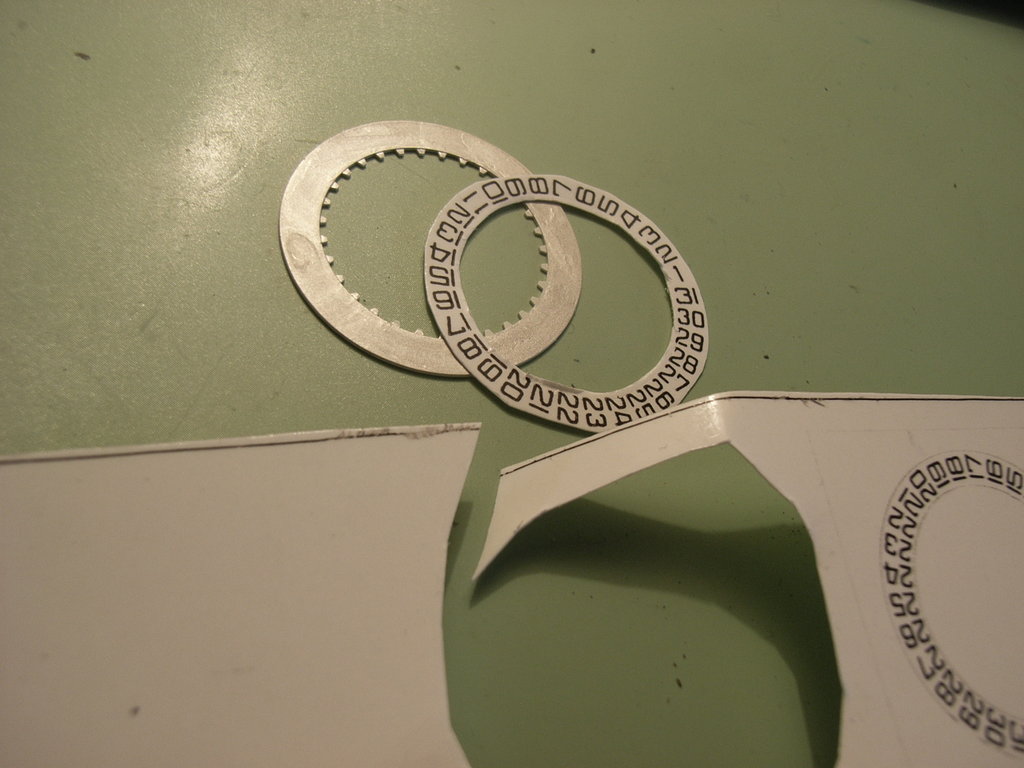
The date ring of my corroded Seamaster proved more or less unusable. The probable loss of its plasticizers have made it brittle (it has already lost some "teeth" and the numbers printed on it were severly damaged, too). However, I could still use the old ring for testing a new method...
To begin with, I used the same conducting silver ink, which I used for repainting the dial, to cover the damaged areas of the date wheel, then I printed out a scan of an intact ESA 9162 date ring on some water slide decal paper (I used a high-quality 1200 dpi resolution on a laserprinter -> imo a waterproof and colourfast solution).
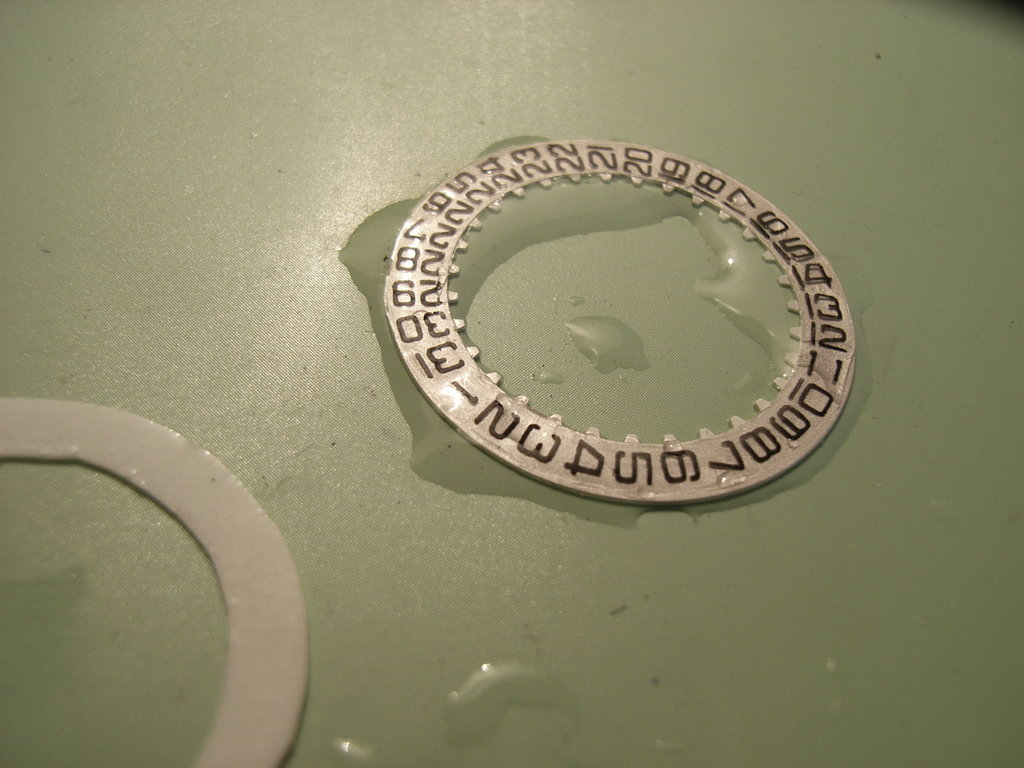
To be honest, I was quite surprised how excellent this method worked out:
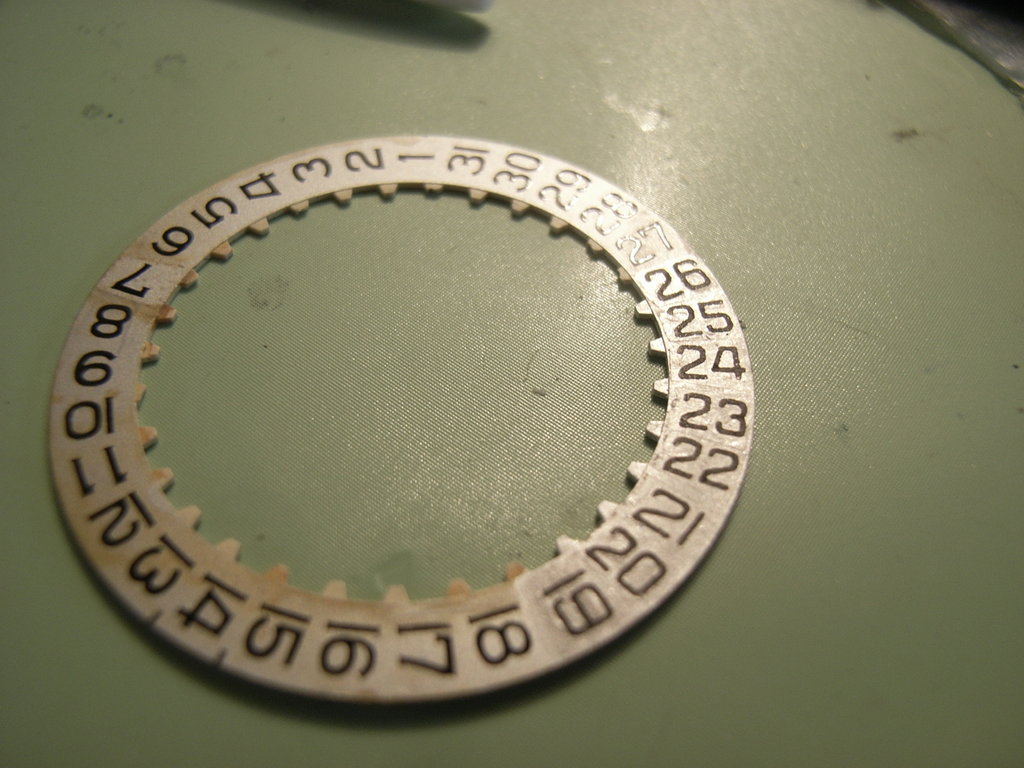
After this successful "dummy date ring" repair, I decided it was time to use the method on an intact ESA 9162 date ring:
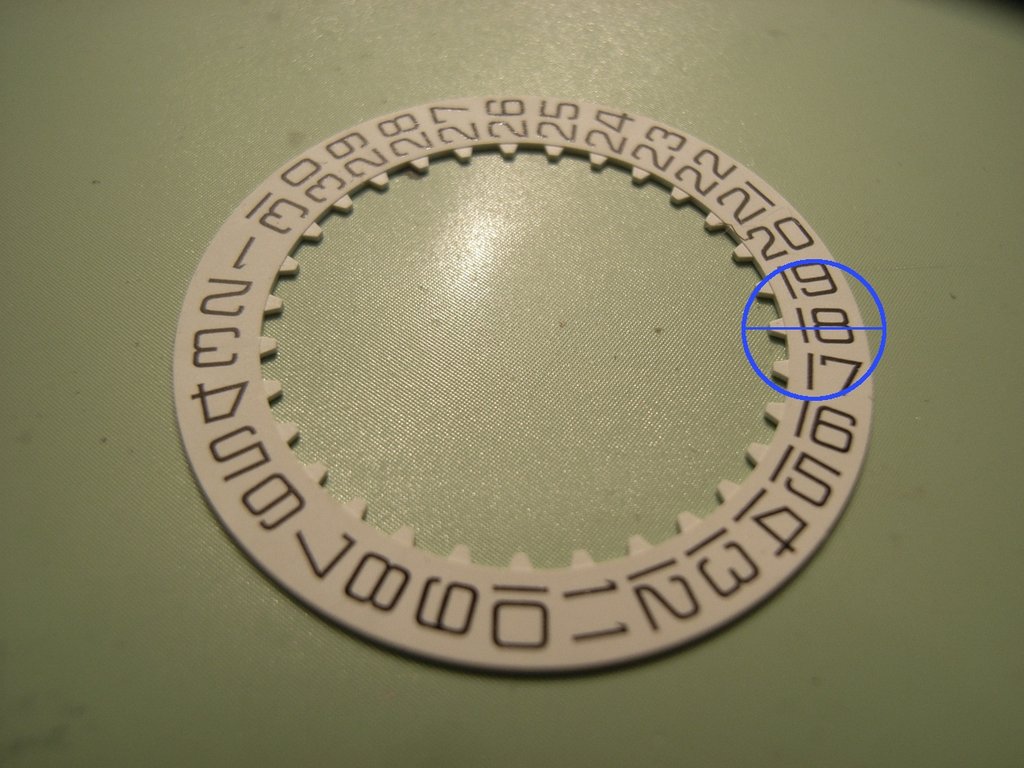
Why I did not just use this one right from the start? The older version of the Seamaster f300 - my version - has its crown not at 3 o´clock position, but between 1 and 2 o´clock. The printing of the numbers on the date wheel was then shifted accordingly (I highlighted the positions of the date ring teeth versus the printed numbers in the blue circle - hope this makes it more clear).
The next photo shows the new date ring - now covered with silver ink - and another printout of the date numbers.
To "print" the thing, the decal paper is soaked with water...
...and then the translucent film with the printed numbers can be moved in position.
To finally fix the printed film, the water is first absorbed with some kitchen paper and then it is firmly pressed on the date ring:
Please note that the numbers in this print were not yet aligned perfectly (actually they stood a little to high in the date window). Thus, I had to repeat the procedure later for another time =-(
2013-09-02 - Finishing the watch
Today I finally finished the watch. The first picture shows the complete movement - clean and re-assembled.
What a magnificent date ring?! I think it looks really good. Here I have already encased the movement.
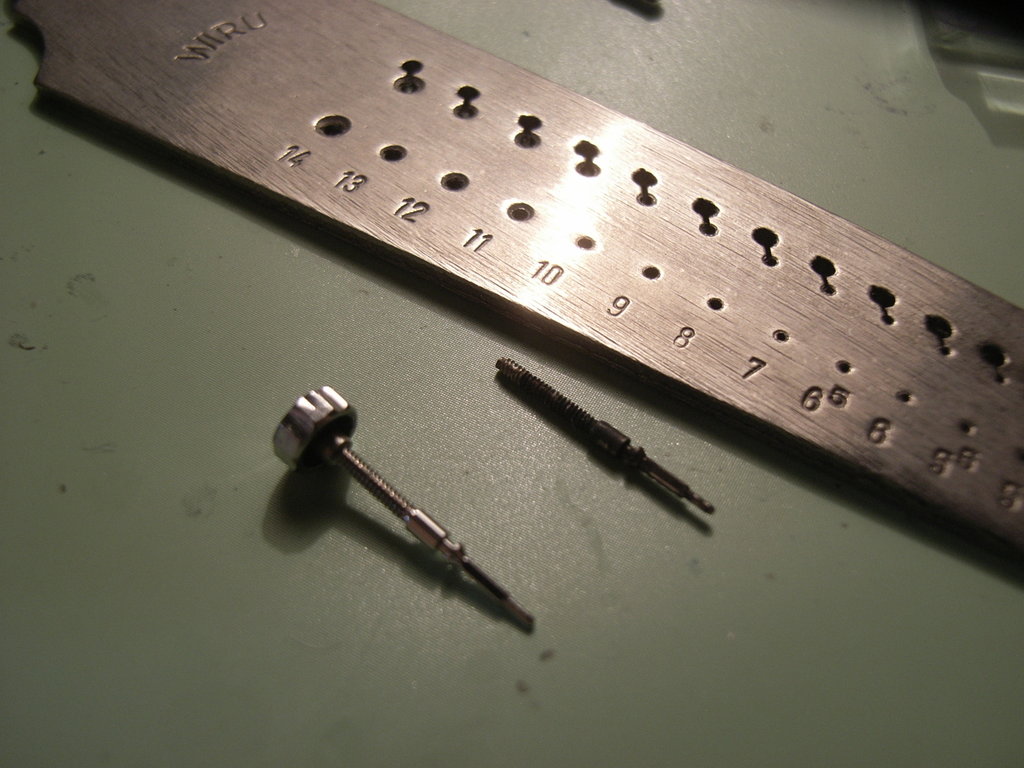
Here I prepared a new setting stem - the old one was just a bit too corroded for my taste. In the background you see a thread-cutting tool. I used it to get the thread of the new setting stem right, after I had shortened it a bit.
Then the crown got a new gasket...
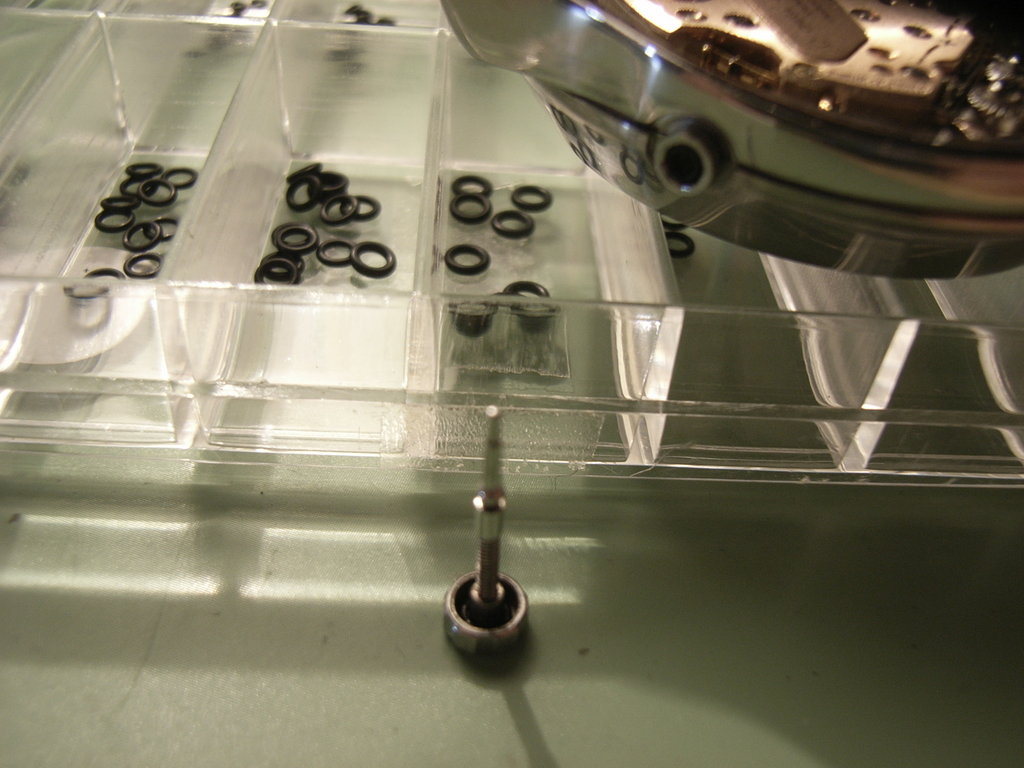
...as well as the caseback...
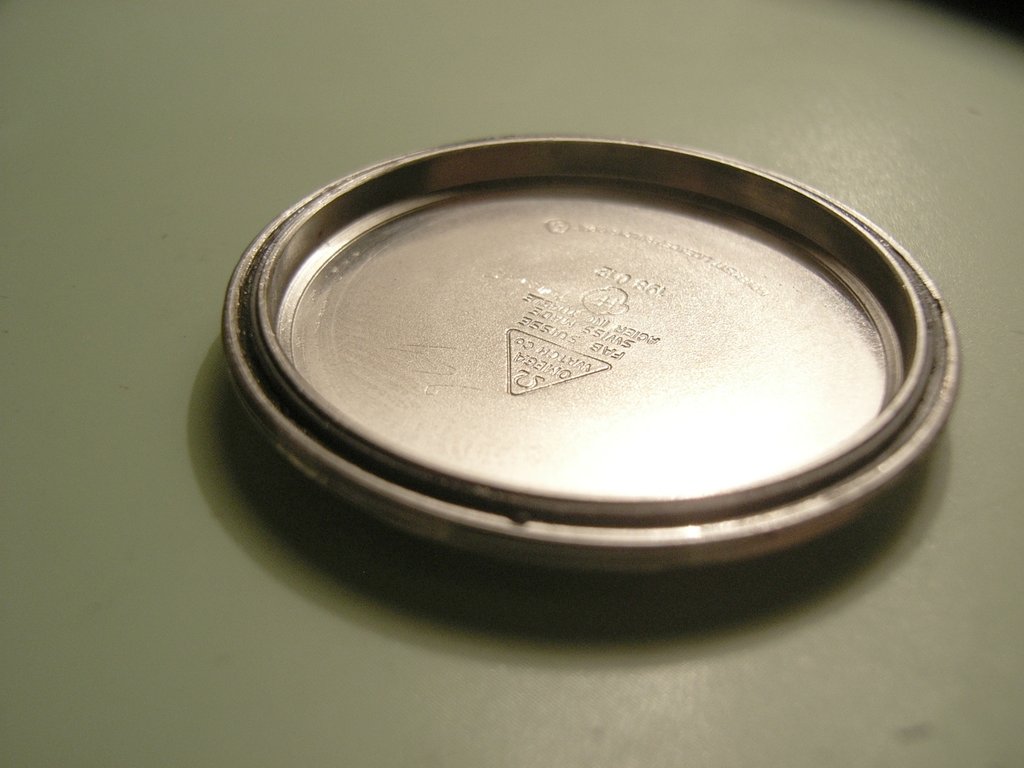
And finally...
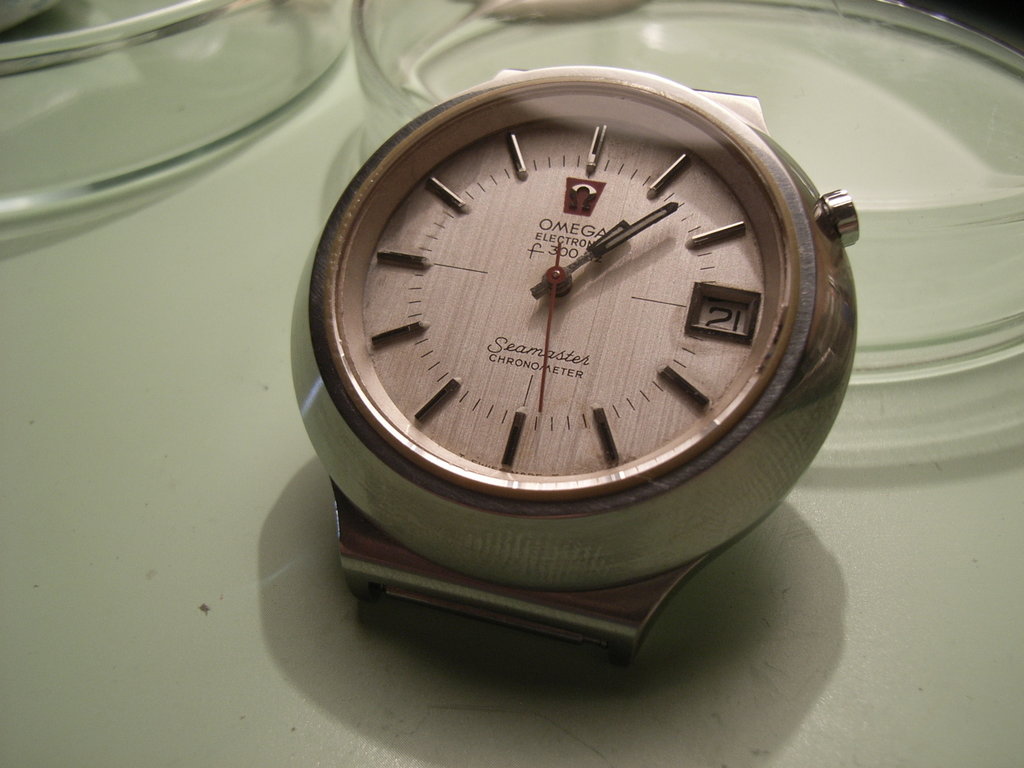
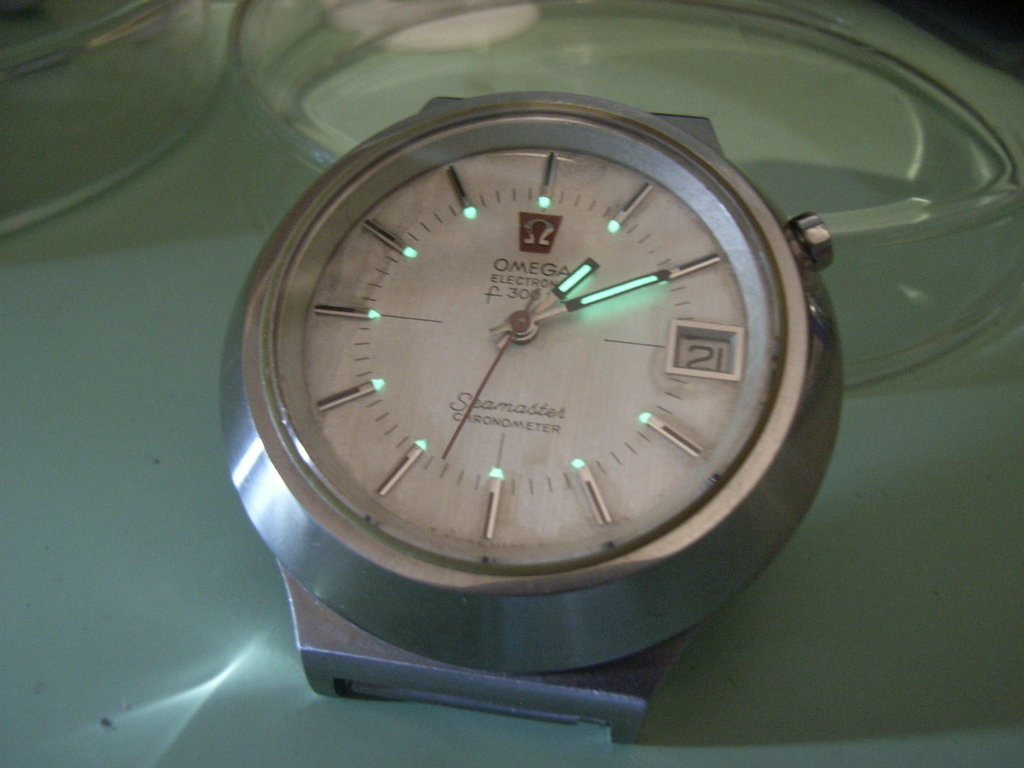
I think it has become a decent watch again, which does not deny that it has seen some "bad days" in the past =-) The night-shot in the following pic shows it with its new Luminova-powered hands:
Well, I still need to get a fitting bracelet. Then I will show you the completed watch in one last post.
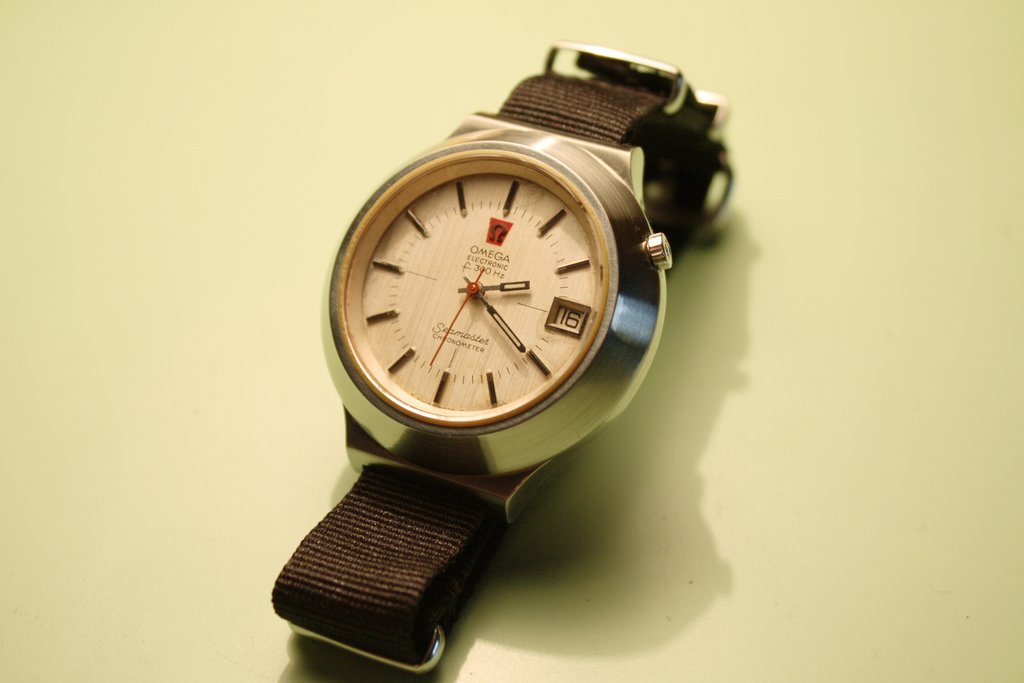
2013-10-16 - Finished...
After adding a simple black nato strap, I declare the Omega f300 finished (at least for the moment). Here the final state of the watch:
greetings noq2
Comments