2013-12-15
Just some teardown pics...
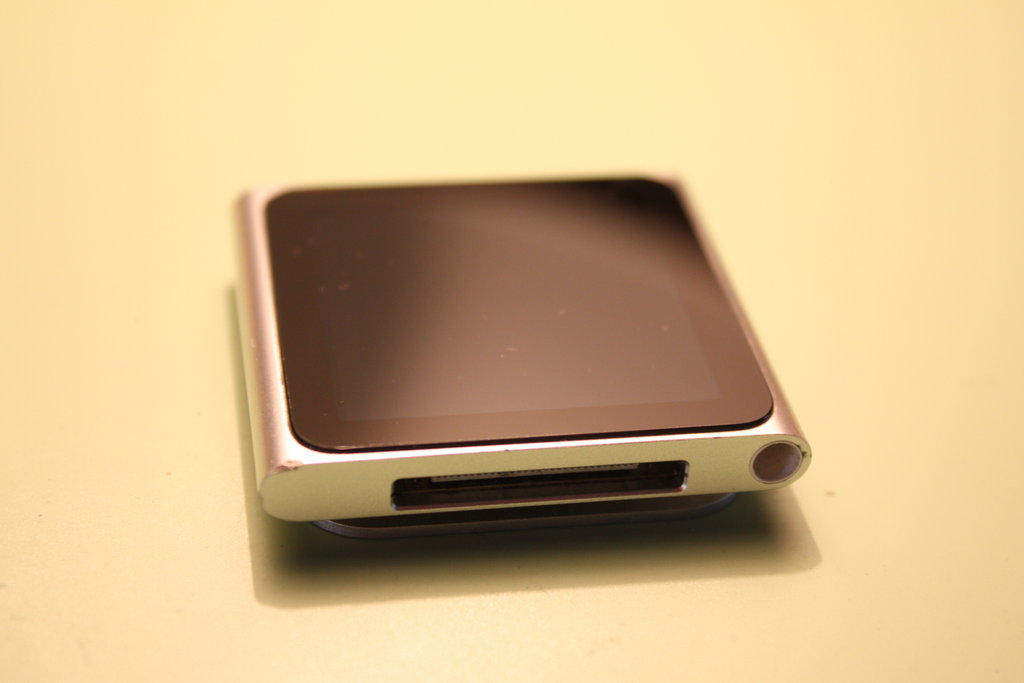
As often with Apple products the design was more important than repairability. To get the iPod open, I heated the screen with a heatgun until the underlying adhesives were soft enough to pull the screen gently off with a small suction cup (regarding the heatgun: approx. 100 °C, circling movements).
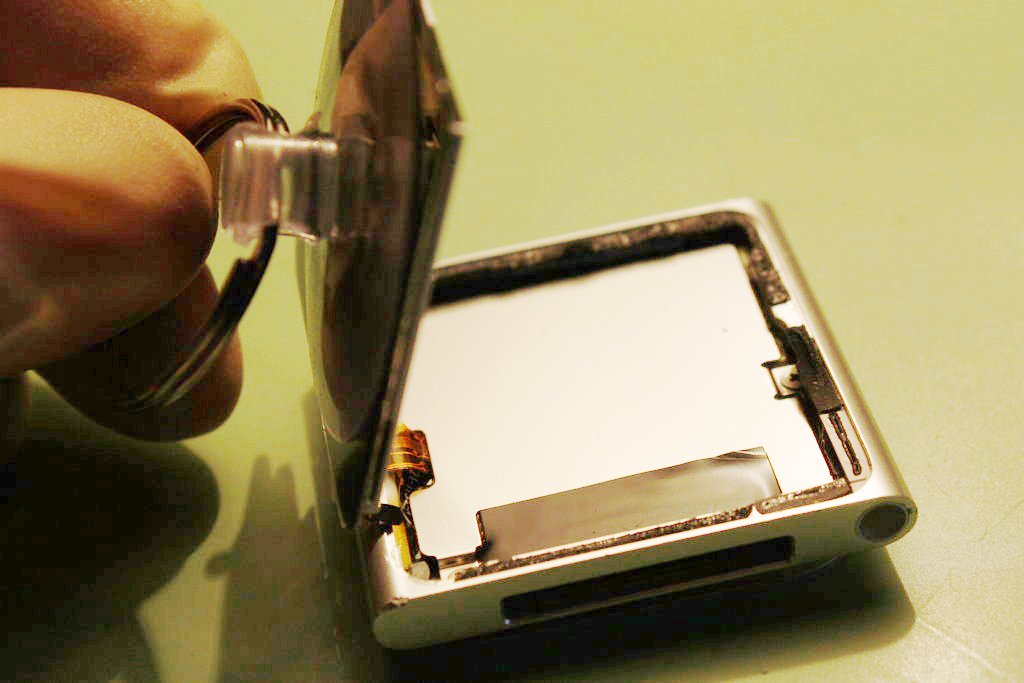
Be sure to start lifting the screen from the side with the earphone plug, otherwise you could damage the screen cable. Check the following photo for its exact position.
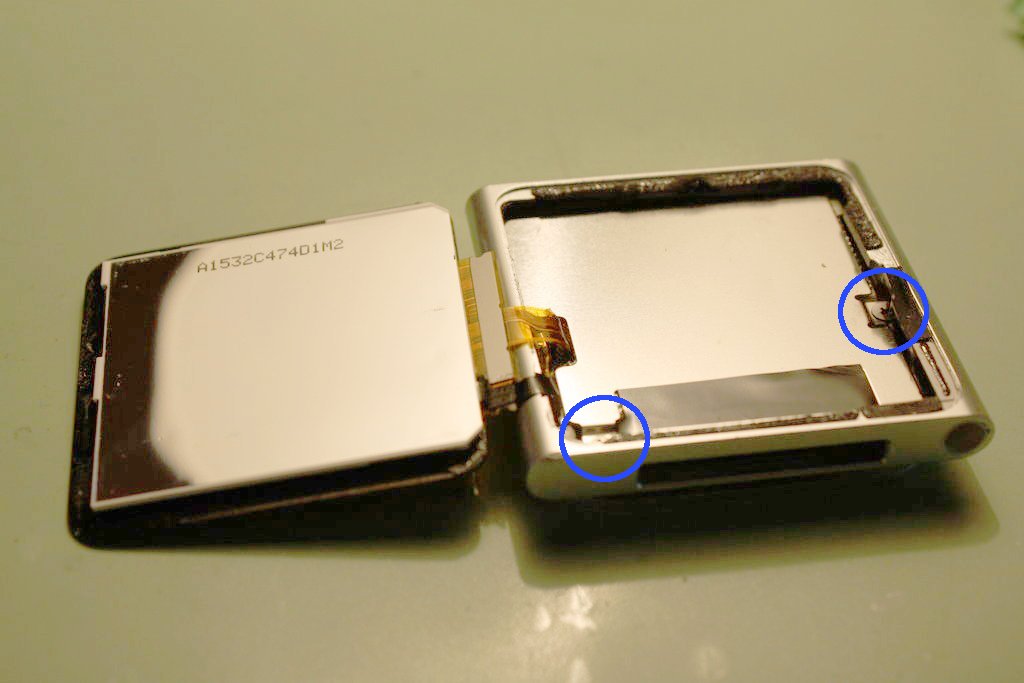
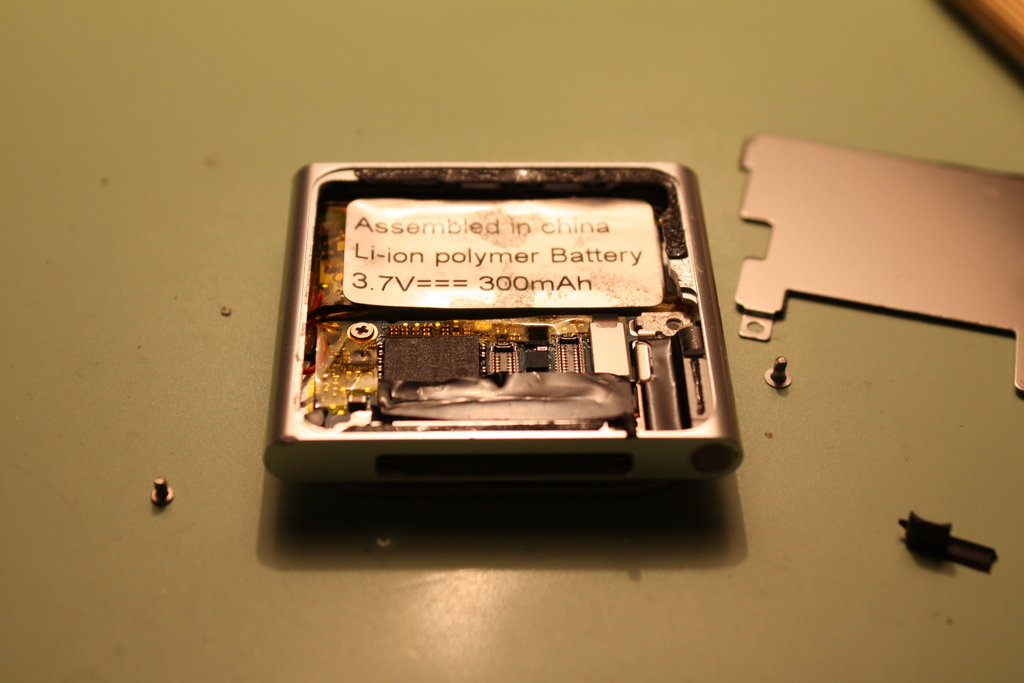
Next I removed the metal shielding which was secured by two small screws (blue circles).
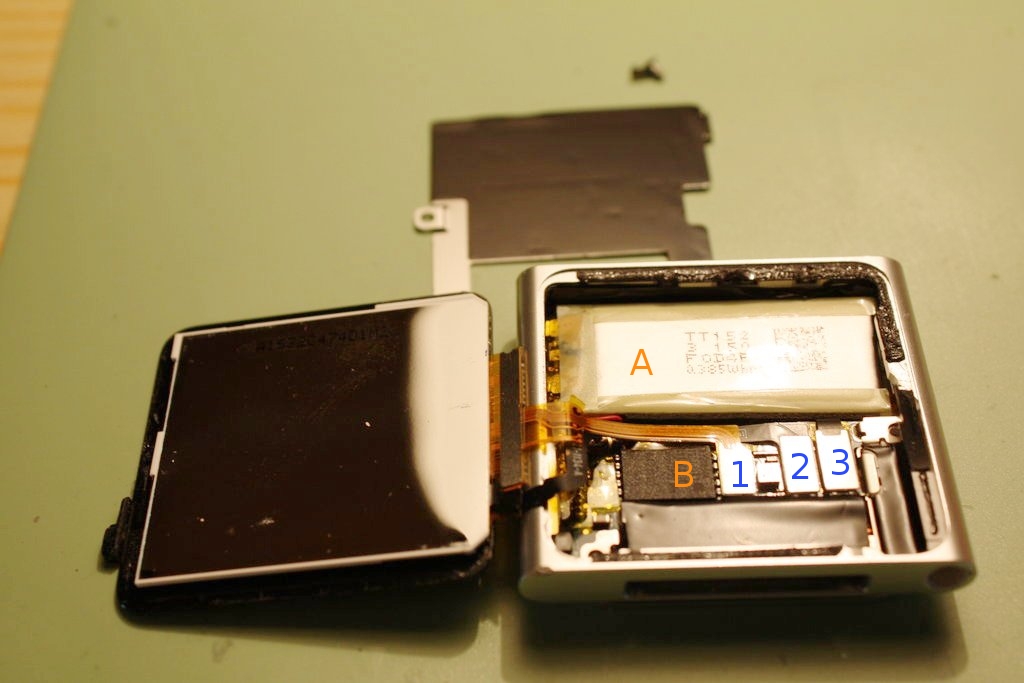
The battery (A) - a probably faulty one in this case as the iPod doesn´t hold charge any more - and the logic board (B) are well visible. Then the screen connectors (1 + 2) can be pried off with a small screwdriver (or a comparable tool...).
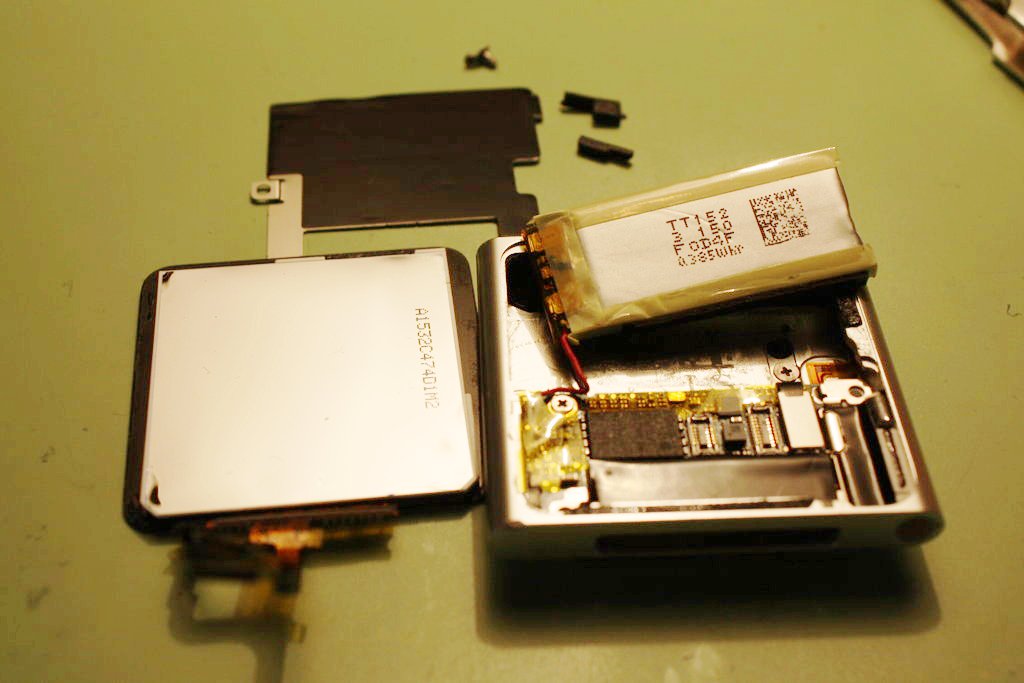
With the screen assembly out of the way, the battery could be lifted out with the help of a guitar pick and some soft pressure because the battery was fixed with an adhesive strip under it...
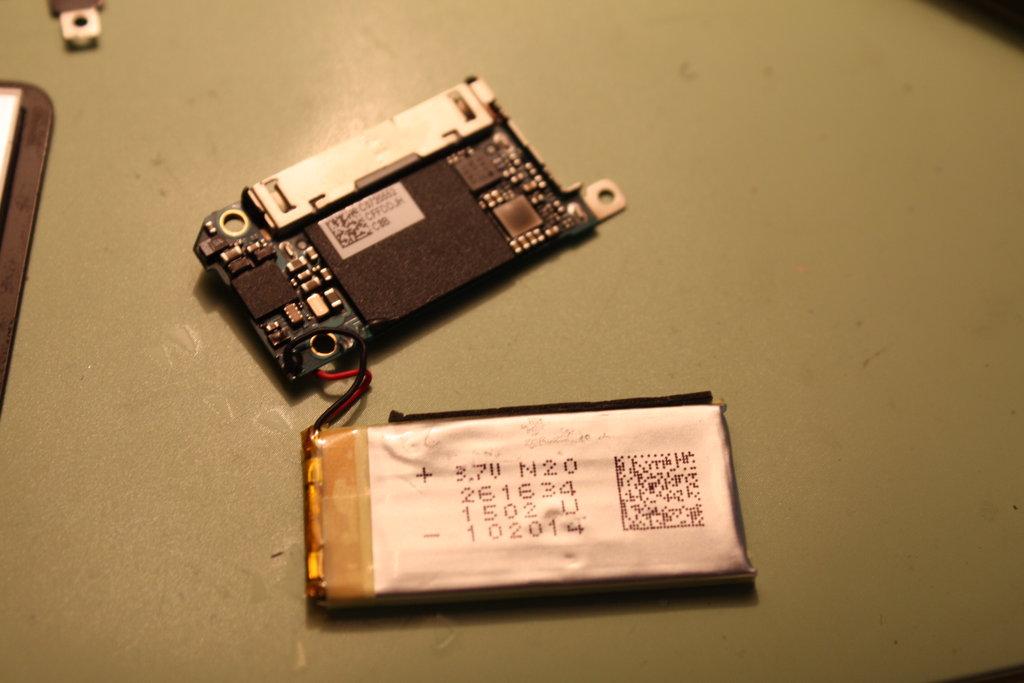
Two screws and one lifted button connector (see #3 in fourth pic) later, the iPod lost its innards. Note that the battery is not attached to the logic board with a connector but soldered and epoxied down - very repair-friendly indeed *cough*.
2014-01-14
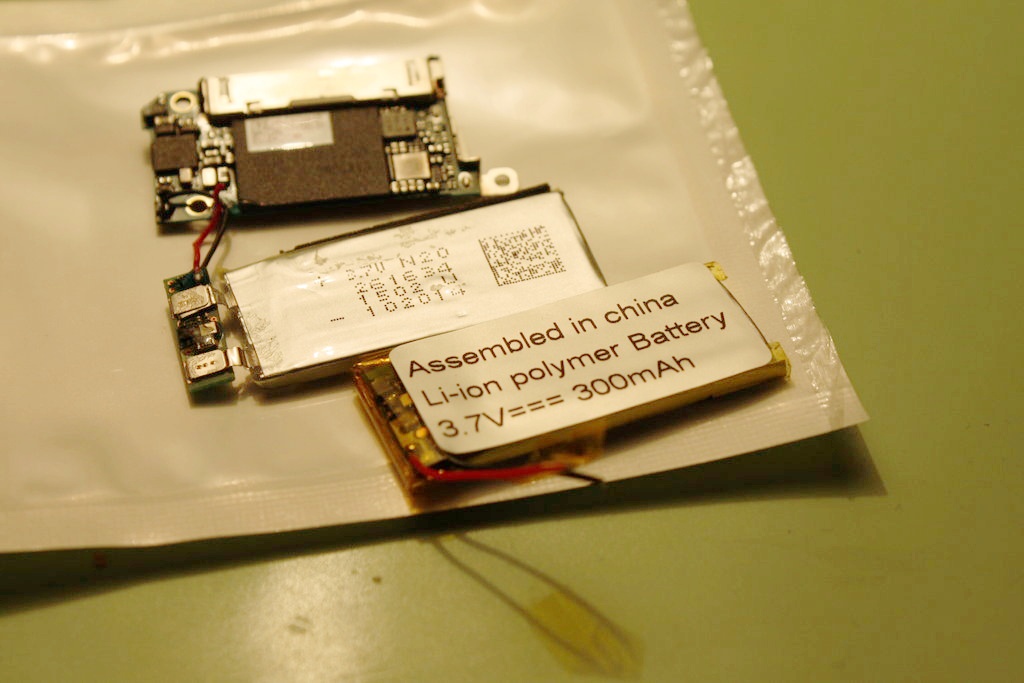
Long time no see, but I restored the iPod to a working condition back in late 2013. The replacement battery took several days to arrive, but although a no-name product it seemed to be of a comparable quality (at least regarding the logic board part of it).
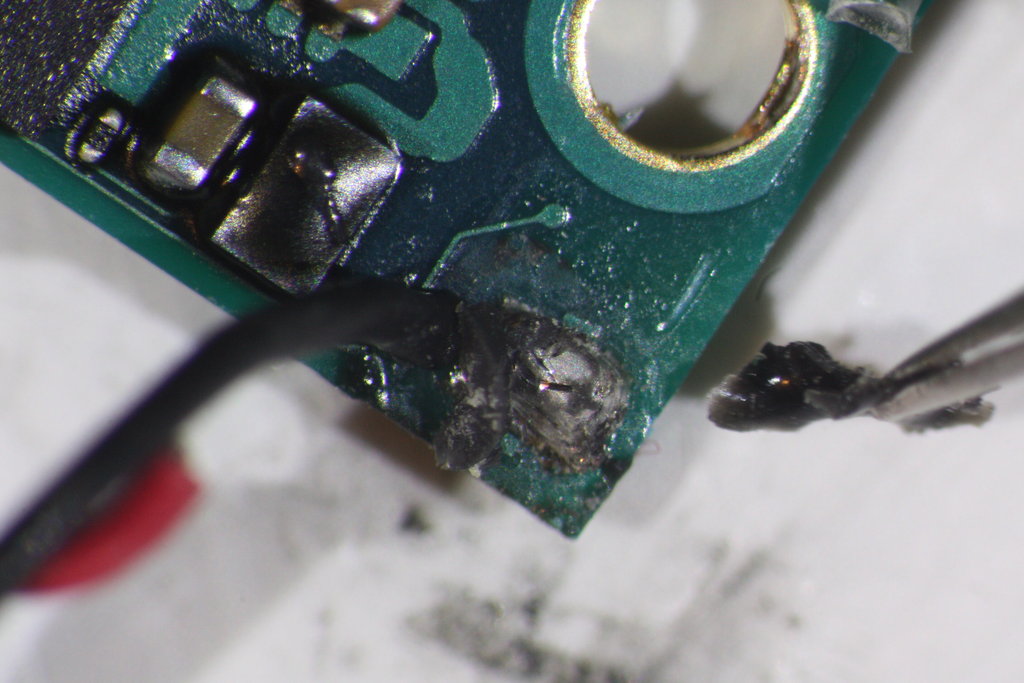
De-soldering the old battery pack was harder than I thought because the solder joints were secured by some rubber-like glue. I scraped it gently off using my tweezers.
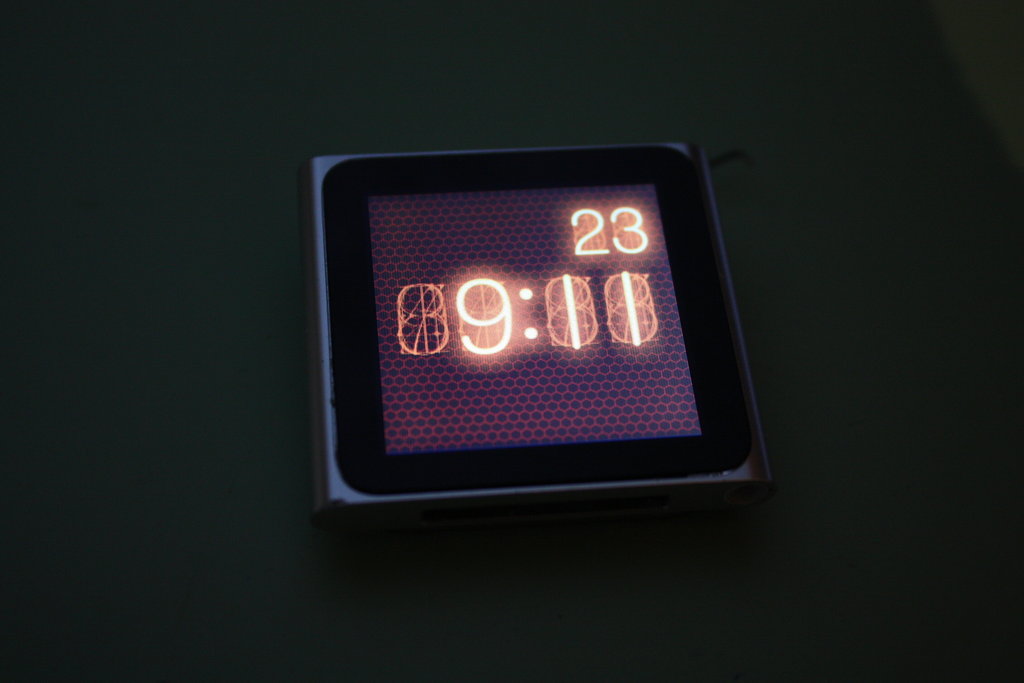
Here the iPod with the re-soldered new battery pack back in place.
Just as I expected, the iPod returned to a fully functioning state after I had replaced its battery pack.
greetings noq2
Comments